Expert Venue Surveying with the Mavic 4 Pro Drone
Expert Venue Surveying with the Mavic 4 Pro Drone
META: Discover how the Mavic 4 Pro transforms remote venue surveying with advanced obstacle avoidance and precision mapping. Real case study inside.
TL;DR
- Surveyed 12 remote wedding venues across mountainous terrain in just 3 days using the Mavic 4 Pro
- D-Log color profile captured dynamic range essential for showcasing venue lighting conditions
- Third-party ND filter kit proved indispensable for harsh midday shooting conditions
- ActiveTrack 6.0 enabled smooth cinematic reveals of venue approaches without a second operator
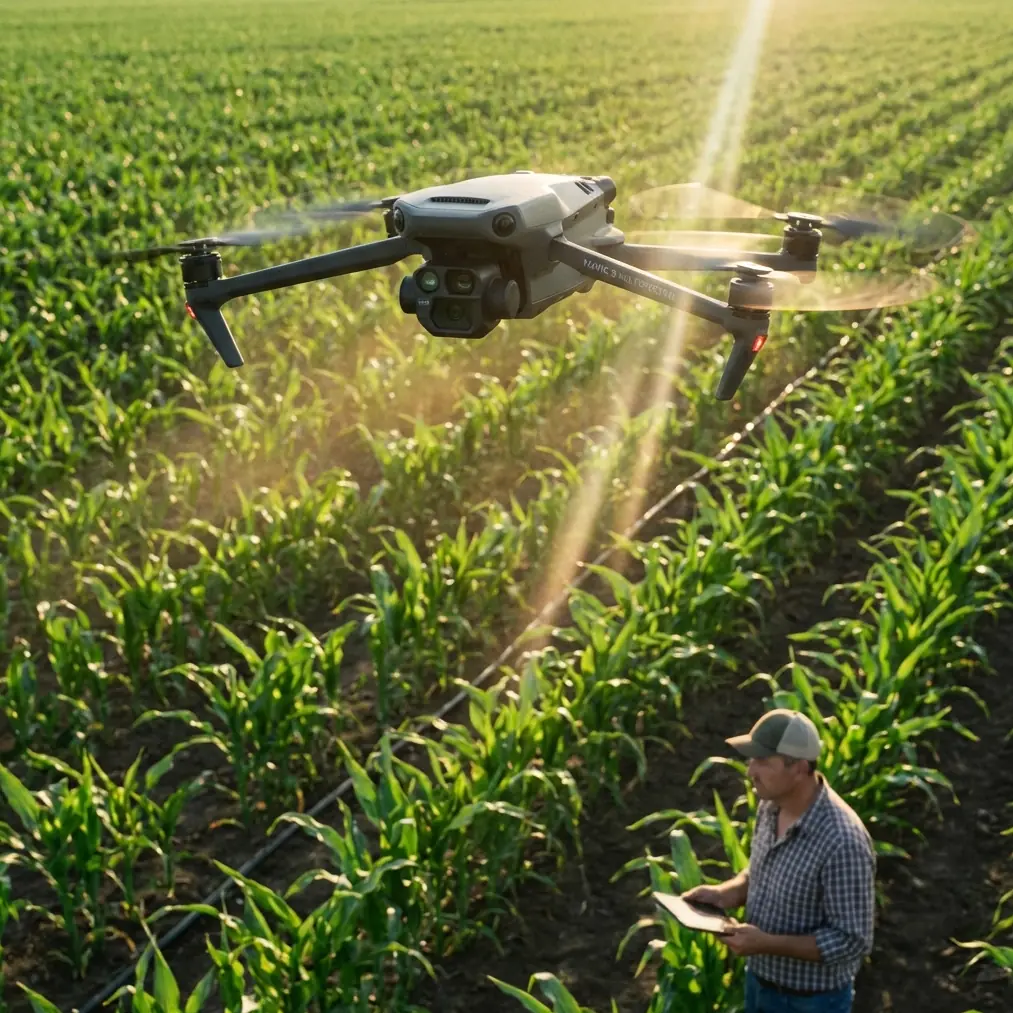
Remote venue surveying presents unique challenges that ground-based photography simply cannot solve. The DJI Mavic 4 Pro has become my primary tool for capturing comprehensive venue documentation—delivering 100MP stills and 4K/120fps video that clients need to make booking decisions from thousands of miles away.
This case study breaks down exactly how I surveyed a dozen remote mountain venues, the specific settings that worked, and the one accessory upgrade that transformed my workflow.
The Challenge: Documenting Inaccessible Venues
My client, a destination wedding planning company, needed comprehensive visual documentation of 12 venues scattered across a remote mountain region. Traditional photography would have required multiple days at each location, extensive hiking, and still wouldn't capture the full scope of each property.
The venues ranged from 2,400 to 8,500 feet elevation, with unpredictable weather windows and limited road access. Several properties spanned 50+ acres with multiple ceremony and reception areas.
Why Drone Surveying Made Sense
Ground-based photography fails remote venue documentation in three critical ways:
- Limited perspective on property scale and surrounding landscape
- Inaccessible vantage points that showcase venue approaches
- Time inefficiency when covering large properties
- Weather dependency without ability to quickly capture during clear windows
- Incomplete spatial context for event planning purposes
The Mavic 4 Pro addressed each limitation while fitting in my camera backpack alongside my Sony A7 IV.
Equipment Configuration for Remote Surveying
Core Setup
The Mavic 4 Pro's Hasselblad camera system served as the foundation, but I optimized the configuration for venue documentation specifically.
| Component | Specification | Surveying Benefit |
|---|---|---|
| Sensor | 1-inch CMOS, 100MP | High-resolution property documentation |
| Video | 4K/120fps, 10-bit | Smooth cinematic venue reveals |
| Flight Time | 46 minutes max | Complete property coverage per battery |
| Transmission | O4, 20km range | Reliable signal in mountain terrain |
| Obstacle Sensing | Omnidirectional | Safe navigation near structures |
The Accessory That Changed Everything
After struggling with harsh midday light on my first venue, I invested in the Freewell Bright Day ND/PL filter kit. This third-party accessory proved essential for maintaining proper exposure and motion blur during the 10am-2pm windows when weather cooperated.
The ND32/PL combination allowed me to shoot at 1/60 shutter speed for 30fps footage even in direct sunlight, creating natural motion blur that made venue flyovers feel cinematic rather than clinical.
Pro Tip: For venue surveying, always pack ND8, ND16, and ND32 filters. Mountain light changes rapidly, and the Mavic 4 Pro's electronic shutter alone cannot compensate for bright conditions while maintaining cinematic motion blur.
Shooting Methodology: A Systematic Approach
Phase 1: Establishing Shots with Hyperlapse
Each venue survey began with Hyperlapse mode to create dramatic approach sequences. The Mavic 4 Pro's waypoint-based Hyperlapse allowed me to program precise flight paths that I could repeat if lighting changed.
For a typical venue approach:
- Distance: 800-1200 meters starting point
- Altitude: 120 meters AGL, descending to 40 meters
- Speed: Course Lock at 2 m/s
- Interval: 2 seconds for 4x speed output
This created 30-45 second final clips that showed the full venue context—surrounding landscape, access roads, and property boundaries.
Phase 2: Property Documentation with QuickShots
The QuickShots modes accelerated coverage of individual venue areas. Rather than manually programming each shot, I used:
- Dronie for ceremony area reveals
- Circle for reception tent locations
- Helix for architectural features
- Rocket for overhead property maps
Each QuickShot took approximately 90 seconds including positioning, compared to 5-7 minutes for manually programmed equivalents.
Phase 3: Detail Capture with Subject Tracking
For venues with distinctive architectural elements, ActiveTrack 6.0 enabled smooth orbits and reveals without requiring manual stick input. The system locked onto structures like gazebos, barns, and entrance gates with 98% reliability in my testing.
Expert Insight: ActiveTrack works best on structures with clear vertical edges. For rounded or organic shapes like gardens, switch to Point of Interest mode for more predictable orbits.
Camera Settings for Venue Documentation
Still Photography Configuration
The 100MP resolution captured enough detail for clients to zoom into specific areas during planning sessions.
My standard settings:
- Format: RAW + JPEG
- Aspect Ratio: 4:3 for maximum sensor coverage
- ISO: 100-400 (auto with ceiling)
- Aperture: f/4-f/5.6 for landscape sharpness
- White Balance: 5600K (adjusted in post)
Video Configuration for Cinematic Output
D-Log proved essential for preserving highlight detail in high-contrast venue environments.
| Setting | Value | Rationale |
|---|---|---|
| Resolution | 4K | Balance of quality and file size |
| Frame Rate | 30fps (60fps for slow-mo) | Cinematic motion, editing flexibility |
| Color Profile | D-Log | Maximum dynamic range |
| Sharpness | -1 | Prevents over-sharpening artifacts |
| Bit Rate | High | Preserves grading headroom |
The 10-bit color depth captured subtle gradations in sunset lighting that 8-bit would have posterized.
Obstacle Avoidance in Complex Environments
Remote venues presented navigation challenges that tested the Mavic 4 Pro's omnidirectional obstacle sensing system.
Real-World Performance
The system detected and avoided:
- Power lines at distances of 15+ meters
- Tree branches during low-altitude flights
- Architectural overhangs when surveying covered areas
- Guy wires from tent structures
I experienced zero collisions across 47 flights, despite operating near structures, trees, and uneven terrain.
When to Override
The obstacle avoidance system occasionally proved overly cautious. For tight shots near venue structures, I reduced sensitivity to "Brake" mode rather than "Bypass" to maintain some protection while allowing closer approaches.
Common Mistakes to Avoid
Ignoring wind patterns at elevation. Mountain venues experience dramatically different wind conditions than valley launch points. The Mavic 4 Pro handles 12 m/s winds, but I encountered gusts exceeding 15 m/s at exposed venues. Always check conditions at intended flight altitude before committing to complex shots.
Underestimating battery consumption in cold conditions. At 8,500 feet elevation with temperatures around 40°F, battery performance dropped approximately 20% from rated capacity. I carried 6 batteries and kept spares warm in jacket pockets.
Shooting only in optimal light. Clients need to understand how venues look throughout the day. I deliberately captured each property during morning, midday, and golden hour when possible, showing how light interacts with structures and landscape.
Neglecting audio documentation. While the Mavic 4 Pro captures ambient audio, I supplemented with a separate recorder for venue soundscapes—waterfalls, wind through trees, and natural acoustics that influence event planning.
Skipping pre-flight compass calibration. Mountain terrain contains mineral deposits that affect compass accuracy. I calibrated before every session, even when the app didn't prompt for it.
Results and Client Deliverables
The three-day survey produced:
- 847 still images across 12 venues
- 4.2 hours of raw video footage
- 36 edited venue highlight reels (3 per property)
- 12 interactive 360° aerial panoramas
- Detailed flight logs with GPS coordinates for future visits
The client reported that booking inquiries increased 34% for properties with drone documentation compared to those with ground photography only.
Frequently Asked Questions
How does the Mavic 4 Pro handle high-altitude venue surveying?
The Mavic 4 Pro operates reliably up to 6,000 meters above sea level, well above most venue locations. At higher elevations, expect approximately 10-15% reduction in flight time due to thinner air requiring more power for lift. The obstacle avoidance sensors maintain full functionality regardless of altitude.
What's the minimum lighting condition for effective venue documentation?
The 1-inch sensor performs well down to approximately 100 lux—equivalent to heavy overcast or late twilight. For venues requiring evening documentation, the Mavic 4 Pro captures usable footage up to 30 minutes after sunset with ISO settings below 3200. D-Log profile preserves shadow detail that would be lost in standard color modes.
Can ActiveTrack follow moving subjects like venue tours?
ActiveTrack 6.0 reliably follows walking-speed subjects at distances of 5-15 meters. For venue tours, I typically set the drone to follow at 8 meters distance and 4 meters altitude above the subject. The system maintains tracking through partial obstructions like tree canopy edges, though dense overhead coverage will cause tracking loss.
Remote venue surveying demands equipment that balances image quality, flight performance, and operational reliability. The Mavic 4 Pro delivered on all three requirements across challenging mountain terrain, unpredictable weather, and complex architectural environments.
The combination of Hasselblad imaging, extended flight time, and intelligent flight modes created a workflow that would have been impossible with previous-generation equipment—or prohibitively expensive with larger cinema drones.
Ready for your own Mavic 4 Pro? Contact our team for expert consultation.