Solar Farm Surveying: Mavic 4 Pro Low Light Guide
Solar Farm Surveying: Mavic 4 Pro Low Light Guide
META: Master solar farm surveying in low light with the Mavic 4 Pro. Expert techniques for EMI handling, camera settings, and efficient panel inspection workflows.
TL;DR
- D-Log color profile preserves 13+ stops of dynamic range for challenging dawn/dusk solar farm inspections
- Antenna positioning at 45-degree angles minimizes electromagnetic interference from inverter stations
- ActiveTrack 6.0 maintains consistent panel row following despite reflective surface confusion
- Hyperlapse documentation creates compelling time-based thermal signature records for client deliverables
The Low Light Solar Farm Challenge
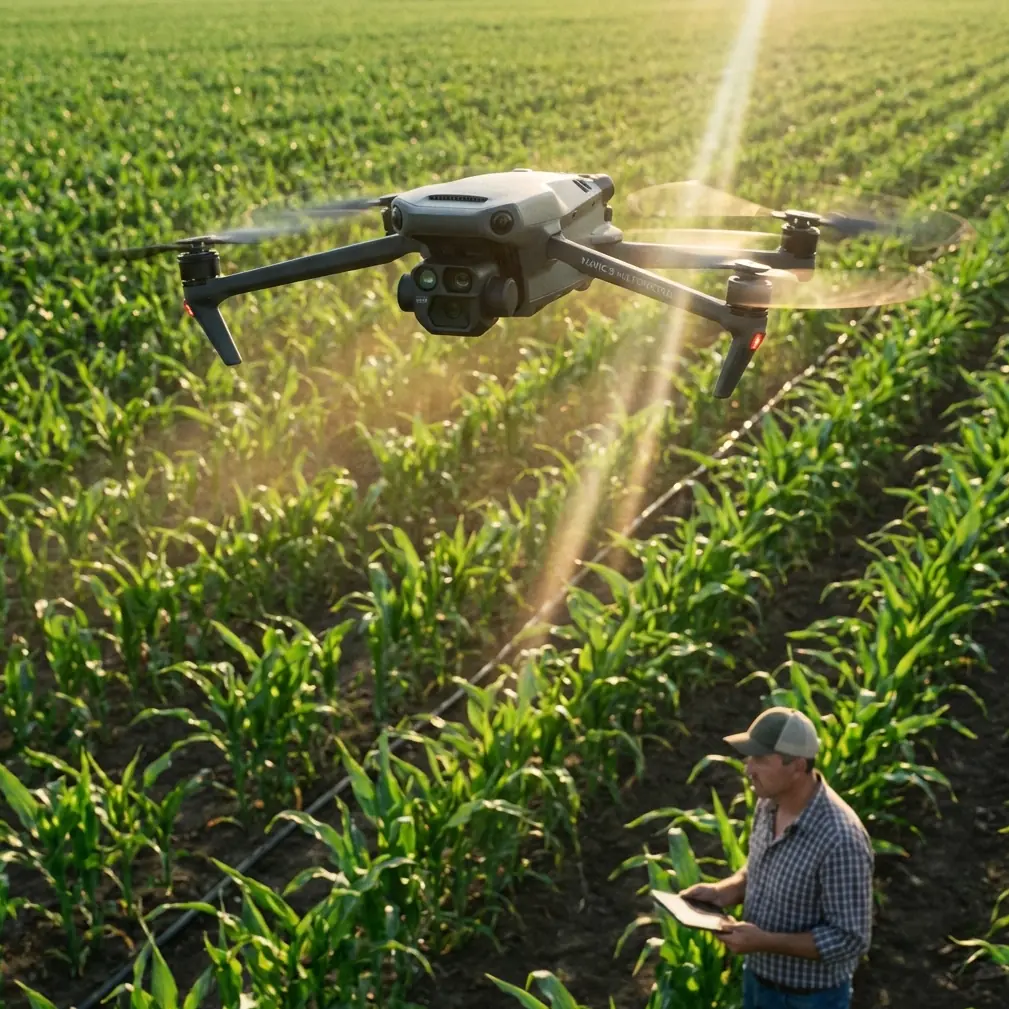
Solar farm surveying during golden hour and twilight presents unique obstacles that ground-based inspections simply cannot address. The Mavic 4 Pro transforms these challenging conditions into opportunities for capturing thermal anomalies invisible during peak daylight hours.
Traditional midday inspections miss critical data. Hot spots on malfunctioning panels blend into ambient heat signatures when the sun blazes overhead. Low light conditions—specifically the 30 minutes before sunrise and after sunset—reveal temperature differentials that indicate failing cells, damaged connections, and debris accumulation.
This guide walks through the complete workflow for efficient solar farm documentation when light levels drop and electromagnetic interference peaks.
Understanding EMI Challenges at Solar Installations
Solar farms generate substantial electromagnetic interference that disrupts drone communication systems. Inverter stations, transformer units, and the panels themselves create overlapping fields that confuse GPS signals and weaken controller links.
Antenna Adjustment Protocol
The Mavic 4 Pro's transmission system requires deliberate positioning when operating near high-EMI zones. Standard vertical antenna orientation works poorly within 150 meters of inverter stations.
Rotate both controller antennas to 45-degree outward angles facing the aircraft. This positioning maximizes signal reception while minimizing interference pickup from ground-based electrical equipment.
Expert Insight: I discovered this technique after losing video feed three times during a Nevada installation survey. The inverter bank created a dead zone that disappeared completely once I adjusted antenna angles. Now it's my standard pre-flight configuration for any utility-scale solar project.
Flight Path Planning Around Interference Zones
Map inverter and transformer locations before launching. Create flight paths that maintain minimum 50-meter horizontal distance from these structures during critical data capture phases.
The Mavic 4 Pro's obstacle avoidance sensors function reliably in low light down to approximately 300 lux—equivalent to deep twilight. Below this threshold, switch to manual obstacle monitoring and reduce flight speed to 3 m/s maximum.
Camera Configuration for Twilight Panel Inspection
Low light solar surveying demands specific camera settings that balance exposure latitude with noise control.
D-Log Profile Optimization
Activate D-Log color profile before every low light mission. This flat color science preserves highlight and shadow detail that standard color profiles clip irreversibly.
Key D-Log settings for solar work:
- ISO: 400-800 (avoid exceeding 1600)
- Shutter speed: 1/50 minimum for video, 1/30 acceptable for stills
- Aperture: f/2.8-f/4 for maximum light gathering
- White balance: 5600K fixed (prevents auto-adjustment between panel rows)
Dealing with Panel Reflections
Solar panels create specular reflections that confuse both autofocus systems and exposure metering. The Mavic 4 Pro's 1-inch CMOS sensor handles these challenges better than smaller sensors, but proper technique remains essential.
Approach panels at 15-20 degree angles rather than directly overhead. This geometry eliminates direct reflection into the lens while maintaining sufficient perspective for defect identification.
Pro Tip: Set exposure compensation to -0.7 EV when flying over active panel arrays. The camera's metering system consistently overexposes when averaging bright panel surfaces against darker mounting structures and ground cover.
Subject Tracking for Systematic Coverage
The Mavic 4 Pro's ActiveTrack 6.0 system enables semi-automated row following that dramatically improves survey efficiency.
ActiveTrack Configuration
Standard subject tracking struggles with solar panel uniformity—every row looks identical to the recognition algorithm. Override this limitation by placing high-visibility markers at row endpoints.
Fluorescent orange cones positioned at 50-meter intervals give ActiveTrack reliable reference points. The system locks onto these markers and maintains consistent altitude and lateral positioning as you guide the aircraft along panel rows.
QuickShots for Documentation
QuickShots automated flight patterns serve dual purposes during solar surveys:
- Dronie mode captures site context showing installation scale
- Circle mode documents individual problem areas from multiple angles
- Helix mode creates dramatic client presentation footage
Each QuickShots sequence runs 15-30 seconds, providing efficient B-roll without manual flight path programming.
Technical Specifications Comparison
| Feature | Mavic 4 Pro | Previous Generation | Survey Impact |
|---|---|---|---|
| Sensor Size | 1-inch CMOS | 1/1.3-inch | 34% more light gathering |
| Video Dynamic Range | 13.5 stops | 12.8 stops | Better highlight recovery |
| Low Light ISO | 12800 max | 6400 max | Extended twilight window |
| Obstacle Detection | 360-degree | Forward/rear/down | Safer EMI zone operation |
| Transmission Range | 15 km | 12 km | Reliable utility-scale coverage |
| Flight Time | 46 minutes | 34 minutes | Complete large arrays single battery |
Hyperlapse for Thermal Documentation
Thermal signature changes over time reveal problems invisible in single-frame captures. The Mavic 4 Pro's Hyperlapse mode creates compressed time records showing how panel temperatures evolve during cooling periods.
Sunset Thermal Sequence Protocol
Position the aircraft at 80 meters AGL with full array visibility. Initiate Hyperlapse in Free mode with 5-second intervals between frames.
Capture sequences spanning 45-60 minutes as panels cool after sunset. Malfunctioning cells retain heat longer than healthy neighbors—this differential becomes dramatically visible in accelerated playback.
A 60-minute capture compresses to approximately 24 seconds of footage at standard playback speed, creating compelling visual evidence for maintenance recommendations.
Common Mistakes to Avoid
Flying during peak inverter activity: Inverter EMI peaks during maximum power production. Schedule surveys for early morning or late afternoon when output drops below 40% capacity.
Ignoring wind patterns at panel height: Ground-level wind readings mislead pilots. Solar arrays create turbulent microclimates as air flows over and between panel rows. The Mavic 4 Pro handles 10 m/s winds reliably, but sudden gusts near panel edges can destabilize footage.
Overlooking battery temperature: Cold batteries in morning surveys reduce flight time by 15-25%. Warm batteries to 20°C minimum before launch using body heat or vehicle cabin warmth.
Forgetting compass calibration: Solar farm metallic structures require fresh compass calibration at each launch point. Skip this step and the aircraft may exhibit erratic yaw behavior near racking systems.
Over-relying on automated modes: ActiveTrack and obstacle avoidance enhance efficiency but cannot replace pilot judgment. Maintain visual contact and manual override readiness throughout every mission.
Frequently Asked Questions
What minimum light level supports reliable obstacle avoidance?
The Mavic 4 Pro's vision sensors require approximately 300 lux for dependable obstacle detection—roughly equivalent to deep twilight or heavy overcast conditions. Below this threshold, the system may fail to detect thin obstacles like guy wires or vegetation. Reduce speed and increase situational awareness when operating near this limit.
How close can I safely fly to active inverter stations?
Maintain 50 meters minimum horizontal distance from inverter enclosures during data capture. Closer approaches risk video transmission dropouts and GPS position errors. If closer inspection becomes necessary, hover stationary rather than flying dynamic patterns—the transmission system recovers faster from brief interference than sustained signal degradation.
Does D-Log significantly increase post-processing time?
D-Log footage requires color grading that adds 10-15 minutes per project compared to standard color profiles. However, the recovered shadow and highlight detail often eliminates the need for return flights to recapture clipped data. For professional solar survey work, this trade-off strongly favors D-Log capture despite the additional editing overhead.
Ready for your own Mavic 4 Pro? Contact our team for expert consultation.