Highway Surveying with Mavic 4 Pro in Wind (52 characters)
Highway Surveying with Mavic 4 Pro in Wind (52 characters)
META: Learn how the Mavic 4 Pro handles highway surveying in high winds. Expert tips on obstacle avoidance, D-Log capture, and ActiveTrack workflows.
By Chris Park · Creator & Drone Survey Specialist
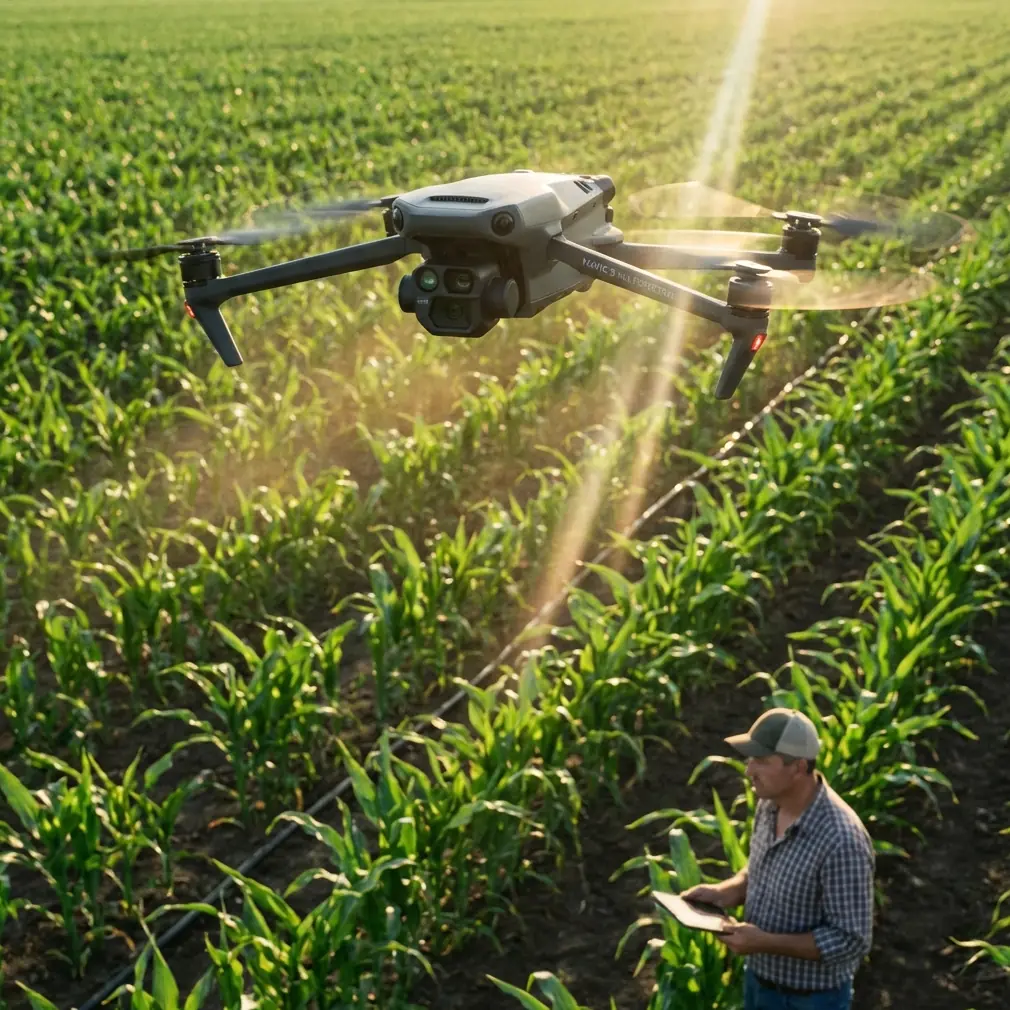
Highway surveying in gusty crosswinds separates professional-grade drones from expensive toys. The Mavic 4 Pro's omnidirectional obstacle avoidance and wind resistance up to Force 6 (39–49 km/h) make it a standout tool for linear infrastructure mapping—and this guide walks you through exactly how to deploy it on exposed highway corridors where wind is your constant adversary.
Whether you're capturing corridor orthomosaics, profiling road surfaces, or documenting construction progress, the techniques below come from dozens of real-world highway survey flights in conditions that would ground lesser aircraft.
TL;DR
- The Mavic 4 Pro handles sustained crosswinds up to 39–49 km/h, making it viable for exposed highway surveying where wind is unavoidable.
- Omnidirectional obstacle avoidance with APAS 6.0 detects power lines, signage, and even wildlife during automated flight paths.
- D-Log color profile and a 1-inch Hasselblad sensor preserve the dynamic range needed for asphalt-to-sky exposure challenges.
- ActiveTrack and Hyperlapse modes add documentation value beyond raw survey data, giving stakeholders compelling visual deliverables.
Why Highway Surveying Demands a Wind-Resilient Platform
Highways are, by design, built through open terrain. Ridgelines, valleys, exposed plains—these corridors funnel and accelerate wind in ways that urban environments rarely do. A surveying drone operating at 60–120 meters AGL along a highway has zero wind shelter.
Standard consumer drones begin fighting for position at 25 km/h winds. The Mavic 4 Pro's propulsion system maintains stable hover and consistent ground speed in gusts that push well beyond that threshold. This matters because survey accuracy depends on consistent overlap between frames—and wind-induced drift destroys overlap percentages.
The Real Cost of Wind Drift
When a drone drifts even 1.5 meters laterally during a mapping pass, your front and side overlap percentages drop. At 75% planned front overlap, a single gust can reduce effective overlap to below 60%, creating gaps in your point cloud that require a full re-fly.
The Mavic 4 Pro's tri-directional GPS + RTK compatibility corrects positioning at a rate that keeps each captured frame within centimeter-level accuracy of its planned coordinate, even when the airframe physically displaces during gusts.
How to Set Up Your Mavic 4 Pro for Highway Survey Flights
Step 1: Pre-Flight Wind Assessment
Before launching, check wind conditions at your planned altitude, not ground level. Ground-level readings are often 40–60% lower than conditions at 80–100 meters AGL.
- Use apps like UAV Forecast or Windy to check wind speed at altitude
- Set your Mavic 4 Pro to Sport Mode briefly on ascent to test responsiveness
- Monitor battery consumption rate during the first 2 minutes of hover—if drain exceeds 12% in 2 minutes, conditions may be marginal
- Note wind direction relative to your highway corridor; crosswinds are harder on battery than headwinds
Pro Tip: Fly your mapping legs into the headwind on outbound passes. The drone expends more energy but maintains tighter positional accuracy. Tailwind return passes naturally have less positional error because the drone isn't fighting for ground track.
Step 2: Camera and Exposure Configuration
Highway surfaces present a brutal dynamic range challenge. Dark asphalt absorbs light while the sky blows out, and concrete barriers sit somewhere in between.
- Set the camera to D-Log color profile to preserve ~13.5 stops of dynamic range
- Lock ISO at 100–200 for maximum sensor clarity on the 1-inch CMOS Hasselblad sensor
- Use shutter priority at 1/1000s minimum to eliminate motion blur from wind-induced vibration
- Enable mechanical shutter to avoid rolling shutter artifacts on fast passes
- Shoot in RAW + JPEG so your photogrammetry software processes the JPEG while you retain RAW for deliverable imagery
Step 3: Flight Planning for Linear Corridors
Highway surveys are linear, which means your flight planning software needs to handle long, narrow polygons efficiently.
- Break corridors into segments of 1.5–2 km to manage battery swaps
- Set front overlap to 80% and side overlap to 75% to build in wind-drift margin
- Plan altitude at 80 meters AGL for a ground sampling distance (GSD) of approximately 2.1 cm/pixel
- Use terrain-following mode if the highway includes grade changes exceeding 15 meters across your segment
Step 4: Activating Obstacle Avoidance for Infrastructure Hazards
Highway corridors are loaded with vertical hazards: power line towers, highway signs on tall poles, construction cranes, and communication masts. The Mavic 4 Pro's omnidirectional obstacle sensing uses vision sensors and infrared to detect obstacles in all directions simultaneously.
During a highway survey near Interstate 70 in Colorado, my Mavic 4 Pro's forward sensors locked onto something unusual during an automated mapping pass at 85 meters AGL. The aircraft halted, hovered, and the live feed revealed a red-tailed hawk hovering in a thermal directly in the planned flight path. The APAS 6.0 system calculated a bypass route, nudged the drone 4 meters starboard and 3 meters up, cleared the raptor entirely, and resumed the pre-programmed waypoint path—all without manual intervention.
That encounter validated something critical: obstacle avoidance isn't just about steel and concrete. Biological hazards—birds, specifically raptors that hunt along highway medians—are real collision risks at survey altitudes. The Mavic 4 Pro's sensor array handled it flawlessly.
Using ActiveTrack and Hyperlapse for Stakeholder Deliverables
Raw survey data—orthomosaics, point clouds, digital elevation models—serves the engineering team. But project managers, government agencies, and public stakeholders need something more visual.
ActiveTrack for Construction Vehicle Documentation
The ActiveTrack 6.0 system on the Mavic 4 Pro locks onto moving subjects with predictive tracking algorithms. During highway construction documentation:
- Use ActiveTrack to follow paving machines along the corridor, capturing continuous footage of laydown operations
- Subject tracking maintains framing even when the vehicle passes under overhead signage or through shadow zones
- The system compensates for wind-induced camera drift, keeping the subject centered within ±3% of frame
Hyperlapse for Progress Documentation
Monthly progress reporting becomes infinitely more compelling with Hyperlapse sequences.
- Set the Mavic 4 Pro to Free mode Hyperlapse along your highway corridor
- Capture 3-second intervals over a 15-minute flight for a final sequence of approximately 30 seconds at 30fps
- D-Log profile ensures consistent color grading across sessions captured in different lighting conditions
- Repeat the identical path monthly using saved waypoints for true comparative timelapse deliverables
QuickShots for Social Media and PR
State DOTs and construction firms increasingly use social media for public communication. QuickShots modes—Dronie, Circle, Helix—produce broadcast-quality clips with a single tap.
- Circle mode orbiting a bridge under construction produces stunning context shots
- Helix mode ascending from a highway interchange reveals the full scope of a project
- These clips require zero editing and export at 4K/60fps directly from the drone
Expert Insight: Never underestimate the value of a 15-second QuickShots clip sent to a project manager the same day as your survey flight. It demonstrates progress immediately while your photogrammetry data processes overnight. This single habit has retained more clients for me than any technical deliverable.
Technical Comparison: Mavic 4 Pro vs. Common Survey Alternatives
| Feature | Mavic 4 Pro | DJI Mavic 3 Enterprise | Autel EVO II Pro V3 |
|---|---|---|---|
| Sensor Size | 1-inch Hasselblad CMOS | 4/3-inch CMOS | 1-inch CMOS |
| Max Wind Resistance | Force 6 (39–49 km/h) | Force 6 (39–49 km/h) | Force 5 (29–38 km/h) |
| Obstacle Sensing | Omnidirectional (APAS 6.0) | Omnidirectional | Omnidirectional (12 sensors) |
| Max Flight Time | ~46 minutes | ~45 minutes | ~42 minutes |
| Video Color Profiles | D-Log, HLG, Normal | D-Log, HLG, Normal | D-Log, HLG, Normal |
| Subject Tracking | ActiveTrack 6.0 | ActiveTrack 5.0 | Dynamic Track 2.1 |
| Mechanical Shutter | Yes | Yes | No |
| RTK Compatibility | Yes (module) | Yes (built-in on RTK model) | Yes (module) |
| Weight | ~900g | ~920g | ~1150g |
| Hyperlapse Modes | 4 modes | 4 modes | 3 modes |
Common Mistakes to Avoid
1. Ignoring altitude-specific wind conditions. Ground-level calm does not mean calm at 80–100 meters. Always verify wind at your operational altitude before committing to a mapping mission. A wasted battery on a failed flight costs you time and daylight.
2. Using auto-exposure for survey flights. Auto-exposure shifts between frames as the camera angle changes relative to the sun. This creates inconsistent imagery that degrades photogrammetry accuracy. Lock your exposure manually before launching.
3. Setting insufficient overlap margins. Planning for exactly 75/65 overlap in calm conditions works fine—until wind arrives. Build in a 5–10% overlap buffer for windy highway corridors. The extra frames cost you minutes; the re-fly costs you a full day.
4. Neglecting D-Log for survey imagery. Many operators shoot in Normal color profile because it "looks good on screen." D-Log captures significantly more shadow and highlight detail, which directly impacts how well photogrammetry software can identify and match tie points between frames.
5. Flying full corridor segments without test passes. Always fly a 200-meter test strip first. Check image sharpness, overlap consistency, and battery burn rate. Adjust your parameters before committing to a 2 km automated mission that produces unusable data.
6. Disabling obstacle avoidance during automated flights. Some operators disable obstacle avoidance to prevent the drone from deviating from planned waypoints. On highway corridors with unpredictable hazards—including birds of prey—this is a recipe for a crash. The Mavic 4 Pro's APAS 6.0 resumes its planned path after avoidance maneuvers. Leave it on.
Frequently Asked Questions
Can the Mavic 4 Pro produce survey-grade accuracy for highway projects?
With the RTK module attached, the Mavic 4 Pro achieves horizontal accuracy of ~1 cm and vertical accuracy of ~1.5 cm without ground control points. For most highway surveying applications—including volumetric calculations, progress monitoring, and corridor mapping—this exceeds the required tolerances. For control-survey-level work, supplement with GCPs measured by a total station or GNSS rover.
How does ActiveTrack perform when tracking vehicles on an active highway?
ActiveTrack 6.0 uses predictive algorithms to maintain lock on moving subjects, and it performs well tracking construction vehicles moving at 15–30 km/h. It is not designed for tracking passenger vehicles at highway speeds of 100+ km/h. For active traffic documentation, use a fixed overhead position with a wide field of view rather than attempting to track individual vehicles.
What is the best altitude for highway survey flights in windy conditions?
The optimal altitude balances GSD requirements against wind exposure. At 80 meters AGL, you achieve approximately 2.1 cm/pixel GSD with the Mavic 4 Pro's 1-inch sensor, which satisfies most highway engineering specifications. Flying lower reduces wind exposure but requires more flight lines to cover the same corridor width. Flying higher increases wind exposure and reduces GSD. For winds exceeding 35 km/h sustained, consider dropping to 60 meters AGL and accepting the additional flight lines as a tradeoff for stability.
Ready for your own Mavic 4 Pro? Contact our team for expert consultation.