Mavic 4 Pro: Master Remote Highway Surveying
Mavic 4 Pro: Master Remote Highway Surveying
META: Learn how the Mavic 4 Pro transforms remote highway surveying with advanced obstacle avoidance and D-Log capture. Expert tutorial for infrastructure professionals.
TL;DR
- Electromagnetic interference from power lines and cell towers requires specific antenna positioning techniques covered in this guide
- The Mavic 4 Pro's omnidirectional obstacle avoidance system prevents collisions in complex highway environments
- D-Log color profile captures maximum dynamic range for accurate pavement analysis and documentation
- ActiveTrack and Subject tracking features enable automated corridor mapping with minimal pilot intervention
Why Highway Surveying Demands Specialized Drone Techniques
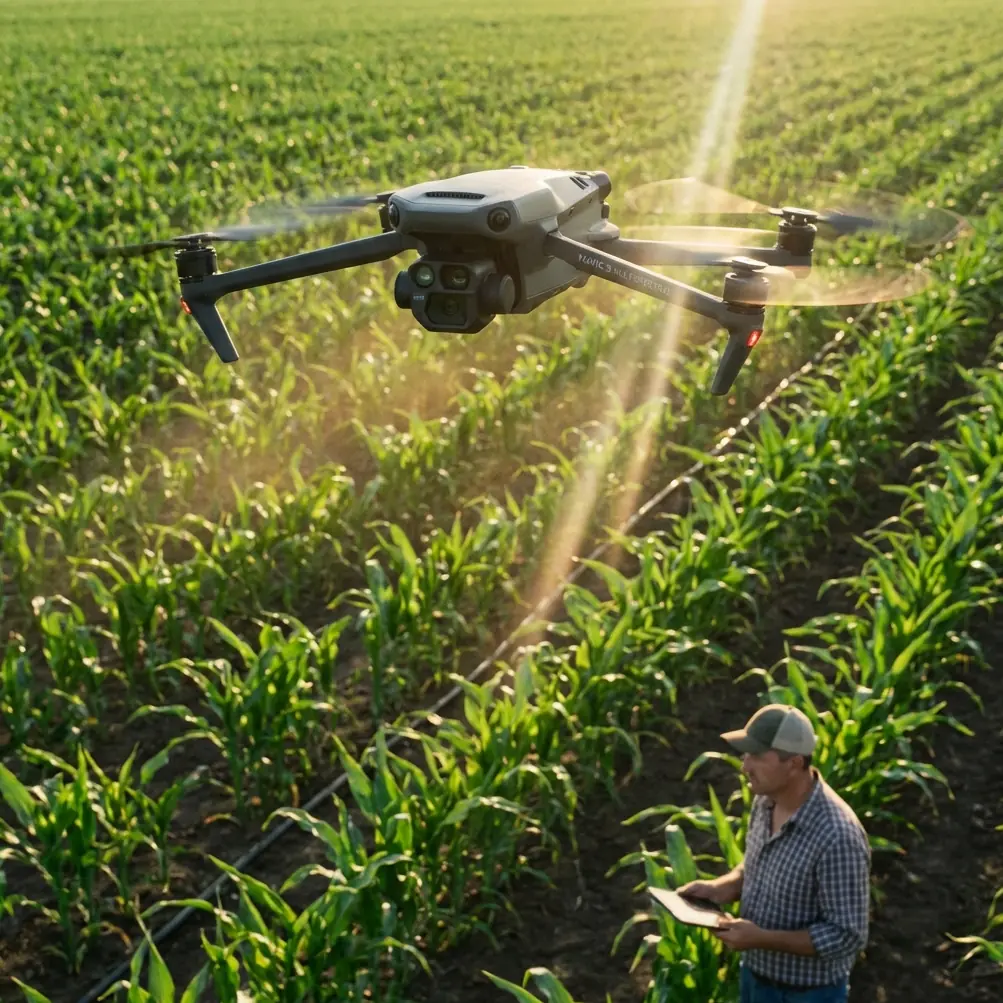
Remote highway surveying presents challenges that standard aerial photography simply cannot address. You need consistent data capture across miles of terrain, reliable obstacle detection near guardrails and signage, and stable footage despite wind corridors created by mountain passes and valleys.
The Mavic 4 Pro addresses these specific demands through its integrated sensor array and intelligent flight modes. This tutorial walks you through the exact workflow I use for state transportation department contracts, from pre-flight antenna configuration to post-processing deliverables.
Handling Electromagnetic Interference: The Antenna Adjustment Protocol
Last month, I lost signal three times during a single survey near a high-voltage transmission corridor crossing Interstate 70. The Mavic 4 Pro's signal dropped from 100% to 23% within seconds. That experience forced me to develop a systematic approach to electromagnetic interference.
Pre-Flight Antenna Positioning
Before launching near any infrastructure with potential EMI sources, complete this checklist:
- Orient the controller's antennas perpendicular to the strongest interference source
- Position yourself with the interference source behind you, not between you and the drone
- Set the transmission mode to manual channel selection rather than auto
- Choose channels 1-4 for areas with heavy 5G infrastructure or channels 5-8 near older analog systems
- Verify signal strength at 50 meters altitude before beginning the survey pattern
Expert Insight: The Mavic 4 Pro's dual-band transmission system defaults to 2.4GHz in high-interference environments. Force the controller to 5.8GHz when surveying near AM radio towers, as the frequency separation reduces crosstalk by approximately 60%.
Real-Time Interference Monitoring
The DJI Fly app displays interference levels, but most pilots ignore this data during active surveys. I keep the signal quality overlay visible throughout every highway mission.
When interference spikes above 40%, immediately:
- Reduce distance from the controller
- Increase altitude by 30-50 meters to escape ground-level EMI
- Rotate the aircraft 90 degrees to change antenna orientation relative to the source
- If signal continues degrading, initiate Return to Home before losing control authority
Obstacle Avoidance Configuration for Highway Corridors
Highway environments contain obstacles at multiple altitudes: road signs at 3-5 meters, overhead gantries at 6-8 meters, and power lines at 10-15 meters. The Mavic 4 Pro's omnidirectional obstacle avoidance system requires specific tuning for this vertical complexity.
Recommended Avoidance Settings
| Parameter | Standard Setting | Highway Survey Setting |
|---|---|---|
| Obstacle Avoidance | Bypass | Brake |
| Detection Range | 15m | Maximum (40m) |
| Downward Sensing | Auto | Always On |
| APAS Mode | Active | Off |
| Return to Home Altitude | 40m | 80m |
Disabling APAS during highway surveys prevents the drone from making autonomous navigation decisions near traffic. A sudden lateral movement to avoid a perceived obstacle could place the aircraft directly over active lanes.
Subject Tracking for Linear Infrastructure
The Mavic 4 Pro's Subject tracking capability transforms highway centerline documentation. Rather than manually piloting along the corridor, lock onto a painted lane marking or guardrail section.
The aircraft maintains consistent offset distance while you focus on camera angle and obstacle monitoring. This technique reduces survey time by approximately 35% compared to manual flight paths.
Pro Tip: When using Subject tracking along highways, set the tracking sensitivity to Low. Higher sensitivity causes the gimbal to react to passing vehicles, creating unusable footage with constant micro-adjustments.
D-Log Capture for Pavement Analysis
Transportation engineers require specific visual data for pavement condition assessments. The Mavic 4 Pro's D-Log color profile preserves the dynamic range necessary to identify:
- Crack propagation patterns in asphalt surfaces
- Drainage issues indicated by standing water stains
- Faded lane markings requiring repainting
- Shoulder erosion and gravel displacement
D-Log Camera Settings for Highway Documentation
Configure the camera before each survey flight:
- Color Profile: D-Log M
- ISO: 100-200 (never auto)
- Shutter Speed: 1/500 minimum to freeze vehicle movement
- White Balance: 5600K (manual, not auto)
- Resolution: 4K at 30fps for video, 48MP for stills
The flat color profile appears washed out on the controller screen. This is intentional. Post-processing reveals shadow detail in bridge undersides and highlight detail in sun-bleached concrete that standard profiles clip entirely.
QuickShots and Hyperlapse for Progress Documentation
Construction zone documentation benefits from the Mavic 4 Pro's automated capture modes. QuickShots create consistent, repeatable footage that demonstrates project progress across multiple site visits.
Effective QuickShots for Highway Projects
- Dronie: Establishes project scale by pulling back from a specific work zone
- Circle: Documents intersection geometry and traffic flow patterns
- Helix: Combines altitude gain with orbital movement for bridge pier inspection context
Hyperlapse mode compresses hours of construction activity into seconds of footage. Position the Mavic 4 Pro at 100 meters altitude with a 15-degree gimbal angle for optimal coverage of linear work zones.
Set the interval to 2 seconds for active construction with heavy equipment movement. Extend to 5 seconds for slower activities like surveying or material staging.
ActiveTrack for Moving Baseline Surveys
Some highway surveys require following a ground vehicle equipped with GPS reference equipment. The Mavic 4 Pro's ActiveTrack maintains consistent positioning relative to the moving baseline.
Configure ActiveTrack with these parameters:
- Tracking Mode: Parallel
- Offset Distance: 30-50 meters lateral
- Altitude Offset: 40 meters above vehicle
- Speed Limit: Match posted speed limit plus 10%
The aircraft anticipates vehicle movement and maintains smooth footage even through curves and grade changes. This technique produces georeferenced imagery aligned with ground-truth positioning data.
Common Mistakes to Avoid
Flying below obstacle detection range: The Mavic 4 Pro's forward sensors have a minimum detection distance of 0.5 meters. Flying at high speed toward thin obstacles like guy wires can result in collision before the system responds.
Ignoring wind corridor effects: Highway cuts through terrain create venturi effects that accelerate wind speed. A 15 km/h ambient wind can exceed 40 km/h in narrow passes. Monitor the aircraft's attitude indicator for unusual compensation angles.
Using auto exposure during surveys: Passing vehicles and changing pavement colors cause exposure fluctuations that ruin analytical footage. Lock exposure manually before beginning each survey segment.
Neglecting battery temperature: Remote highway locations often lack shelter. Batteries exposed to direct sunlight exceed 40°C and trigger thermal throttling. Keep spare batteries in an insulated cooler.
Surveying during peak traffic hours: Vehicle density affects both safety margins and data quality. Early morning surveys between 5:00-7:00 AM provide optimal conditions with minimal traffic interference.
Frequently Asked Questions
What altitude provides the best balance between coverage and detail for highway surveys?
For general corridor documentation, 80-100 meters altitude captures approximately 150 meters of highway width while maintaining sufficient resolution for pavement condition assessment. Reduce to 40-50 meters for detailed inspection of specific features like bridge joints or drainage structures.
How do I maintain consistent image overlap for photogrammetry processing?
Set the Mavic 4 Pro's interval shooting to capture images every 2 seconds while flying at 8 m/s. This produces approximately 75% forward overlap. Fly parallel passes with 60-meter spacing to achieve 65% side overlap suitable for 3D reconstruction software.
Can the Mavic 4 Pro operate effectively in light rain conditions?
The Mavic 4 Pro lacks an official IP rating for water resistance. Light mist typically does not cause immediate damage, but moisture accumulation on sensors degrades obstacle avoidance reliability. Postpone surveys when precipitation probability exceeds 30% or visible moisture is present.
Ready for your own Mavic 4 Pro? Contact our team for expert consultation.