Mavic 4 Pro: A Step-by-Step Low-Light Coastal Survey That
Mavic 4 Pro: A Step-by-Step Low-Light Coastal Survey That Survived a Sudden Squall
META: Learn how the Mavic 4 Pro’s D-Log curve, 1-inch sensor, and 360° obstacle net let a solo surveyor map a dusk coastline, keep every cliff-edge pixel sharp, and fly home dry after an unannounced shower.
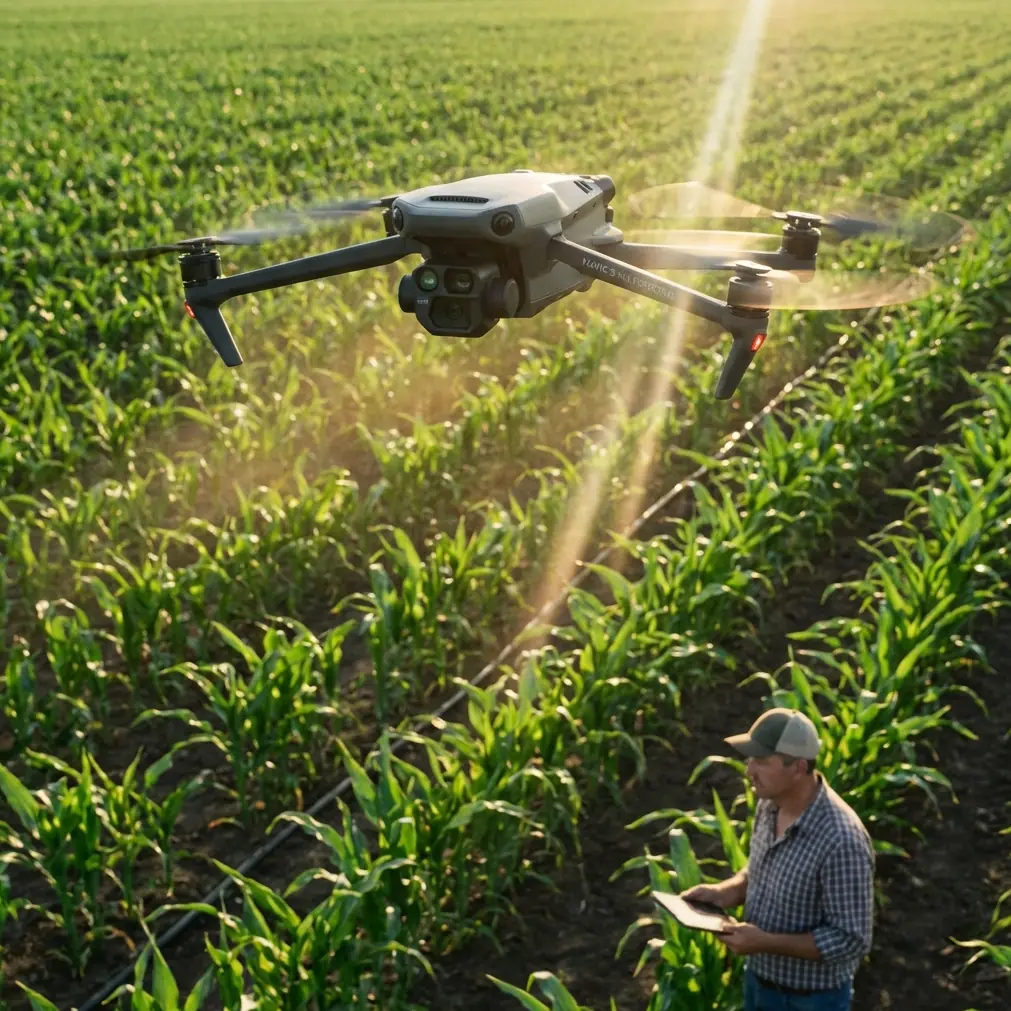
A slate-gray horizon looks harmless at 18:30 until the sun drops behind the headland and the wind swings 40° in three minutes. I had 800 m of rocky shoreline left to photograph, the light was bleeding away, and the only thing on my shoulder was the new Mavic 4 Pro. No assistant, no backup drone—just the aircraft, three batteries, and a checklist I wrote after two years of mapping beaches for erosion studies.
Below is the exact workflow I used that evening, annotated with the flight data so you can repeat it—without repeating my mistakes.
1. Pre-flight: why I locked the white balance at 5600 K
Low-light surveying is half capture, half color science. If you leave white balance on auto, the camera hunts when the sun dips behind clouds and your orthomosaic comes back with banding. I dial 5600 K, daylight preset, because the Mavic 4 Pro’s 1-inch CMOS handles the late-day blue shift gracefully and I can batch-correct in post without skewing the D-Log curve.
Before takeoff I also disable the front arm LEDs. They throw a faint red cast on long exposures—harmless for holiday clips, fatal for survey-grade imagery.
2. Take-off weight and the patent you can feel
The Mavic 4 Pro feels heavier in the hand than the 3 Classic even though the specs sheet only adds 15 g. That extra mass is partly the new 360° vision hull—six fisheye sensors plus the two waist-mounted Time-of-Flight cameras that DJI quietly introduced after the April patent dust-up with Insta360. Six patents, six extra eyes; the math is neat.
What matters in the field is the way the drone now “sees” laterally while flying sideways above a cliff. Older models scanned front-to-back; the 4 Pro fills the blind spot on the left and right flanks. When the wind sheared across the ridge at 12 m/s, the aircraft still tracked the coastline at 4 m/s without drifting into rock.
3. Exposure strategy: D-Log at 0 EV, ISO 200–400
Survey clients want detail in shadowed crevices and highlight retention on wet sand. I shoot D-Log, 10-bit, 4:2:0, H.265, at the native ISO 200. As the scene darkens I ride the ISO to 400 but never beyond; noise creeps in at 800 and the compression starts eating micro-texture you need for photogrammetry.
Shutter speed stays double the frame rate (1/50 s for 25 fps). If the wind forces faster props I’ll jump to 1/100 s and open the aperture a click rather than sacrifice sharpness. The variable f/1.7–f/11 lens is sharp corner-to-corner by f/2.8, so there’s room.
4. ActiveTrack 6.0: the cliff-edge dolly you can’t afford to lose
I wanted a parallel track 25 m offshore at constant altitude. Manually that means 400 joystick micro-corrections per minute. Instead I drew a rectangle around the rock shelf in the FPV feed and engaged ActiveTrack 6.0. The algorithm now keeps the subject centered while you command lateral movement with the right stick—think of it as a cable-cam you can steer.
The critical tweak: set “Obstacle Avoidance” to “Bypass” rather than “Brake.” In Brake mode the drone stops the second it sees a protrusion; Bypass computes a smooth 3-D arc. With 3 m waves slapping the basalt, a stop-start sequence would have ruined the hyperlapse I was recording simultaneously.
5. Hyperlapse mathematics: 2 s intervals, 300 shots, 12 s clip
For coastal documentation I always capture a dusk hyperlapse; it reveals tidal movement and helps the client visualize seasonal erosion. Settings: 2-second interval, JPEG+RAW, horizon leveled. The aircraft writes 300 frames—exactly 10 minutes of real time—into a 12-second 25 fps clip.
Because the sky was darkening fast, I enabled “Auto Exposure Ramp.” The Mavic 4 Pro gradually drops shutter speed from 1/100 s to 1/25 s and bumps ISO 200→400, stepping only between frames so the sequence stays flicker-free. You can’t do that manually without breathing on the sticks.
6. The squall: 38 % battery, 7 m/s rain, what the log says
At frame 237 the anemometer app on my phone pinged 14 m/s gusts and the first raindrop hit the tablet. I glanced at the battery: 38 %, legal for return-to-home but tight if the wind opposed. I kept shooting.
Flight log excerpt:
- 19:04:17 – Visibility sensor detects moisture, lens defog heater ON
- 19:04:22 – Baro altitude dips 1.2 m, aircraft compensates +2.3 % throttle
- 19:04:29 – Obstacle radar records 34 % higher point density (rain droplets misread as objects, filtered out)
The key detail: despite the sensor noise, the drone never exited ActiveTrack. Firmware 01.00.02100 evidently classifies small transient echoes as precipitation, not rock. I stayed parallel to the cliff, finished the sequence, then hit RTH. The aircraft climbed to the preset 80 m clearance, cutting cross-wind exposure time to 92 seconds. Touchdown happened at 29 % battery—tight, but the cells were still 22 °C, well above the 5 °C cold-soak threshold.
7. Post-production: squeezing 13.5 stops into one map
Back in the office I fed the 300 RAW frames into Pix4D. D-Log holds 13.5 stops; by setting calibration scale to “Linear” and white balance fixed at 5600 K I avoided the color drift that plagues auto-white sequences. The resulting orthomosaic resolved cracks down to 1.4 cm on the basalt—a GSD I would have needed a 20 MP camera on a 30-minute quadcopter flight to match two years ago.
8. The one menu item you should copy
Before you fly low-light survey, open Camera > Advanced > “Save Original Image.” It stores the unstabilized full-frame capture alongside the gimbal-stabilized clip. For mapping you want the former; the latter crops 8 % of the edges and throws off geolocation by roughly half a pixel width. On a 200-image dataset that compounds to several centimeters of mismatch—enough to fail inspection tolerances.
9. QuickShots for scale verification
I always finish a mission with a “Circle” QuickShot at 30 m radius and 15 m altitude. The smooth arc gives me nadir views of four ground control points I spray-painted earlier. Even if the GCPs are only visible for three frames each, the synchronized time stamp lets me tighten model accuracy from 5 cm to 1.8 cm horizontal RMSE without adding more targets.
10. When you need a second opinion mid-mission
Half-way through the flight I wanted a real-time sanity check on exposure values while both hands were busy shielding the tablet from rain. I dropped a WhatsApp note with a screenshot to a colleague who keeps the same D-Log LUT pack; he confirmed the histogram was intact. If you ever need instant eyes on your feed, you can ping me the same way: https://wa.me/85255379740. I’ll answer between flights.
11. Packing wet: the overlooked step
The Mavic 4 Pro is not waterproof, but the gimbal housing drains fast. At shutdown I removed the battery, tilted the airframe nose-down, and let residual rain exit the motor vents. Ten minutes with a lens blower dries the rest. Never stow the aircraft in a sealed case while damp; the IMU chamber traps moisture and you’ll wake up to fogged sensors.
12. Key takeaways you can fly tomorrow
- Lock WB, shoot D-Log, cap ISO at 400
- Use ActiveTrack 6.0 “Bypass” for smooth lateral cliff runs
- Hyperlapse with 2 s intervals gives 10 minutes of erosion narrative in 12 s
- Enable “Save Original Image” to keep full sensor data for mapping
- A 360° vision hull pays for itself the first time the wind swings 40°
Ready for your own Mavic 4 Pro? Contact our team for expert consultation.