M4P Scouting Tips for Vineyard Complex Terrain
M4P Scouting Tips for Vineyard Complex Terrain
META: Learn how to scout vineyards in complex terrain with the Mavic 4 Pro. Expert tips on obstacle avoidance, D-Log, and ActiveTrack for aerial vineyard mapping.
TL;DR
- Master antenna orientation to overcome electromagnetic interference from vineyard infrastructure like metal trellising and irrigation controllers
- Use D-Log color profile with specific exposure settings to capture canopy health data across undulating terrain
- Leverage ActiveTrack 6.0 to autonomously follow vine rows while maintaining consistent altitude above uneven hillside grades
- Deploy QuickShots and Hyperlapse modes strategically to create client-ready deliverables without post-production overhead
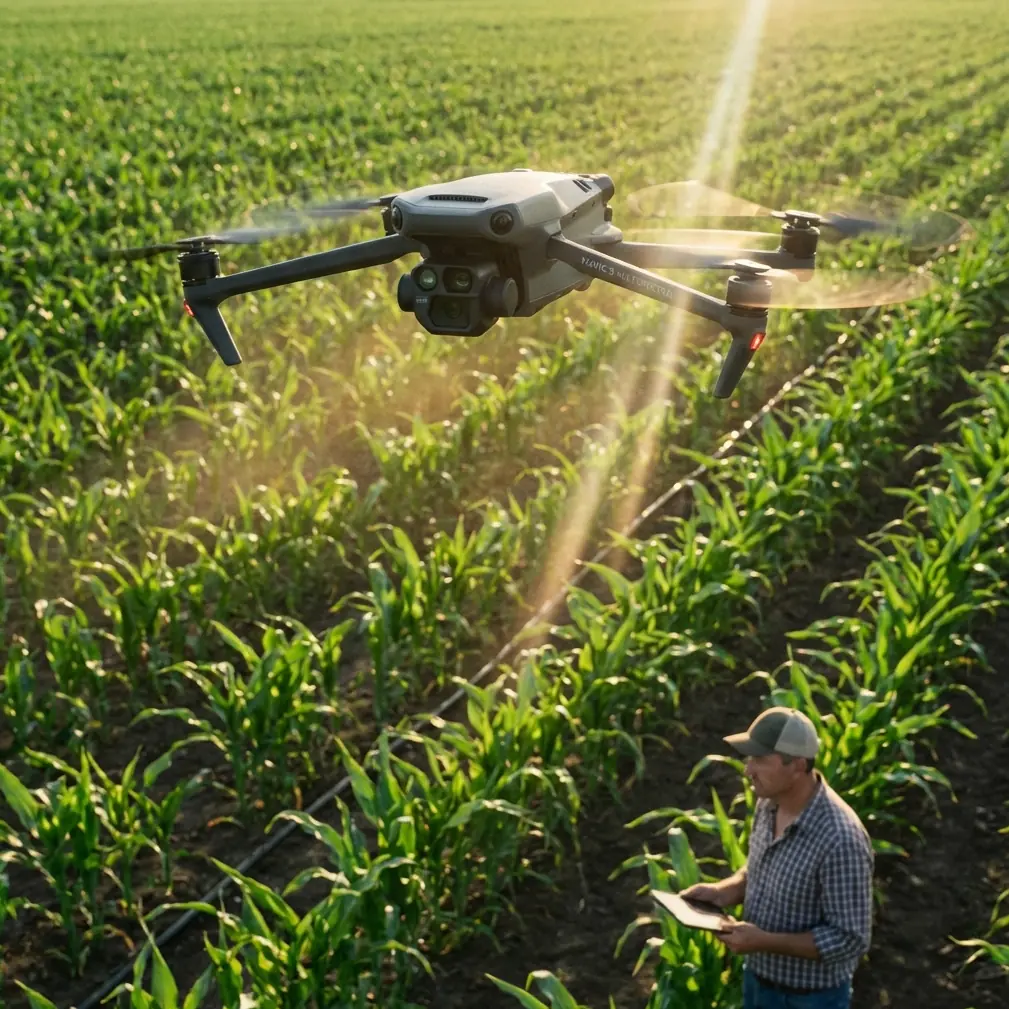
Vineyard scouting from the air is brutally unforgiving. Between steep hillside grades, dense canopy cover, metal trellis wires, and irrigation infrastructure generating electromagnetic noise, most drone operators lose signal, clip obstacles, or return with unusable footage. This tutorial breaks down exactly how to configure and fly the Mavic 4 Pro for vineyard scouting missions across complex terrain—drawn from three seasons of aerial vineyard work across Napa, Sonoma, and Willamette Valley properties.
By the end, you'll know how to handle EMI interference, set up repeatable flight paths, capture agronomically useful imagery, and deliver polished visual assets to vineyard managers.
Understanding Vineyard Terrain Challenges
Vineyards are deceptively hostile environments for drone operations. The challenges stack on top of each other in ways that flat-field agriculture simply doesn't present.
Topographic Complexity
Most premium vineyards occupy hillsides with grade changes of 15–40%. The Mavic 4 Pro's downward vision sensors and barometric altimeter handle this well, but you need to understand the difference between AGL (Above Ground Level) and MSL (Mean Sea Level) altitude holds. Flying a consistent 30-meter AGL pass across a hillside vineyard means the drone is constantly adjusting throttle—something the M4P manages through its upgraded IMU and terrain-following capability.
Electromagnetic Interference from Vineyard Infrastructure
Here's where most operators get caught off guard. Modern vineyards are packed with:
- Automated irrigation controllers broadcasting on 900 MHz and 2.4 GHz
- Weather station telemetry units with always-on transmitters
- Metal trellis wires running hundreds of meters in parallel rows, acting as passive antennas
- Solar-powered frost fans with variable frequency motor drives
- Soil moisture sensor networks using LoRa or Zigbee protocols
This soup of electromagnetic interference can degrade your OcuSync 4.0 link, cause compass errors, and trigger RTH (Return to Home) events mid-mission.
Handling EMI with Antenna Adjustment
The first time I lost telemetry over a Carneros vineyard block, I assumed it was a hardware fault. The Mavic 4 Pro was only 200 meters out at 25 meters AGL—well within normal range. The culprit was a cluster of irrigation valve controllers mounted on metal posts, broadcasting right in the 2.4 GHz band the controller was using.
The Antenna Orientation Fix
The DJI RC 2 controller that ships with the M4P uses adjustable antennas with a specific radiation pattern. Most operators leave them pointed straight up. That's wrong for vineyard work.
- Orient antennas perpendicular to the drone's position, not vertical
- The flat face of each antenna should always aim toward the aircraft
- As the drone moves along vine rows, rotate your body to maintain orientation—don't just swivel the sticks
- Switch to 5.8 GHz transmission in the settings menu when 2.4 GHz interference is heavy; vineyard IoT devices rarely operate on 5.8 GHz
Expert Insight: Before launching, open the DJI Fly 2 app's signal diagnostics screen and do a 60-second baseline scan from your takeoff point. If you see noise spikes in the 2.4 GHz band, switch to 5.8 GHz before you're airborne. Switching bands mid-flight can cause a 2–3 second control lag that's dangerous near obstacles.
Pre-Flight Compass Calibration Protocol
Never calibrate your compass near metal trellis rows. Walk at least 20 meters away from any metal infrastructure, concrete-embedded rebar, or vehicles. I carry a non-metallic launch pad and always calibrate from the same GPS-marked spot on repeat visits, ensuring data consistency across scouting sessions.
Camera Configuration for Canopy Analysis
The Mavic 4 Pro's 1-inch Hasselblad CMOS sensor is exceptional for vineyard work, but only if you configure it correctly.
D-Log for Maximum Data Retention
Shoot in D-Log color profile exclusively. Vineyard canopies present extreme dynamic range challenges: bright sky, shadowed fruit zones under the canopy, and reflective leaf surfaces all in one frame. D-Log captures approximately 14 stops of dynamic range, giving you the latitude to pull out canopy detail in post.
Specific settings for midday vineyard scouting:
- ISO: 100–200 (never auto; you need consistency across rows)
- Shutter speed: 1/500–1/1000 to freeze canopy detail during movement
- Aperture: f/4–f/5.6 for maximum sharpness across the frame
- White balance: 5600K manual (don't let auto WB shift between green canopy and brown soil passes)
- File format: RAW + MOV for stills and video simultaneously
Resolution and Frame Rate Selection
For scouting missions where you need both visual assessment footage and still captures:
- Record video at 4K/30fps for smooth Hyperlapse base footage
- Set timed intervalometer shots at every 2 seconds in 20MP RAW
- This dual-capture approach gives you a complete video record and a georeferenced still image set from a single pass
Flight Planning and Execution
Using ActiveTrack for Row-Following Passes
ActiveTrack 6.0 on the M4P is remarkably effective for following vine rows autonomously. Here's the technique:
- Position the drone at the head of a vine row at 8–10 meters AGL
- Angle the gimbal down to approximately 45 degrees
- Tap the end-of-row trellis post on screen to initiate ActiveTrack
- The drone will follow the row structure while you manage altitude
- At row end, pause tracking, reposition to the next row, and reinitiate
This method produces consistent, repeatable footage that vineyard managers can compare week over week during veraison monitoring.
Obstacle Avoidance Configuration
The Mavic 4 Pro features omnidirectional obstacle sensing with a detection range of up to 40 meters in optimal conditions. For vineyard work, configure it as follows:
- Set obstacle avoidance to Bypass mode, not Stop mode—you don't want the drone halting mid-row
- Adjust minimum obstacle distance to 3 meters for tight row spacing
- Disable upward sensing when flying under bird netting structures to prevent false triggers
- Keep APAS (Advanced Pilot Assistance System) enabled for autonomous row-following passes
Pro Tip: Vineyard bird netting is nearly invisible to both the pilot and the drone's vision sensors at certain angles. Before flying any block, confirm with the vineyard manager which blocks have netting deployed. I mark netted blocks on my flight planning map in red and add a 5-meter altitude buffer above the highest netting pole.
QuickShots and Hyperlapse for Client Deliverables
Vineyard clients want two things: actionable scouting data and beautiful visuals for their marketing. The M4P lets you deliver both in a single session.
QuickShots Settings for Vineyard Aerials
- Dronie: Start tight on a specific vine, pull back to reveal the full block—excellent for documenting problem areas in context
- Helix: Orbit a hilltop vineyard block to showcase terrain and row orientation
- Rocket: Straight vertical ascent from within a vine row for dramatic reveals
Hyperlapse for Seasonal Documentation
Set Hyperlapse to Waypoint mode and save the waypoint file. Return every 2–3 weeks during growing season and fly the identical path. Stitch the sequences into a seasonal timelapse that shows canopy development—vineyard managers use these for investor presentations and harvest timing decisions.
Technical Comparison: Vineyard Scouting Configurations
| Parameter | Canopy Health Survey | Client Marketing Footage | Topographic Mapping |
|---|---|---|---|
| Altitude AGL | 25–30 m | 40–60 m | 50–80 m |
| Camera Mode | RAW Intervalometer | 4K/60fps Video | RAW Intervalometer |
| Color Profile | D-Log | D-Log or HLG | D-Log |
| Gimbal Angle | -90° (nadir) | -30° to -60° | -90° (nadir) |
| Overlap | 75% front / 65% side | N/A | 80% front / 70% side |
| Speed | 3–5 m/s | 5–8 m/s | 4–6 m/s |
| Obstacle Avoidance | Bypass | Bypass | Off (high altitude) |
| ActiveTrack | Row-follow | Subject-follow | Disabled |
Common Mistakes to Avoid
Flying too fast over steep terrain. The terrain-following system needs time to adjust. At speeds above 8 m/s on grades steeper than 25%, the altitude correction lags behind the terrain change. Slow down to 4 m/s on steep blocks.
Ignoring wind patterns in valley vineyards. Valley floors experience predictable thermal winds that shift dramatically between morning and afternoon. Schedule scouting flights for early morning (6–9 AM) when thermals are minimal and light is soft and even.
Using auto exposure across an entire vineyard. Different row orientations catch light differently. A north-south row block and an east-west block at the same time of day will have vastly different shadow patterns. Lock exposure manually per block.
Forgetting to update home point on hillside launches. If you launch from a hilltop and fly over a valley, your RTH altitude might be below the hilltop on the opposite side. Always set RTH altitude to at least 20 meters above the highest point in your operating area.
Neglecting ND filters. Shooting at f/4 and 1/1000 in full sun will overexpose D-Log footage. Carry ND8, ND16, and ND32 filters and swap based on light conditions. The M4P's quick-swap filter system makes this a 10-second operation between flights.
Frequently Asked Questions
How many vineyard acres can I scout per battery with the Mavic 4 Pro?
With a 46-minute maximum flight time and a typical scouting speed of 4 m/s at 30 meters AGL with 75% overlap, you can cover approximately 15–20 acres per battery in a nadir mapping configuration. Marketing footage flights cover more ground because overlap requirements don't apply. Always land with at least 20% battery remaining to maintain a safety margin on hillside terrain.
Can the Mavic 4 Pro's camera detect vine disease from the air?
The standard RGB camera captures visible light only, which can reveal chlorosis (yellowing), canopy gaps, and vigor variation. It cannot replace multispectral imaging for detecting early-stage diseases like powdery mildew or leafroll virus before visible symptoms appear. However, D-Log RAW captures contain enough color channel data that post-processing with vegetation index algorithms (like VARI—Visible Atmospherically Resistant Index) provides surprisingly useful vigor maps without a dedicated multispectral sensor.
What's the best way to handle Subject Tracking when vine rows create visual repetition?
ActiveTrack can occasionally lose lock when every row looks identical. The fix is to track structural landmarks rather than canopy: lock onto an end post, a specific irrigation riser, or a colored flag placed at row end. For long autonomous row passes, I place a high-visibility orange marker at the end of each target row before flying. This gives the tracking algorithm a persistent, high-contrast target that won't blend into the surrounding canopy.
Ready for your own Mavic 4 Pro? Contact our team for expert consultation.