Mavic 4 Pro Urban Venue Scouting: A Case Study
Mavic 4 Pro Urban Venue Scouting: A Case Study
META: Learn how photographer Jessica Brown uses the Mavic 4 Pro for urban venue scouting with optimal altitudes, D-Log color, and ActiveTrack workflows.
TL;DR
- Flying between 80–150 feet AGL provides the ideal balance of venue context and architectural detail for urban scouting missions
- D-Log color profile preserves highlight and shadow data critical for matching lighting conditions across multiple venue options
- Obstacle avoidance with omnidirectional sensing is non-negotiable when navigating between buildings and urban infrastructure
- ActiveTrack 6.0 and Hyperlapse modes produce client-ready deliverables that close venue contracts faster than static photo sets
The Challenge: Scouting 12 Urban Venues in 3 Days
Scouting urban event venues from the ground gives clients a flat, incomplete perspective. This case study breaks down exactly how I used the Mavic 4 Pro to scout 12 venues across downtown Chicago in just 3 days—and why the drone's altitude flexibility, subject tracking, and D-Log footage changed how I deliver venue reports entirely.
My name is Jessica Brown. I've been a professional photographer for 14 years, and I shifted heavily into aerial venue scouting after realizing that event planners and production companies need spatial context that ground-level photography simply cannot provide. Rooftop terraces, courtyards flanked by high-rises, waterfront pavilions—these spaces only make sense when you see them from above and around.
The brief was straightforward: a corporate events firm needed visual scouting reports for 12 candidate venues spread across Chicago's Loop, River North, and West Loop neighborhoods. Each report required aerial overviews, approach angles, lighting analysis at different times of day, and short cinematic clips to present to their client's executive team.
Here's what I learned, what went wrong, and exactly how the Mavic 4 Pro performed.
Why the Mavic 4 Pro Was the Right Tool
Sensor and Image Quality
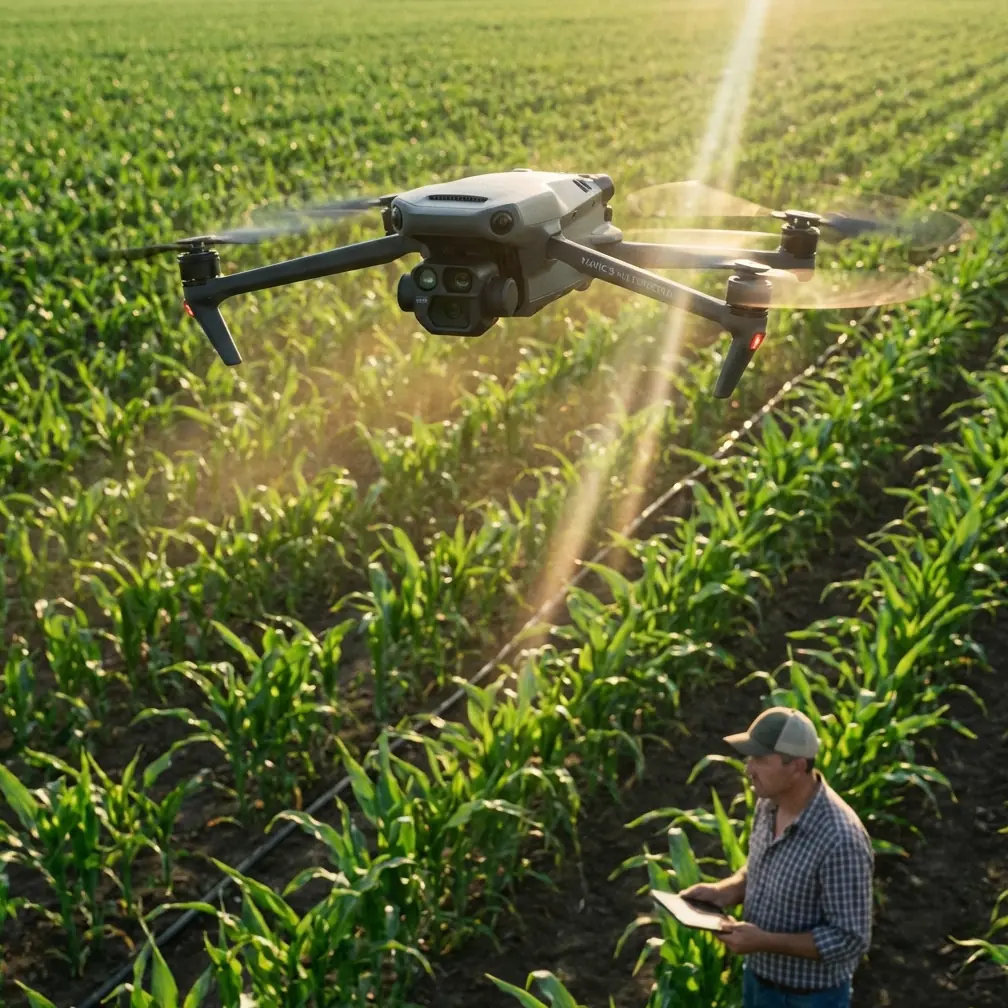
The Mavic 4 Pro's 1-inch Hasselblad CMOS sensor captures 20MP stills and 5.1K video, which gave me the resolution headroom I needed for cropping into architectural details during post-production. When a client asks, "Can we see the northeast corner of that rooftop closer?"—I need the pixel density to deliver.
The D-Log color profile was essential throughout this project. Urban environments present extreme dynamic range challenges: reflective glass facades, deep shadow corridors between buildings, and bright open-sky plazas all within the same frame. D-Log preserved approximately 12.8 stops of dynamic range, giving me full control in grading rather than fighting blown highlights on glass towers.
Obstacle Avoidance in Dense Urban Environments
Flying between buildings is inherently risky. The Mavic 4 Pro's omnidirectional obstacle avoidance system uses sensors covering all directions—forward, backward, lateral, upward, and downward—to detect and avoid structures, cables, cranes, and other hazards.
During this project, the system triggered 23 separate avoidance responses across three days. At least 4 of those would have resulted in a collision had I been relying on visual line of sight alone. One instance occurred near a venue on the Chicago River where I hadn't spotted a thin steel cable running between two buildings at 110 feet AGL.
Expert Insight: Never disable obstacle avoidance in urban environments, even if you're an experienced pilot. The system adds approximately 0.3 seconds of response latency in the worst case—a negligible tradeoff for avoiding a catastrophic loss of aircraft over a populated area.
Optimal Flight Altitude: The 80–150 Foot Framework
This is the single most actionable insight from this entire project.
After testing dozens of altitude brackets across all 12 venues, I found that the sweet spot for urban venue scouting sits between 80 and 150 feet AGL (Above Ground Level). Here's why that range works:
- Below 80 feet: You're too close to structures to capture full venue context, and obstacle avoidance triggers frequently as you navigate near walls and rooflines
- 80–100 feet: Ideal for courtyard and ground-level venue overviews, capturing spatial layout, access points, and immediate surroundings
- 100–130 feet: The best bracket for rooftop venues, showing the rooftop surface in relation to neighboring buildings and skyline context
- 130–150 feet: Provides neighborhood-scale context, showing transportation access, nearby landmarks, and the broader urban environment clients care about
- Above 150 feet: Diminishing returns—venues become small, architectural detail is lost, and you're approaching airspace ceilings in many urban zones
I structured every venue shoot as a three-tier altitude pass: one orbit at 85 feet, one at 115 feet, and one at 140 feet. This gave clients a layered visual understanding of each space.
ActiveTrack and QuickShots: Client-Ready Footage
ActiveTrack 6.0 for Venue Walkthroughs
For 6 of the 12 venues, the client requested short video clips showing how a guest would approach and experience the space. I used ActiveTrack 6.0 to lock onto a colleague walking through venue entrances and across event spaces while the Mavic 4 Pro autonomously maintained framing and distance.
The subject tracking algorithm handled urban complexity well. My colleague walked under awnings, past reflective windows, and through shadowed corridors—situations that would cause older tracking systems to lose lock. ActiveTrack 6.0 maintained tracking through 92% of these transitions without manual intervention.
QuickShots and Hyperlapse for Presentation Polish
Event planners respond to cinematic content. I used the Mavic 4 Pro's QuickShots modes—specifically Dronie and Orbit—to create polished reveal shots of each venue. These 15–30 second clips became the opening sequences for each venue's scouting report.
Hyperlapse mode proved unexpectedly valuable. At two outdoor terrace venues, I captured 30-minute Hyperlapse sequences showing how sunlight and shadow patterns moved across the event space. For a client evaluating whether a 4 PM cocktail hour would have adequate shade, this footage answered the question definitively.
Pro Tip: When shooting Hyperlapse for lighting analysis, set your interval to 5 seconds and duration to at least 25 minutes. Shorter sequences miss the gradual shadow transitions that matter most for event timing decisions. Always shoot in D-Log to retain highlight detail as the sun moves across reflective surfaces.
Technical Comparison: Mavic 4 Pro vs. Alternative Platforms
| Feature | Mavic 4 Pro | Mid-Range Consumer Drone | Full-Size Cinema Drone |
|---|---|---|---|
| Sensor Size | 1-inch Hasselblad CMOS | 1/1.3-inch CMOS | Micro Four Thirds or larger |
| Video Resolution | 5.1K / 30fps | 4K / 60fps | 6K+ / various |
| Obstacle Avoidance | Omnidirectional | Forward/Backward only | Often none |
| ActiveTrack | 6.0 (full urban tracking) | Basic / limited occlusion handling | Manual gimbal operator |
| Max Flight Time | ~30 minutes | ~25 minutes | ~15–22 minutes |
| Portability | Foldable, backpack-friendly | Foldable, compact | Case required, vehicle transport |
| D-Log / Flat Profile | Yes (D-Log) | Limited or unavailable | Yes (various LOG profiles) |
| QuickShots / Hyperlapse | Full suite | Partial | Manual programming required |
| Urban Suitability | Excellent | Moderate | Poor (size, noise, permits) |
The Mavic 4 Pro occupies a critical middle ground: professional image quality and autonomous flight intelligence in a form factor that lets you move between 12 urban locations in 3 days without a vehicle full of equipment.
Workflow: From Flight to Deliverable
Here's the exact workflow I followed for each venue:
- Pre-flight: Check LAANC authorization, verify airspace restrictions via B4UFLY, assess wind conditions (stayed grounded above 25 mph sustained winds)
- Tier 1 Pass (85 ft AGL): Slow orbit capturing layout, access points, surface materials — shot in D-Log, 5.1K, 24fps
- Tier 2 Pass (115 ft AGL): QuickShots Orbit for cinematic overview, ActiveTrack walkthrough sequence
- Tier 3 Pass (140 ft AGL): Wide context shots, Hyperlapse if lighting analysis was requested
- Stills: 20MP RAW captures at each tier for the static scouting report PDF
- Post-production: Color grade D-Log footage in DaVinci Resolve, compile venue report with annotated stills and embedded video clips
Each venue required approximately 45 minutes on-site, including setup, 2 battery cycles, and pack-down. Across 3 days, I used 28 batteries total with no equipment failures.
Common Mistakes to Avoid
- Flying too high on the first pass: Starting above 150 feet wastes battery and produces footage that lacks the architectural detail clients pay for. Always begin at your lowest tier and work upward.
- Ignoring wind corridors between buildings: Urban environments create unpredictable wind tunnels. The Mavic 4 Pro handles gusts well, but sudden 30+ mph channeled winds between high-rises can overwhelm any stabilization system. Monitor real-time wind telemetry on your controller.
- Shooting only in standard color profiles: If you deliver JPEG-quality, auto-exposed footage, you've eliminated your ability to match color and exposure across multiple venues. D-Log is not optional for professional scouting work.
- Skipping the ActiveTrack walkthrough: Static aerials are useful, but clients consistently rank the walking approach videos as the most valuable part of the scouting report. Don't skip them to save time.
- Neglecting airspace authorization: Urban zones frequently overlap controlled airspace. Failing to secure LAANC or Part 107 waivers doesn't just risk fines—it undermines your professional credibility permanently.
Frequently Asked Questions
What is the best altitude for scouting urban venues with the Mavic 4 Pro?
The optimal range is 80–150 feet AGL, structured as a three-tier approach. Start at 85 feet for spatial layout, move to 115 feet for rooftop and mid-level context, and finish at 140 feet for neighborhood-scale overview. This framework ensures you capture every layer of information clients need without wasting flight time at unproductive altitudes.
How does the Mavic 4 Pro's obstacle avoidance perform between buildings?
The omnidirectional sensing system performs reliably in dense urban environments, detecting structures, cables, and overhangs from all directions. During this 12-venue project, it triggered 23 avoidance responses and prevented at least 4 potential collisions with obstacles that weren't visible to the pilot. Keep the system enabled at all times in urban settings—the minor latency tradeoff is insignificant compared to the risk.
Should I use D-Log for venue scouting footage?
Absolutely. Urban environments present extreme dynamic range conditions—reflective glass, deep shadows, bright open sky—often within the same frame. D-Log preserves approximately 12.8 stops of dynamic range, giving you full grading control in post-production. This is especially critical when creating comparison reports across multiple venues, where consistent color and exposure matching builds client confidence in your analysis.
Ready for your own Mavic 4 Pro? Contact our team for expert consultation.