Expert Scouting with Mavic 4 Pro in Mountain Forests
Expert Scouting with Mavic 4 Pro in Mountain Forests
META: A field-tested tutorial on using Mavic 4 Pro for mountain forest scouting, with practical insight on altitude stability, obstacle avoidance, tracking, D-Log, and mid-flight weather changes.
I’ve used drones in enough rough landscapes to know that forest scouting in the mountains is rarely a clean, predictable mission. Terrain rises faster than your eyes expect. Tree canopies hide sudden gaps. Wind shifts without asking. Light changes every few minutes, especially when cloud cover starts building over a ridge. If you want useful footage and reliable route intelligence from a flight like that, the aircraft needs more than a good camera. It needs to hold altitude cleanly, react to cluttered environments, and stay composed when conditions stop being friendly.
That is where the Mavic 4 Pro becomes interesting.
This article is not a generic feature roundup. It is a practical walkthrough built around one specific problem: scouting forested mountain terrain when the weather changes mid-flight. I’ll also connect that real-world use case to an older but still highly relevant technical principle from UAV design literature: stable dynamic height estimation through sensor fusion, specifically the combination of MEMS IMU data with barometric pressure sensing and filtering logic such as a Kalman filter. That sounds abstract until you fly near a slope lined with tall firs and realize altitude confidence is one of the things separating smooth footage from a stressful recovery.
Why altitude stability matters more in mountain forests than in open land
When people talk about drone performance in forests, they usually jump straight to obstacle avoidance. Fair enough. Trees are obvious hazards. But in mountain scouting, vertical control is just as important.
Here’s why.
In open plains, a small altitude error may be visually annoying but operationally manageable. In mountain forests, a poor estimate of height can create a chain reaction. If the aircraft drifts vertically while moving across uneven terrain, your obstacle margins shrink. Subject tracking gets less predictable. Hyperlapse paths become inconsistent. If you are trying to document a ridgeline trail, inspect canopy density, or capture route options for later hiking or production planning, the resulting footage can become harder to interpret.
The reference material points to a technical approach that remains foundational in drone thinking: fusing a MEMS IMU with a MEMS pressure sensor to achieve drift-free, high-resolution vertical positioning. One source detail is especially useful here. The extract describes the accelerometer as highly responsive but prone to drift, while the barometric altimeter stabilizes it. That combination matters in mountain scouting because each sensor solves the other’s weakness. Acceleration data reacts quickly to movement. Pressure-based altitude helps prevent the system from wandering over time. Together, they support more trustworthy height tracking under dynamic conditions.
Another reference detail mentions optimization of the Kalman filter used to fuse the sensor signals. Operationally, that is not just engineering trivia. In a real flight, a filtering method like that helps the aircraft decide how much confidence to place in fast-changing inertial readings versus slower but stabilizing barometric data. When wind pushes the drone upward over a saddle, or when you dip along a treeline to maintain visual framing, that fusion logic helps maintain smoother altitude behavior instead of letting the aircraft oscillate or slowly drift off its intended vertical path.
My field setup before launch
For a mountain forest scouting mission with Mavic 4 Pro, I treat prep as part of the flight, not a separate chore. My goal is to make the aircraft’s sensing and imaging systems work together from the first minute.
I start with four things:
Map the terrain profile Look at the ridge lines, expected canopy height, and any exposed clearings where wind may accelerate.
Set a conservative obstacle strategy In forests, obstacle avoidance should not be treated as permission to fly carelessly. It is your backstop, not your plan.
Choose image settings based on output If the mission includes later grading or environmental documentation, I use D-Log. If it is a quick recce for location planning, I may use a more direct profile for speed.
Plan for weather that will worsen, not improve In the mountains, if the forecast says “variable,” assume the second half of the flight will be harder than the first.
That last point shaped one of my recent flights.
The mid-flight weather shift that tested the mission
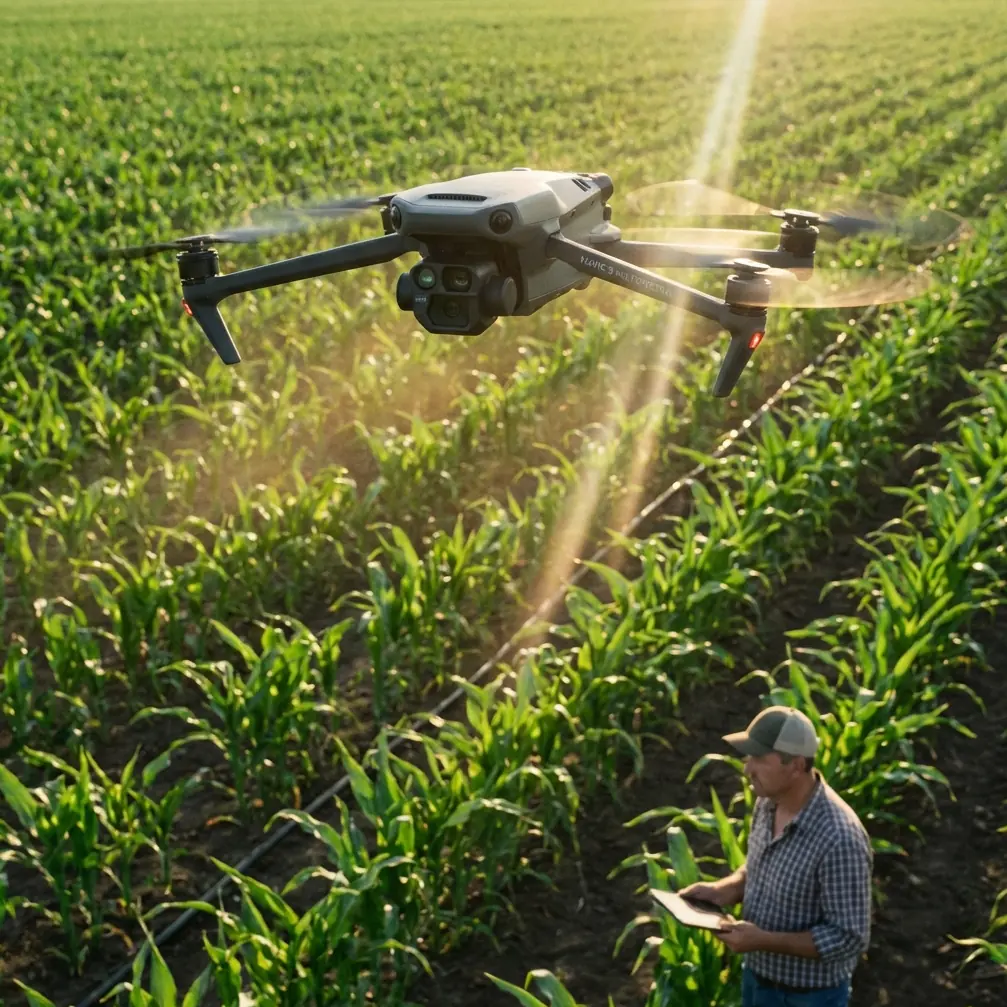
I launched in stable morning light from a clearing below a forest access route. The job was simple on paper: scout a narrow mountain trail through mixed conifer cover, identify two clean visual corridors for later filming, and capture a sequence that showed elevation gain without exposing the route to excessive risk.
The first few minutes were easy. Visibility was good. The Mavic 4 Pro moved cleanly over the lower canopy, and obstacle avoidance was doing what it should do in this kind of environment: reducing workload, not replacing judgment. I used a slow forward line with occasional lateral adjustments to inspect gaps between treetops and the edge of the trail corridor.
Then the weather shifted.
Cloud pushed over the ridge faster than expected. Light flattened immediately, and wind started funneling down through the trees in uneven pulses. This is where a lot of flights become messy. Not necessarily dangerous all at once, but less coherent. The drone may still be airborne, yet the mission quality starts slipping. Footage gets jittery. Framing becomes reactive. Altitude changes look sloppy against rising terrain.
The Mavic 4 Pro handled that transition the way a scouting aircraft should: by remaining readable. I could still predict its movement. That matters more than flashy behavior. In gusty conditions, especially near slopes, I want the drone to feel like an honest instrument.
The operational significance of stable height estimation really showed up here. With changing wind and uneven terrain, maintaining a consistent offset above canopy and trail line becomes harder. This is exactly the kind of “dynamic condition” highlighted in the reference text about fusing accelerometer and barometric altimeter data. The literature describes stable high-resolution height measurements in indoor and outdoor dynamic conditions, and while that source was not written specifically for Mavic 4 Pro, the principle applies directly: if vertical tracking stays stable when conditions become noisy, the pilot retains more usable control authority and more consistent visual information.
Using obstacle avoidance without letting it choose the mission
Mountain forest pilots sometimes make one of two mistakes. They either trust obstacle avoidance too much, or they disable useful protections because they want more direct control.
I prefer a middle path.
In this scouting flight, obstacle avoidance was most valuable when moving laterally near irregular canopy edges and when cresting small terrain rises where depth perception can be misleading on screen. Forests are full of partial visual traps: branches that look farther away than they are, gaps that narrow as you approach, trunks hidden in shadow.
The Mavic 4 Pro’s obstacle handling helps reduce those surprises, but I still fly with deliberate margins. If the mission is route scouting, the footage needs to be clean enough to review later for trail viability, camera path options, and environmental context. Near-miss flying may look dramatic, but it gives you less margin when the weather changes, and it usually makes tracking and exposure management worse.
This is also where altitude confidence links back to obstacle behavior. If vertical estimation is stable, obstacle avoidance decisions are supported by a more consistent understanding of where the aircraft is in relation to terrain and canopy. In practical terms, that can mean fewer unnecessary corrections and smoother progress through broken forest geometry.
ActiveTrack and subject tracking in a forested mountain environment
Let’s talk tracking, because this is where many users either overestimate what the aircraft can do or underuse it completely.
For scouting, I rarely think of ActiveTrack as a “follow me” toy. I think of it as a route analysis tool. If a hiker, trail runner, or surveyor is moving through the forest, subject tracking can reveal where the route naturally opens, where the canopy compresses the line of sight, and where terrain causes the most abrupt vertical transitions.
On this flight, I used tracking briefly on a walking subject moving along a visible portion of trail near the edge of the trees. I did not keep it active in the tightest sections because the goal was not to force automation where manual route interpretation was safer. That said, the ability to hold a subject with compositional discipline while terrain rises around the path is extremely useful.
The hidden benefit is not just aesthetic. It helps you evaluate whether a future filming sequence is realistic. If the drone can maintain visual continuity with a moving subject in mixed light and uneven elevation, the location may be suitable for a more complex future shoot. If tracking constantly degrades due to canopy density or topographic masking, that tells you something valuable before a larger production day.
QuickShots and Hyperlapse are not gimmicks if you use them as scouting tools
I know some experienced pilots dismiss QuickShots and Hyperlapse during technical missions. I think that is shortsighted.
In mountain forests, QuickShots can be useful for generating rapid perspective studies. A short automated move around a clearing or a trail opening can reveal whether the site has enough separation from the canopy to support more ambitious camera motion later. You are not using the mode because it is flashy. You are using it because repeatable motion helps you judge geography.
Hyperlapse is even more useful in changing weather. During my flight, once the cloud bank settled in, I used a controlled Hyperlapse sequence aimed across the ridge and upper tree line. The result was not just pretty motion. It became a weather behavior record. You could see how shadow moved across the slope, where contrast collapsed first, and which parts of the route would become visually flat if we returned later in the day.
That kind of environmental read matters for photographers, survey planners, and content teams alike.
Why D-Log made the weather shift easier to work with later
Flat mountain light can ruin detail separation in both canopy and sky if your file does not hold enough grading flexibility. I shot the core sequences in D-Log because I wanted room to recover tonal balance once the cloud moved in.
This is not about chasing cinematic language. It is practical. Forest scouting often means dark greens, broken highlights, and abrupt contrast changes at ridge edges. D-Log gives you more room to shape those transitions so the footage remains analytically useful, not just visually acceptable.
When I reviewed the clips later, the weather shift was obvious, but it was manageable. I could preserve texture in the trees while keeping the overcast sky from turning into a blank distraction. For anyone using Mavic 4 Pro to assess routes, document natural terrain, or prepare a future production, that flexibility can make the difference between usable and disposable footage.
A simple tutorial workflow for mountain forest scouting with Mavic 4 Pro
If you want a repeatable process, this is the workflow I recommend:
1. Start high enough to read the terrain
Begin with a conservative overview pass above the tallest nearby canopy. You are not hunting for drama on the first leg. You are building a mental map.
2. Identify vertical risk zones
Watch for saddles, sudden rises, and tree clusters growing out of sloped ground. These are areas where altitude perception becomes deceptive.
3. Use obstacle avoidance as a buffer, not a crutch
Keep your path clean. Let the system support you, especially at canopy edges and near hidden branches, but do not fly into decisions you have not already evaluated.
4. Test tracking only where visibility supports it
ActiveTrack works best when the route gives the aircraft room to maintain continuity. Dense overstory is often a cue to return to manual control.
5. Capture one analytical Hyperlapse
Aim across the terrain, not just along it. This helps you study weather, light movement, and route readability over time.
6. Shoot key sequences in D-Log
If the light changes halfway through the mission, the extra grading latitude will help preserve useful detail.
7. End before the mountain decides for you
The best scouting flights stop while options are still open. In deteriorating weather, preserve battery and route margin for a calm return.
The quiet engineering lesson behind a better scouting flight
The most interesting thing about this kind of mission is that the visible success often comes from invisible systems. People notice tracking, obstacle avoidance, or the finished footage. They do not always think about the sensor fusion underneath.
But the reference material gets to the heart of it. A low-cost, low-power, small-form-factor system that combines MEMS accelerometers with a MEMS barometric altimeter can deliver drift-free, high-resolution vertical positioning. The accelerometer responds quickly. The barometric sensor stabilizes long-term drift. A Kalman filter helps fuse those signals intelligently. In mountain forest scouting, that translates into steadier altitude behavior under real motion, changing air, and uneven ground.
That is not a laboratory footnote. It is one reason a flight still feels controlled when the weather turns.
If you’re planning your own forest scouting workflow with Mavic 4 Pro and want a practical discussion about setup, field use, or image approach, you can message a drone specialist here.
Mavic 4 Pro makes the most sense when treated as a disciplined field tool. In mountain forests, that means respecting vertical control as much as camera quality, using automation selectively, and preparing for conditions to shift while you are still in the air. Get those pieces right, and the aircraft becomes more than a flying camera. It becomes a reliable way to read difficult terrain before your boots ever touch the trail.
Ready for your own Mavic 4 Pro? Contact our team for expert consultation.