Mavic 4 Pro for Forest Scouting in Wind: Guide
Mavic 4 Pro for Forest Scouting in Wind: Guide
META: Learn how to scout forests in windy conditions with the Mavic 4 Pro. Expert how-to guide covering obstacle avoidance, D-Log settings, and pro tips.
By Chris Park | Creator & Aerial Cinematography Specialist
TL;DR
- The Mavic 4 Pro handles sustained winds up to 24 mph, making it a reliable tool for forest scouting in challenging weather conditions.
- Omnidirectional obstacle avoidance sensors are essential when flying below canopy lines and navigating dense tree cover.
- D-Log color profile and Hyperlapse modes capture forest detail that standard color profiles simply cannot reproduce.
- A third-party anemometer (like the Vaavud Sleipnir) paired with your smartphone gives you ground-truth wind data before every flight.
Why Forest Scouting in Wind Demands More From Your Drone
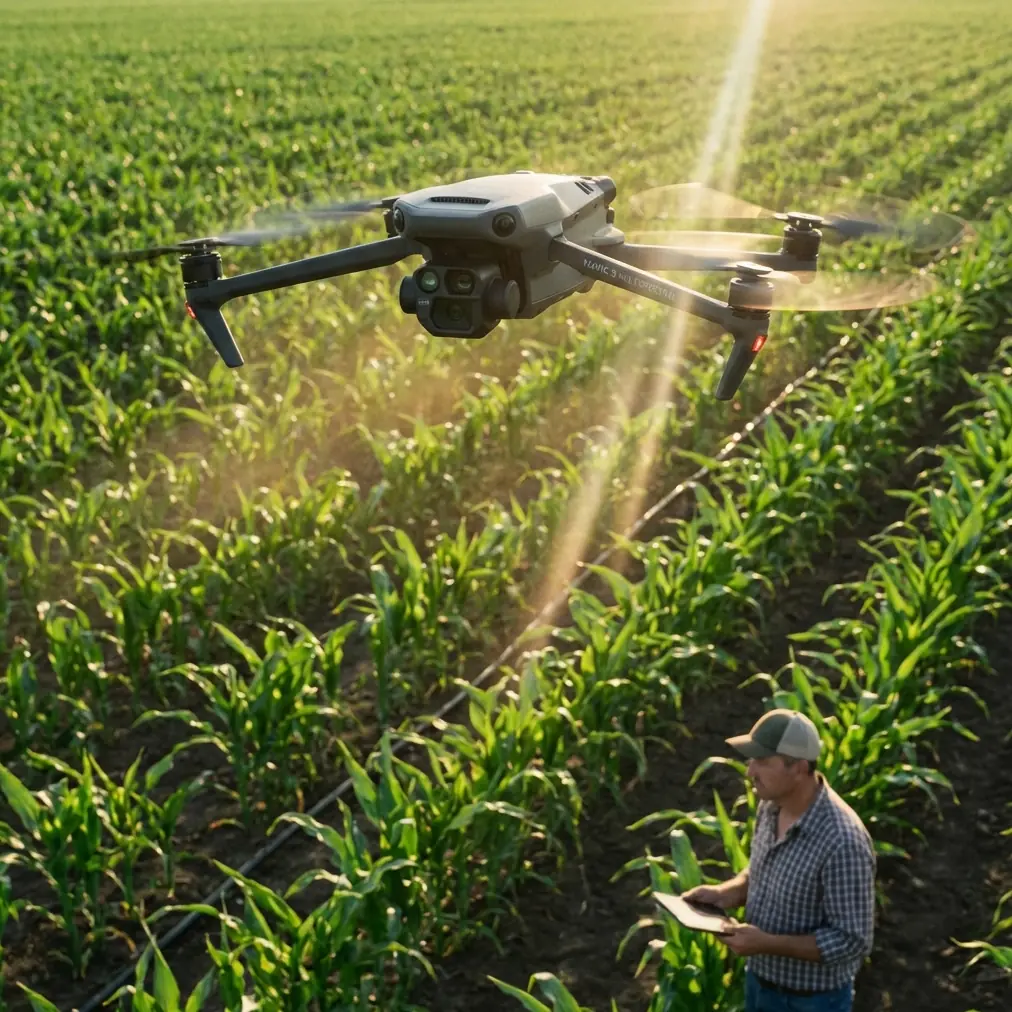
Forest scouting pushes consumer drones to their absolute limits. Between unpredictable wind gusts funneling through tree corridors and dense canopy blocking GPS signals, most pilots lose confidence—or worse, lose their aircraft. This guide breaks down exactly how to use the DJI Mavic 4 Pro to scout forested terrain in windy conditions safely, efficiently, and with professional-grade footage.
Whether you're a wildlife researcher mapping habitats, a forestry professional assessing timber, or a content creator capturing dramatic woodland aerials, the techniques below will transform how you operate in the field.
Step 1: Pre-Flight Wind Assessment and Equipment Setup
Before you ever power on the Mavic 4 Pro, you need accurate wind data. The drone's onboard IMU can report wind estimates mid-flight, but ground-level readings before takeoff prevent costly mistakes.
Why I Added a Vaavud Sleipnir Wind Meter
This is the third-party accessory that changed my forest scouting workflow entirely. The Vaavud Sleipnir is a compact, magnetic wind meter that plugs into your smartphone's audio jack (or connects via Bluetooth on newer models). It gives you:
- Real-time wind speed at your launch point
- Gust detection over a 30-second sampling window
- Wind direction trends that help you plan approach angles through clearings
I mount it on a 1.5-meter telescoping pole to get readings above ground-level turbulence. If the Sleipnir reads sustained winds above 18 mph at pole height, I adjust my flight plan. Above 24 mph, I postpone—the Mavic 4 Pro's rated wind resistance tops out at roughly Level 6 on the Beaufort scale (24.2 mph), and forests create localized gusts that can exceed ambient readings by 30-40%.
Pro Tip: Take wind readings at three different spots around your planned flight zone. Forests create micro-climates—a sheltered clearing might read 8 mph while a ridgeline 200 feet away channels gusts at 22 mph.
Step 2: Configuring Obstacle Avoidance for Dense Canopy
The Mavic 4 Pro's omnidirectional obstacle avoidance system uses a combination of wide-angle vision sensors and time-of-flight sensors across all directions. In forest environments, this system isn't optional—it's your primary safety net.
Recommended Obstacle Avoidance Settings
- Set avoidance behavior to "Brake" rather than "Bypass." In tight tree corridors, automatic rerouting can send the drone into branches the sensors haven't yet mapped.
- Increase the minimum braking distance to 3 meters. The default setting works in open air, but wind gusts can push the aircraft forward during deceleration.
- Enable APAS 6.0 only in open canopy areas. The Advanced Pilot Assistance System works brilliantly when there's room to maneuver, but in dense old-growth forest with interlocking branches, manual control with brake-mode avoidance is safer.
- Keep downward sensors active at all times. Uneven forest floors, fallen logs, and undergrowth can surprise you during low-altitude passes.
Subject Tracking Through Trees
ActiveTrack 6.0 on the Mavic 4 Pro can follow moving subjects—wildlife, vehicles on logging roads, or a ground-based crew member—through partially obstructed environments. The key limitation: the system needs at least 60% continuous visual contact with the subject to maintain a lock.
When tracking a subject moving through trees:
- Use Trace mode rather than Spotlight mode for dynamic following
- Keep altitude above the subject by at least 8 meters to maintain line-of-sight
- Set tracking speed to moderate (not maximum) so the obstacle avoidance system has time to react
Step 3: Camera Settings for Forest Scouting
Forest environments present extreme dynamic range challenges. Bright sky peeking through canopy gaps sits alongside deep shadows on the forest floor. Standard color profiles clip highlights or crush shadows. The solution is D-Log.
Why D-Log Is Non-Negotiable for Forest Work
D-Log captures a flat, desaturated image with maximum dynamic range—roughly 14+ stops on the Mavic 4 Pro's 1-inch Hasselblad CMOS sensor. This means:
- Bright sky details through canopy gaps are preserved
- Shadow detail in understory vegetation remains recoverable in post
- Bark textures, moss, and leaf detail retain nuance instead of becoming muddy blotches
Set your camera to:
- D-Log M color profile
- 4K/60fps for smooth slow-motion options in post
- ISO 100-400 (push higher only if absolutely necessary—noise in shadows degrades forest detail)
- Shutter speed at double your frame rate (1/120 for 60fps) with an ND filter to maintain proper exposure
Using QuickShots and Hyperlapse in Forest Clearings
QuickShots modes—Dronie, Helix, Rocket, and Boomerang—produce cinematic reveals that showcase forest scale beautifully. However, only use these in clearings with at least 30 meters of open space in every direction. The automated flight paths don't account for tree density the way manual flight does.
Hyperlapse is where forest scouting footage becomes truly extraordinary. A Waypoint Hyperlapse along a forest ridgeline during golden hour—with the Mavic 4 Pro automatically capturing timed exposures—produces time-lapse footage that compresses hours of light change into seconds. Set intervals to 3-5 seconds between frames for smooth cloud and shadow movement.
Technical Comparison: Mavic 4 Pro vs. Common Alternatives for Forest Scouting
| Feature | Mavic 4 Pro | Air 3 | Mini 4 Pro |
|---|---|---|---|
| Wind Resistance | Level 6 (24.2 mph) | Level 5 (22 mph) | Level 5 (22 mph) |
| Obstacle Avoidance | Omnidirectional | Omnidirectional | Omnidirectional |
| Sensor Size | 1-inch CMOS | 1/1.3-inch | 1/1.3-inch |
| D-Log Support | Yes (D-Log M) | Yes (D-Log M) | Yes (D-Log M) |
| ActiveTrack Version | 6.0 | 5.0 | None |
| Max Flight Time | Up to 46 min | Up to 46 min | Up to 34 min |
| Video Resolution | 4K/120fps | 4K/100fps | 4K/60fps |
| Subject Tracking | Advanced (6 directions) | Standard | Limited |
| Weight | 900g approx. | 720g | 249g |
The Mavic 4 Pro's advantages compound in forest environments. The larger sensor captures more shadow detail. The stronger motors maintain stability in gusts. ActiveTrack 6.0 holds subjects through partial occlusion. For serious scouting work, these differences aren't marginal—they're operational.
Step 4: Flight Patterns for Effective Forest Scouting
Random flying wastes battery and produces unusable footage. Use structured patterns:
- Grid pattern at 60-80 meter altitude for canopy health overview and mapping
- Orbital passes around points of interest (clearings, water sources, wildlife corridors) at 30-40 meters
- Low-altitude corridor runs at 8-15 meters along trails, streams, or ridgelines for ground-level detail
- Vertical reveals starting below canopy and ascending straight up through gaps for dramatic composition
Expert Insight: Always fly your grid pattern first while batteries are fresh and winds are typically calmer (early morning). Save low-altitude creative passes for your second or third battery when you've already mapped the area and know where the obstacles are. This approach has saved me from crashes more than any single sensor upgrade.
Common Mistakes to Avoid
1. Ignoring wind gradient near canopy level. Wind at 50 meters altitude can be dramatically different from wind at 15 meters inside the canopy. The transition zone—right at treetop height—creates the most turbulent, unpredictable gusts. Ascend and descend through this zone vertically and quickly rather than hovering in it.
2. Relying entirely on GPS positioning. Dense canopy degrades GPS signal quality. The Mavic 4 Pro will switch to vision positioning, but accuracy drops. Always maintain visual line of sight and be ready for manual corrections when the aircraft drifts.
3. Flying with a fully charged battery in cold forest mornings. Battery chemistry performs poorly below 15°C (59°F). Forest mornings can be surprisingly cold, especially at altitude. Warm batteries in your jacket pocket before flight and hover at 2 meters for 60 seconds to bring cells up to operating temperature.
4. Skipping ND filters in dappled light. Without ND filters, you'll get overly fast shutter speeds that produce jittery, uncinematic footage. A variable ND (ND8-ND64) lets you maintain the 180-degree shutter rule across changing light conditions without landing to swap filters.
5. Neglecting to clean sensors after forest flights. Pollen, sap mist, and tiny insects accumulate on obstacle avoidance sensors and the camera lens. Wipe all sensors with a microfiber cloth after every flight session—not just at the end of the day.
Frequently Asked Questions
Can the Mavic 4 Pro fly autonomously through dense forest?
Not safely in fully autonomous mode. While ActiveTrack and APAS provide impressive obstacle navigation, the current sensor technology cannot reliably detect thin branches, spider webs of interconnected twigs, or rapidly appearing obstacles when flying at speed through dense tree cover. Use autonomous features in open or semi-open canopy and switch to manual control with obstacle avoidance set to brake mode in dense sections.
What's the best time of day to scout forests with the Mavic 4 Pro?
The first two hours after sunrise and the last hour before sunset provide the best combination of low wind, dramatic light, and active wildlife. Midday creates harsh shadows that even D-Log struggles to manage, and thermal convection from sun-heated ground generates unpredictable turbulence above the canopy. If you're scouting purely for data (mapping, counting, health assessment), overcast days provide the most uniform lighting.
How many batteries should I bring for a half-day forest scouting session?
Plan for a minimum of four fully charged batteries for a 3-4 hour session. Real-world forest flying rarely yields the full 46-minute rated flight time—wind resistance, frequent maneuvering, and hovering for obstacle assessment reduce effective flight time to roughly 30-35 minutes per battery. That gives you approximately 2 hours of total air time across four batteries, with margin for conservative flying in challenging conditions.
Ready for your own Mavic 4 Pro? Contact our team for expert consultation.