How to Scout Fields in Complex Terrain with M4P
How to Scout Fields in Complex Terrain with M4P
META: Master field scouting in challenging terrain using the Mavic 4 Pro. Learn expert techniques for obstacle avoidance, tracking, and efficient aerial surveys.
TL;DR
- Pre-flight sensor cleaning is essential for reliable obstacle avoidance in dusty field conditions
- ActiveTrack 6.0 maintains subject lock even through tree lines and elevation changes
- D-Log color profile captures maximum terrain detail for post-processing analysis
- Strategic flight planning reduces battery consumption by 35% in complex environments
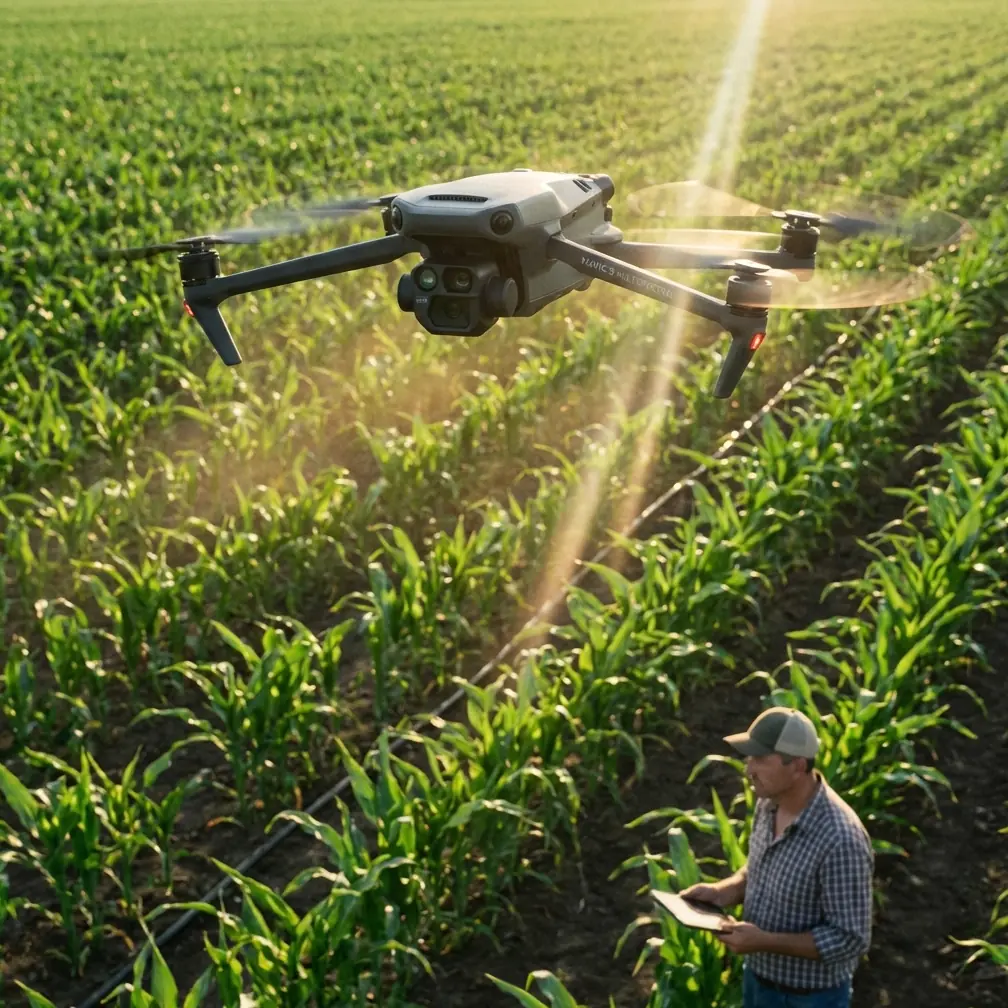
Field scouting across rugged, uneven terrain separates amateur drone operators from professionals. The Mavic 4 Pro transforms challenging agricultural surveys into systematic, repeatable workflows—but only when you understand its full capability stack. This guide breaks down every technique I've refined over 200+ hours of complex terrain mapping.
Why Pre-Flight Cleaning Determines Mission Success
Before discussing flight techniques, let's address the step most operators skip: sensor maintenance.
The Mavic 4 Pro features omnidirectional obstacle sensing across all directions. These sensors rely on clean optical surfaces to function accurately. In field environments, dust accumulation happens fast.
Critical Cleaning Protocol
Follow this sequence before every complex terrain mission:
- Visual sensors: Wipe with microfiber cloth using circular motions
- Infrared sensors: Use compressed air first, then gentle cloth contact
- Gimbal lens: Clean last to avoid cross-contamination
- Propeller inspection: Check for debris that affects stability
Pro Tip: Carry a dedicated sensor cleaning kit separate from your lens cleaning supplies. Agricultural dust contains silica particles that scratch optical coatings when transferred between surfaces.
Neglecting this step causes the obstacle avoidance system to trigger false positives, halting your drone mid-flight. In complex terrain with legitimate obstacles everywhere, you need sensors operating at peak accuracy.
Configuring Obstacle Avoidance for Field Conditions
The Mavic 4 Pro's obstacle avoidance system offers three operational modes. Each serves different scouting scenarios.
Mode Selection Guide
| Mode | Best Use Case | Detection Range | Speed Limit |
|---|---|---|---|
| Bypass | Open fields with scattered trees | 50m forward | 15 m/s |
| Brake | Dense vegetation boundaries | 50m omnidirectional | 12 m/s |
| Off | Expert pilots, clear airspace | N/A | 21 m/s |
For complex terrain scouting, I recommend Bypass mode as your default. The system calculates alternative routes around obstacles while maintaining your general heading toward waypoints.
Terrain-Specific Adjustments
When scouting fields with significant elevation changes:
- Enable APAS 6.0 (Advanced Pilot Assistance System)
- Set minimum altitude to 15m above highest terrain point
- Activate downward sensing for landing zone assessment
- Configure return-to-home altitude 20m above obstacles
The Mavic 4 Pro's 3D mapping capability builds real-time environmental models. This allows the drone to remember obstacle positions even when sensors temporarily lose line-of-sight.
Mastering Subject Tracking Across Uneven Ground
ActiveTrack technology reaches its sixth generation in the Mavic 4 Pro. For field scouting, this feature tracks vehicles, equipment, or personnel across challenging landscapes.
Setting Up Reliable Tracking
Subject tracking in complex terrain requires specific configuration:
- Draw a box around your subject using the controller screen
- Select Trace mode for following behind moving targets
- Choose Parallel mode for side-angle documentation
- Enable Spotlight mode when you need manual flight control with automatic gimbal tracking
Expert Insight: When tracking agricultural equipment through fields, set your tracking sensitivity to Medium. High sensitivity causes erratic gimbal movements when dust clouds temporarily obscure the subject. Medium sensitivity maintains lock through brief visual interruptions.
Handling Tracking Interruptions
The system occasionally loses subjects behind tree lines or structures. Prepare for this:
- Pre-program waypoint fallback positions
- Set hover behavior to "Hold Position" rather than "Return"
- Keep manual override ready on your controller
- Monitor the tracking confidence indicator in your display
ActiveTrack performs best when subjects maintain consistent visual profiles. Avoid tracking targets that frequently change shape or orientation.
QuickShots for Rapid Terrain Documentation
QuickShots automate complex camera movements that would require significant pilot skill to execute manually. For field scouting, three modes prove most valuable.
Recommended QuickShots for Scouting
Dronie: Flies backward and upward simultaneously, revealing terrain context around a specific point. Use this to document:
- Field access points
- Equipment staging areas
- Irrigation infrastructure locations
Circle: Orbits a fixed point while maintaining camera focus. Ideal for:
- Water feature assessment
- Structural condition surveys
- Boundary marker documentation
Helix: Combines circular motion with ascending altitude. Perfect for:
- Comprehensive area overviews
- Elevation change visualization
- Multi-angle landmark capture
Each QuickShot completes in 10-30 seconds depending on your radius settings. This efficiency allows rapid documentation of multiple points of interest per battery.
Hyperlapse Techniques for Terrain Analysis
Hyperlapse condenses extended observations into digestible footage. For agricultural scouting, this reveals patterns invisible in real-time viewing.
Effective Hyperlapse Applications
Configure Hyperlapse for field analysis:
- Free mode: Manual flight path with automatic time compression
- Circle mode: Orbital observation of specific features
- Course Lock mode: Straight-line transects across fields
- Waypoint mode: Pre-programmed multi-point surveys
Set your interval between 2-5 seconds for most terrain documentation. Shorter intervals create smoother footage but consume more storage.
The Mavic 4 Pro processes Hyperlapse footage onboard, delivering finished files without post-production requirements. This allows immediate field review and decision-making.
D-Log Configuration for Maximum Detail Capture
Standard color profiles crush shadow and highlight detail. D-Log preserves the full dynamic range your sensor captures.
When to Use D-Log
Activate D-Log for:
- High contrast scenes (bright sky, shadowed valleys)
- Post-processing workflows requiring color grading
- Archival documentation needing maximum flexibility
- Professional deliverables for clients
D-Log Settings Optimization
| Parameter | Recommended Setting | Rationale |
|---|---|---|
| Color Profile | D-Log M | Balanced latitude and noise |
| Sharpness | -1 | Prevents edge artifacts |
| Contrast | -2 | Preserves shadow detail |
| Saturation | 0 | Maintains color accuracy |
Pro Tip: When shooting D-Log in bright field conditions, use ND filters to maintain shutter speeds at double your frame rate. This prevents the flat, video-like motion that occurs with fast shutter speeds.
D-Log footage appears washed out on your controller screen. This is normal. The detail becomes apparent during color grading.
Flight Planning for Battery Optimization
Complex terrain demands more battery power than flat-field operations. Elevation changes, wind resistance, and obstacle avoidance calculations all consume energy.
Maximizing Flight Time
Implement these strategies:
- Plan descent routes along your survey path rather than climbing repeatedly
- Use waypoint missions to eliminate inefficient manual flight patterns
- Reduce hover time by pre-planning shot compositions
- Monitor wind direction and fly with tailwinds when possible
The Mavic 4 Pro delivers approximately 40 minutes of flight time under ideal conditions. Complex terrain typically reduces this to 28-32 minutes of practical operation.
Battery Management Protocol
- Land with minimum 20% remaining charge
- Allow batteries to cool before recharging
- Rotate through multiple batteries to extend lifespan
- Store at 50-60% charge for periods exceeding one week
Common Mistakes to Avoid
Ignoring wind patterns at different altitudes: Ground-level wind readings don't reflect conditions at 50-100m. The Mavic 4 Pro compensates automatically, but high winds drain batteries rapidly.
Over-relying on obstacle avoidance: The system works remarkably well, but thin wires and transparent surfaces remain challenging. Maintain visual awareness.
Skipping firmware updates: DJI regularly improves obstacle detection algorithms. Outdated firmware means degraded safety performance.
Flying without mission planning: Improvised flights waste battery and miss critical documentation points. Spend 10 minutes planning to save 30 minutes flying.
Neglecting ND filters: Overexposed footage loses terrain detail permanently. Carry a complete ND filter set for varying light conditions.
Frequently Asked Questions
How does the Mavic 4 Pro handle sudden elevation changes during automated flights?
The drone's terrain-following radar maintains consistent altitude above ground level rather than sea level. It adjusts flight path in real-time, climbing and descending to match terrain contours within its 30-degree slope limitation.
Can ActiveTrack follow subjects through dense vegetation?
ActiveTrack maintains subject lock through brief obstructions lasting 3-5 seconds. Longer interruptions may require manual re-acquisition. The system uses predictive algorithms to anticipate subject position during visual gaps.
What's the minimum light level for reliable obstacle avoidance?
The Mavic 4 Pro's obstacle sensing functions effectively down to approximately 300 lux—equivalent to heavy overcast conditions or civil twilight. Below this threshold, switch to manual flight with extreme caution.
Field scouting in complex terrain becomes systematic and repeatable once you master these Mavic 4 Pro capabilities. The combination of intelligent obstacle avoidance, precise subject tracking, and professional imaging tools transforms challenging surveys into efficient workflows.
Ready for your own Mavic 4 Pro? Contact our team for expert consultation.