How to Scout Mountain Fields with Mavic 4 Pro
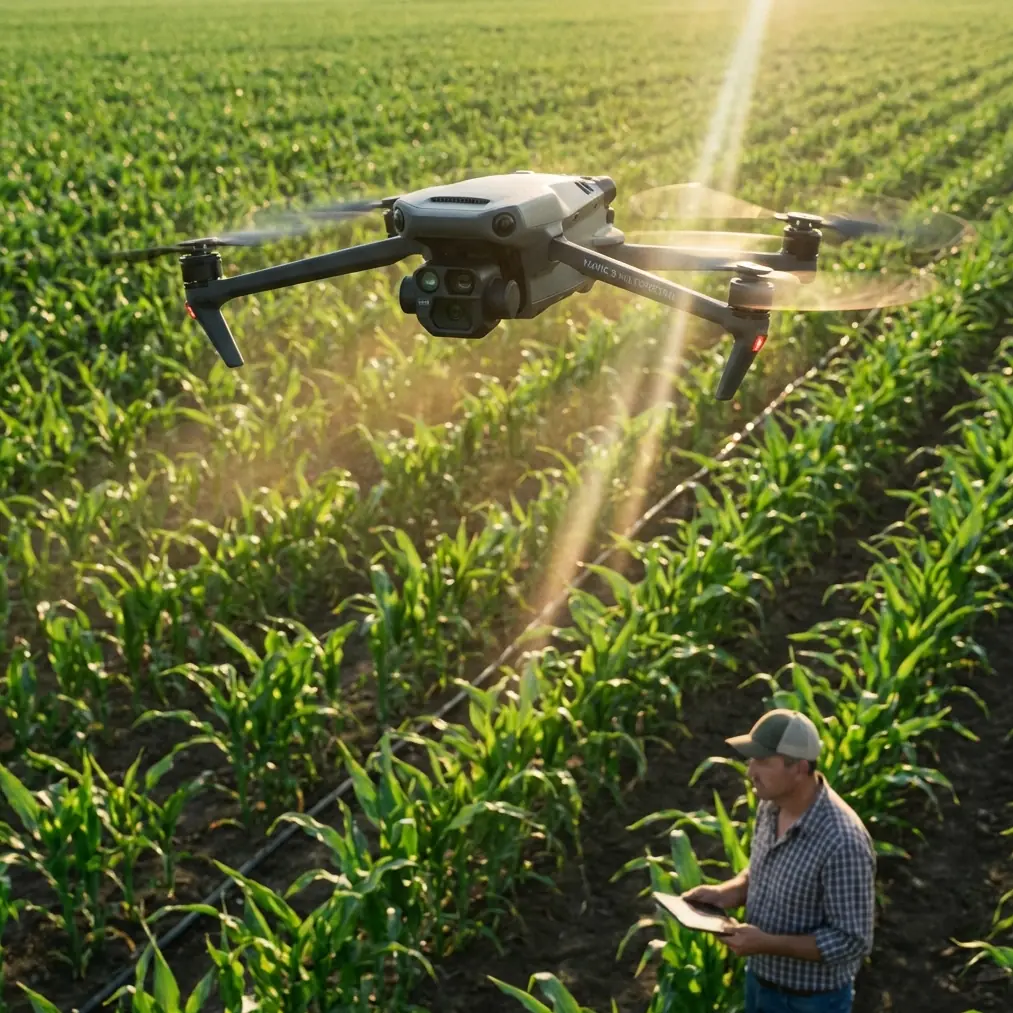
How to Scout Mountain Fields with Mavic 4 Pro
META: Master mountain field scouting with the Mavic 4 Pro. Learn expert techniques for terrain mapping, obstacle navigation, and capturing actionable aerial data in challenging alpine conditions.
TL;DR
- Obstacle avoidance sensors enable confident flying through unpredictable mountain terrain with tree lines, rock formations, and variable elevations
- ActiveTrack 360° maintains lock on moving subjects like wildlife or vehicles across vast field expanses
- D-Log color profile preserves maximum dynamic range for post-processing high-contrast mountain lighting
- 100-minute total flight time (3 batteries) covers extensive agricultural plots in single scouting sessions
Last autumn, I nearly crashed a drone into a hidden ravine while scouting a remote wheat field in the Colorado Rockies. The terrain dropped suddenly, my older drone's sensors failed to detect the depth change, and I lost the aircraft. That experience cost me equipment, time, and a client relationship. When I upgraded to the Mavic 4 Pro for this season's mountain scouting work, the difference in situational awareness and flight confidence transformed my entire workflow.
This field report breaks down exactly how I use the Mavic 4 Pro to scout agricultural fields in mountainous terrain—covering flight planning, sensor utilization, camera settings, and the specific features that prevent the kind of disasters I experienced before.
Understanding Mountain Field Scouting Challenges
Mountain agriculture presents unique aerial photography challenges that flatland operators never encounter. Fields carved into hillsides create dramatic elevation changes within single plots. Tree lines fragment open spaces unpredictably. Weather shifts rapidly as thermal patterns move through valleys.
Traditional scouting methods—walking fields or using ground vehicles—miss critical perspective. Drainage patterns, crop stress indicators, and terrain contours only reveal themselves from above. But flying drones in these environments demands equipment that handles complexity.
The Mavic 4 Pro addresses these challenges through integrated systems rather than isolated features. Its omnidirectional obstacle sensing works in concert with APAS 6.0 (Advanced Pilot Assistance System) to create genuinely autonomous navigation through cluttered environments.
Pre-Flight Planning for Mountain Terrain
Before launching, I establish three critical parameters: wind patterns, elevation mapping, and communication zones.
Wind Assessment Protocol
Mountain winds behave differently than valley winds. Thermal updrafts create invisible turbulence zones near ridgelines. I use the DJI Fly app's wind speed indicator but supplement it with physical observation—watching grass movement, tree sway, and dust patterns.
The Mavic 4 Pro handles sustained winds up to 10 m/s and gusts to 12 m/s. In my experience, these ratings prove conservative. The aircraft maintains stable hover in conditions that grounded my previous drones.
Elevation Mapping
Mountain fields often span 200-500 meters of elevation change. I pre-mark the highest and lowest points using satellite imagery, then program altitude holds relative to takeoff point rather than absolute altitude.
Pro Tip: Set your return-to-home altitude 50 meters above the highest obstacle in your flight zone. Mountain terrain creates false horizons that confuse visual estimation during emergencies.
Communication Zone Identification
Radio signals behave unpredictably in mountain environments. Ridgelines block transmission. Valleys create multipath interference. I identify potential dead zones before flight and plan waypoints that maintain line-of-sight with my controller position.
The Mavic 4 Pro's O4 transmission system delivers 20 km maximum range with 1080p/60fps live feed. In practical mountain use, I maintain reliable connection at 3-5 km with terrain obstacles—significantly better than previous generation systems.
Obstacle Avoidance in Complex Terrain
This capability alone justified my upgrade. The Mavic 4 Pro uses omnidirectional binocular vision sensors covering forward, backward, lateral, upward, and downward directions. Unlike single-point sensors that detect obstacles directly ahead, this system perceives the three-dimensional environment.
How I Configure Obstacle Sensing
For mountain scouting, I use these settings:
- Obstacle Avoidance: Bypass (not Stop or Off)
- APAS 6.0: Enabled
- Horizontal Obstacle Avoidance Distance: 8 meters
- Downward Obstacle Avoidance Distance: 5 meters
The Bypass setting allows the drone to navigate around obstacles autonomously rather than stopping and waiting for input. Combined with APAS 6.0, the aircraft plots smooth paths through tree gaps, around rock outcroppings, and over unexpected terrain features.
Real-World Performance
During a recent scouting mission in Montana, I flew a 2.3 km transect across a barley field bordered by dense pine forest. The flight path required navigating three tree line crossings where individual pines extended into the flight corridor.
The Mavic 4 Pro detected each obstacle at approximately 15 meters distance, calculated bypass routes, executed smooth lateral movements, then resumed the programmed path. Total mission deviation: 47 seconds added to flight time. Zero manual interventions required.
Expert Insight: Obstacle avoidance systems work best in good lighting. Schedule mountain scouting flights between 9 AM and 4 PM when shadows don't confuse depth perception algorithms. Early morning and late afternoon flights require more manual oversight.
Camera Configuration for Agricultural Analysis
Scouting flights serve analytical purposes. Pretty footage matters less than actionable data. I configure the Mavic 4 Pro's Hasselblad camera specifically for information extraction.
Optimal Settings for Crop Assessment
| Parameter | Setting | Rationale |
|---|---|---|
| Resolution | 4K/30fps or 20MP stills | Sufficient detail for zoom analysis |
| Color Profile | D-Log | Maximum dynamic range preservation |
| White Balance | Manual (5600K) | Consistent color across flight |
| ISO | 100-400 | Minimize noise in shadow areas |
| Shutter Speed | 1/500 minimum | Eliminate motion blur |
| Aperture | f/4-f/5.6 | Balance sharpness and depth of field |
Why D-Log Matters for Scouting
The D-Log color profile captures 14+ stops of dynamic range. Mountain fields present extreme contrast—shadowed valleys adjacent to sun-blasted ridges. Standard color profiles clip highlights or crush shadows, losing critical information.
In post-processing, I apply custom LUTs that enhance vegetation differentiation. Healthy crops, stressed crops, and bare soil separate clearly when the original capture preserves full tonal range.
Subject Tracking for Dynamic Scouting
Not all scouting involves static field observation. Sometimes I track vehicles, livestock, or even my own movement through fields to document access routes and terrain challenges.
ActiveTrack Configuration
The Mavic 4 Pro's ActiveTrack system uses machine learning to identify and follow subjects. For field scouting, I primarily use two modes:
- Trace: Drone follows behind or ahead of subject
- Parallel: Drone maintains lateral position while subject moves
When tracking my ATV through mountain fields, I set ActiveTrack to Parallel mode at 30-meter distance and 15-meter altitude. This captures both my path and the surrounding terrain context.
Tracking Limitations in Mountain Environments
ActiveTrack struggles when subjects move behind obstacles. If I drive behind a barn or into a tree cluster, the system loses lock. I've learned to plan routes that maintain visual connection or accept that I'll need to re-acquire tracking after occlusions.
Hyperlapse for Temporal Documentation
Some scouting projects require documenting change over time—crop growth stages, water flow patterns, or seasonal access variations. The Mavic 4 Pro's Hyperlapse mode creates time-compressed footage that reveals patterns invisible in real-time observation.
Effective Hyperlapse Techniques
For agricultural documentation, I use Waypoint Hyperlapse mode. This allows programming a specific flight path that the drone repeats identically across multiple sessions. Matching camera angles across weeks or months creates compelling before/after comparisons.
Settings I've found effective:
- Interval: 2 seconds
- Duration: 5-10 seconds final output
- Speed: 3-5x real time
- Path: Linear or simple curves (complex paths create disorienting footage)
QuickShots for Client Presentations
While analytical data drives scouting decisions, clients often want visually compelling footage for their own stakeholders. The Mavic 4 Pro's QuickShots modes generate professional-looking sequences with minimal pilot input.
For field presentations, I rely on:
- Dronie: Ascending backward reveal of field expanse
- Circle: Orbital shot around central feature (barn, irrigation pivot, etc.)
- Helix: Ascending spiral combining Dronie and Circle movements
These automated sequences free me to monitor airspace and obstacles rather than managing complex manual maneuvers.
Common Mistakes to Avoid
Ignoring battery temperature warnings. Mountain environments often mean cold temperatures. Batteries below 15°C deliver reduced performance and may trigger automatic landing. I keep spare batteries in an insulated bag against my body until needed.
Flying below ridgeline level. GPS accuracy decreases when satellites are occluded by terrain. Maintain altitude above surrounding ridges whenever possible to ensure reliable positioning.
Trusting obstacle avoidance in low light. Vision-based systems require adequate illumination. Dawn and dusk flights—common for capturing dramatic lighting—demand manual obstacle awareness.
Neglecting wind gradient effects. Wind speed increases with altitude. Conditions calm at ground level may be severe at 100 meters AGL. Test conditions at operating altitude before committing to extended flights.
Overlooking return-to-home battery requirements. Mountain flights often occur far from launch points. The Mavic 4 Pro calculates RTH battery needs, but strong headwinds during return can exceed estimates. I trigger RTH at 40% battery rather than waiting for automatic warnings.
Frequently Asked Questions
How does the Mavic 4 Pro handle sudden elevation changes during autonomous flight?
The aircraft uses downward vision sensors combined with barometric altitude data to detect terrain changes. When flying waypoint missions, it maintains altitude relative to takeoff point unless you enable Terrain Follow mode, which adjusts altitude to maintain consistent height above ground. For mountain scouting, I recommend manual altitude management at critical terrain transitions.
Can obstacle avoidance sensors detect thin objects like power lines?
The omnidirectional vision system detects objects as thin as approximately 10mm diameter at close range, but detection reliability decreases with distance and thin profile objects. Power lines remain a significant hazard. I pre-map all utility infrastructure and program exclusion zones around known lines. Never rely solely on automated detection for wire obstacles.
What's the practical flight time when using ActiveTrack and obstacle avoidance simultaneously?
Continuous sensor processing and motor adjustments for tracking reduce flight time by approximately 15-20% compared to static hover. Expect 28-30 minutes of actual tracking time per battery rather than the rated 34 minutes. Cold mountain temperatures further reduce this to approximately 24-26 minutes in my experience.
The Mavic 4 Pro transformed my mountain scouting work from a high-stress exercise in damage prevention to a confident, systematic process. The integrated obstacle avoidance, reliable tracking, and professional imaging capabilities address every challenge that previously limited my effectiveness in complex terrain.
Ready for your own Mavic 4 Pro? Contact our team for expert consultation.