How to Scout Mountain Construction Sites with M4P
How to Scout Mountain Construction Sites with M4P
META: Master mountain construction site scouting with the Mavic 4 Pro. Learn optimal altitudes, obstacle avoidance tips, and pro techniques for rugged terrain surveys.
TL;DR
- Fly between 80-120 meters AGL for optimal mountain construction site coverage while maintaining visual line of sight
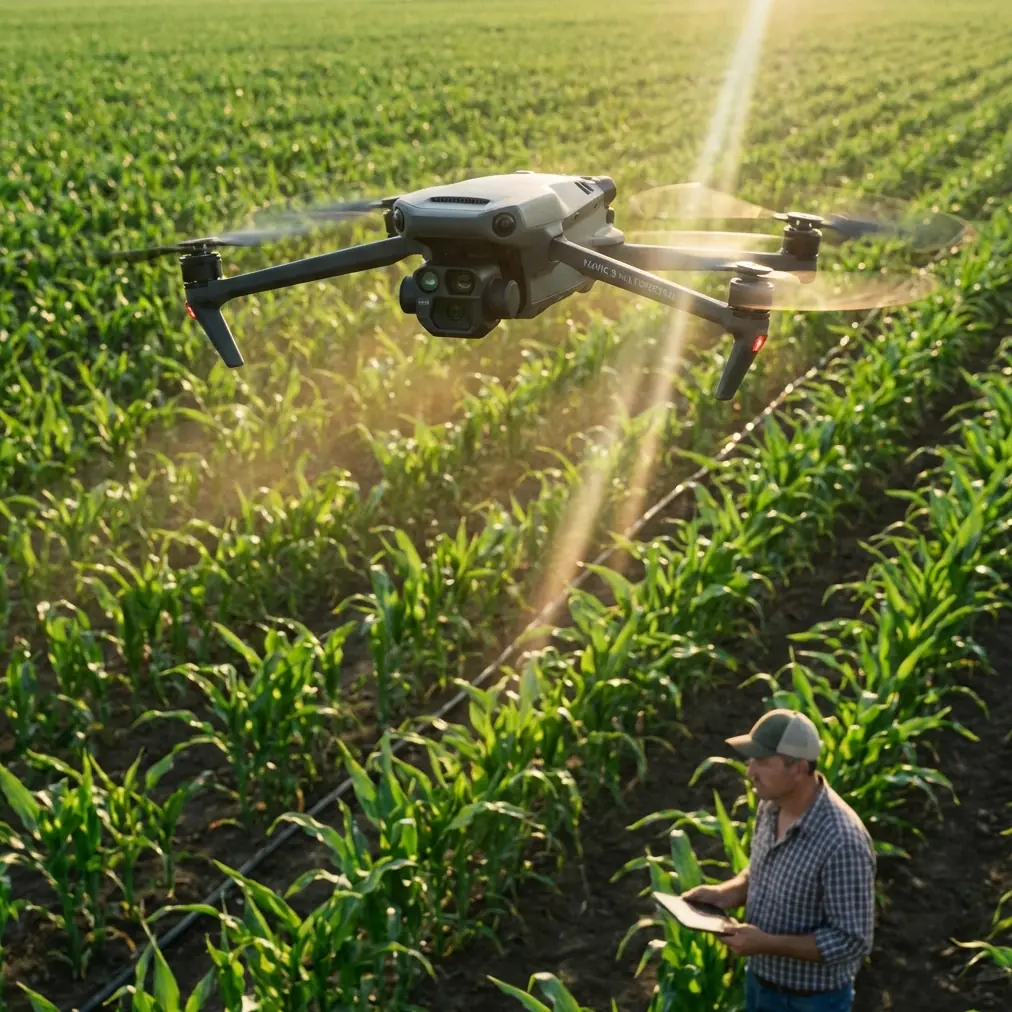
- The Mavic 4 Pro's omnidirectional obstacle avoidance handles unpredictable mountain terrain with 360-degree sensing
- Use D-Log color profile to capture maximum dynamic range in harsh alpine lighting conditions
- ActiveTrack 6.0 enables autonomous vehicle and equipment tracking across uneven terrain
The Mountain Scouting Challenge Every Construction Team Faces
Mountain construction sites present unique surveying nightmares. Steep gradients, unpredictable weather windows, and limited ground access make traditional scouting methods expensive and dangerous. The Mavic 4 Pro transforms these challenges into manageable workflows—here's exactly how I've refined my approach over dozens of alpine projects.
I'm Jessica Brown, a professional photographer who transitioned into construction documentation three years ago. My specialty? Remote mountain infrastructure projects where helicopters cost thousands per hour and foot surveys risk crew safety.
The Mavic 4 Pro has become my primary tool for these demanding environments. Let me walk you through the specific techniques, settings, and strategies that deliver professional-grade site documentation.
Understanding Mountain Terrain Demands
Why Standard Drone Workflows Fail at Altitude
Mountain construction sites break conventional scouting rules. The terrain creates three critical problems:
- Rapid elevation changes confuse altitude-hold systems calibrated for flat ground
- Thermal updrafts and downdrafts destabilize smaller aircraft
- Signal interference from rock formations and metal ore deposits disrupts GPS
- Harsh shadows from peaks create extreme contrast ratios
- Limited emergency landing zones raise the stakes for any technical failure
The Mavic 4 Pro addresses each challenge through specific hardware and software capabilities that I'll detail throughout this guide.
Optimal Flight Altitude: The Critical Variable
Expert Insight: For mountain construction scouting, I maintain 80-120 meters above ground level (AGL)—not above sea level. This range balances three factors: sufficient coverage area, manageable ground sampling distance for detail work, and adequate clearance from sudden terrain rises.
Here's why this altitude range works:
At 80 meters AGL, the Mavic 4 Pro's 1-inch CMOS sensor captures ground details at approximately 2.2 cm/pixel resolution. This precision identifies equipment placement issues, drainage problems, and access road conditions.
At 120 meters AGL, coverage expands to roughly 180 meters width per pass, enabling efficient mapping of larger staging areas while maintaining usable detail levels.
Going higher than 120 meters in mountain environments introduces unnecessary risk. Wind speeds increase dramatically, battery consumption accelerates in thinner air, and you lose the detail resolution that makes drone scouting valuable.
Leveraging Obstacle Avoidance in Complex Terrain
The Omnidirectional Advantage
The Mavic 4 Pro's obstacle avoidance system uses omnidirectional sensing with a detection range up to 50 meters in optimal conditions. In mountain environments, this capability isn't optional—it's essential.
Rocky outcrops, communication towers, power lines, and construction cranes create a three-dimensional obstacle field that changes with each project phase. The sensing system handles these challenges through:
- Forward and backward vision sensors detecting obstacles during survey passes
- Lateral sensors protecting against drift into cliff faces during hover operations
- Upward-facing sensors preventing collisions with overhanging structures
- Downward sensors maintaining accurate altitude over varying terrain
Configuring Avoidance for Construction Sites
I configure obstacle avoidance differently for mountain construction than standard environments:
Brake Distance: Set to maximum. Mountain winds can push the aircraft further than expected during emergency stops.
Avoidance Action: "Bypass" rather than "Stop." Stopping mid-flight in gusty conditions wastes battery and creates instability. Bypassing maintains momentum while avoiding obstacles.
Return-to-Home Altitude: Calculate based on the highest terrain point plus 30 meters, not your takeoff elevation. Mountain RTH failures typically occur when pilots forget about that ridge between them and home point.
Mastering Subject Tracking for Equipment Monitoring
ActiveTrack Applications on Construction Sites
ActiveTrack technology serves a specific purpose in construction scouting: documenting equipment access routes and operational patterns. Rather than manually piloting to follow a grader or excavator, ActiveTrack maintains consistent framing while you focus on identifying terrain challenges.
Practical applications include:
- Access road assessment: Track a vehicle traveling proposed routes to document grade challenges, turning radius issues, and surface conditions
- Equipment reach analysis: Follow crane operations to verify clearance from terrain features
- Safety zone documentation: Track personnel movement patterns to identify hazardous workflow intersections
Pro Tip: When using ActiveTrack in mountain environments, select Trace mode rather than Profile or Spotlight. Trace keeps the aircraft behind the subject, reducing collision risk with upslope terrain that Profile mode might fly toward.
Subject Tracking Limitations to Understand
ActiveTrack performs differently in mountain construction scenarios:
| Condition | Performance Impact | Workaround |
|---|---|---|
| Low contrast subjects | Tracking loss on earth-toned equipment | Apply high-visibility markers to tracked vehicles |
| Steep slopes | Altitude compensation lag | Reduce tracking speed to 50% |
| Dust clouds | Vision sensor interference | Increase following distance |
| Multiple similar subjects | Target confusion | Isolate tracked equipment from groups |
| Strong shadows | Subject outline disruption | Schedule tracking during diffused light |
Capturing Professional Documentation with D-Log
Why D-Log Matters for Construction Records
Mountain lighting creates the most challenging dynamic range scenarios in drone photography. A single frame might include:
- Bright snow patches reflecting intense sunlight
- Deep shadow zones in ravines and north-facing slopes
- Metallic equipment surfaces creating specular highlights
- Dark earth tones absorbing light
D-Log color profile captures approximately 14 stops of dynamic range, preserving detail across this entire spectrum. Standard color profiles clip highlights and crush shadows, losing critical documentation detail.
D-Log Configuration for Site Scouting
My standard D-Log settings for mountain construction:
- ISO: 100-200 base, never exceeding 400
- Shutter Speed: 1/focal length minimum for stills, 1/50 for video
- Aperture: f/4-f/5.6 for optimal sharpness across the frame
- White Balance: Manual, set to actual conditions (auto shifts during pans)
Post-processing D-Log footage requires color grading, but the flexibility gained justifies the workflow addition. I deliver both graded footage for presentations and flat D-Log files for clients requiring maximum editing latitude.
Efficient Coverage with QuickShots and Hyperlapse
QuickShots for Rapid Context Establishment
QuickShots automated flight patterns serve construction documentation through rapid context shots. Rather than manually flying complex reveal sequences, QuickShots delivers consistent results:
Dronie: Establishes site scale by pulling back from a central point. Useful for showing staging area relationship to surrounding terrain.
Circle: Documents 360-degree site context. Essential for identifying potential access points and terrain challenges from all angles.
Helix: Combines pullback with orbital movement. Creates compelling progress documentation showing site evolution over time.
Rocket: Vertical ascent with downward camera. Perfect for overhead mapping reference shots.
Hyperlapse for Progress Documentation
Construction projects benefit from time-compressed documentation showing work progression. The Mavic 4 Pro's Hyperlapse modes create these sequences automatically:
- Free mode: Manual flight path with automatic frame capture
- Circle mode: Orbital time-lapse around a central point
- Course Lock mode: Linear path with consistent heading
- Waypoint mode: Complex multi-point sequences
For mountain sites, I typically capture 30-minute Hyperlapse sequences during active work periods, yielding 15-20 second final clips that compress hours of activity into digestible progress updates.
Common Mistakes to Avoid
Ignoring density altitude effects: Thin mountain air reduces lift efficiency. The Mavic 4 Pro compensates automatically, but battery life decreases by approximately 15-20% at 3,000 meters elevation. Plan shorter flights accordingly.
Trusting GPS blindly in canyons: Mountain terrain blocks satellite signals. Always verify GPS lock quality before critical operations and have visual reference backup plans.
Neglecting wind gradient awareness: Wind speed at 100 meters AGL often differs dramatically from ground level. Check conditions at operating altitude before committing to complex flight patterns.
Overlooking temperature impacts: Battery performance degrades below 10°C. Pre-warm batteries in vehicle heating systems and limit exposure during pre-flight preparation.
Forgetting magnetic interference: Metal ore deposits and construction equipment create compass anomalies. Calibrate compass away from equipment and re-verify heading accuracy frequently.
Frequently Asked Questions
What battery strategy works best for mountain construction scouting?
Bring minimum three batteries per hour of planned operation. Cold temperatures and altitude reduce capacity by 20-30% compared to sea-level performance. I land at 30% remaining rather than the standard 20% threshold, providing margin for unexpected wind resistance during return flights.
How do I handle rapidly changing mountain weather during site surveys?
Monitor conditions continuously and establish abort criteria before launch: wind speeds exceeding 10 m/s, visible precipitation approaching, or cloud ceiling dropping below operating altitude. The Mavic 4 Pro handles moderate conditions well, but mountain weather escalates faster than lowland storms. When conditions deteriorate, land immediately rather than attempting to complete planned coverage.
Can the Mavic 4 Pro create survey-grade mapping data for construction planning?
The Mavic 4 Pro produces excellent reference mapping but doesn't replace survey-grade equipment for legal documentation. Its imagery supports preliminary planning, progress monitoring, and stakeholder communication. For official surveys requiring centimeter accuracy, integrate Mavic 4 Pro visual documentation with RTK-equipped survey drones or ground-based total stations.
Mountain construction scouting demands equipment that matches terrain complexity. The Mavic 4 Pro delivers the obstacle avoidance, imaging capability, and flight stability these environments require. Combined with proper technique and realistic expectations, it transforms dangerous manual surveys into efficient aerial workflows.
Ready for your own Mavic 4 Pro? Contact our team for expert consultation.