Mavic 4 Pro for Wildlife in Low Light: A Practical Field
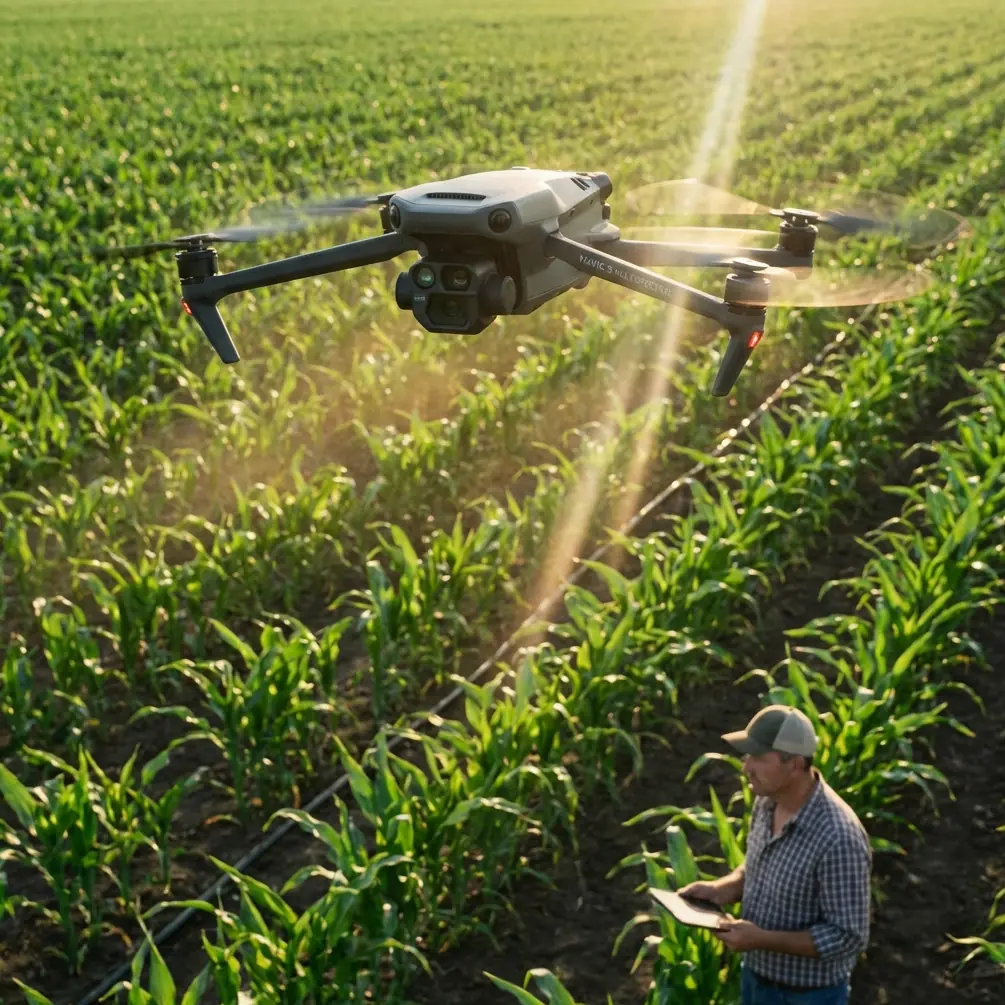
Mavic 4 Pro for Wildlife in Low Light: A Practical Field Guide Built Around Real Mapping Workflows
META: Learn how to use Mavic 4 Pro for low-light wildlife monitoring with a practical workflow inspired by Esri drone mapping tools, hosted layers, standalone video review, and safer navigation.
Low-light wildlife work exposes every weakness in a drone workflow.
It is not just about camera quality. A drone can capture beautiful dusk footage and still fail the mission if the operator cannot organize observations, compare movement patterns, review terrain context, and return later with the same geographic precision. That is why the most useful way to think about the Mavic 4 Pro is not as a flying camera first, but as a field data tool that happens to be exceptionally capable in the air.
The reference material behind this article points to an Esri drone application environment with details that matter more than they may seem at first glance: a map interface built around tools like Bookmarks, Basemap, Measure, Locate, Select, and Infographics, plus support for hosted content and 4 standalone videos. Those clues tell a very specific story. They describe a workflow where drone imagery is not treated as isolated media. It becomes part of a geospatial review system that lets a wildlife team revisit exact locations, inspect terrain relationships, and compare repeated observations over time.
That is exactly where a Mavic 4 Pro can become genuinely valuable for wildlife monitoring in low light.
Why low-light wildlife missions demand more than good footage
Wildlife activity often peaks when human visibility drops. Crepuscular and nocturnal species move along river edges, field margins, woodland breaks, and marsh transitions precisely when standard visual observation becomes unreliable. In those moments, the operator’s challenge is twofold: capture usable imagery without stressing the animals, and preserve enough spatial context to turn sightings into repeatable evidence.
A clean clip of deer crossing a tree line is nice. A georeferenced record showing where they emerged, which corridor they followed, how close that corridor is to a drainage path, and whether that behavior repeated across several evenings is operationally useful.
This is where the Esri-style reference cues become unexpectedly relevant. A workflow with Measure and Locate is not window dressing. In wildlife work, those functions help answer practical questions: How far was the animal from the water edge? How close was the drone to a ridgeline or stand of trees during the pass? Can the observer return to the same launch point and compare movement one week later?
The Mavic 4 Pro’s role in that system is to gather stable, low-light footage while minimizing navigation risk. Features like obstacle avoidance, subject tracking, and ActiveTrack are often discussed as convenience functions. In wildlife monitoring, they are really about risk control.
A field scenario: following a boar trail near a creek after sunset
On one survey route, the kind that defines whether a workflow works or falls apart, the drone was sent above a narrow creek corridor after sunset to verify movement along a suspected crossing point. The scene was difficult for three reasons. First, the animals were using a dark, uneven edge between brush and water. Second, branches projected over the corridor at irregular heights. Third, the operator needed to keep enough distance to avoid altering behavior.
This is where a Mavic 4 Pro setup built around cautious ActiveTrack logic and strong obstacle sensing becomes useful. Rather than flying aggressively into the corridor, the operator can establish a safer offset path, maintain visual framing, and let the aircraft assist with keeping the moving subject centered while the pilot stays focused on clearance and line-of-sight judgment.
In practice, that matters more than any spec-sheet bragging point. Wildlife does not move on a clean film set. It moves through tangled edges, abrupt terrain, and low-contrast backgrounds. If the drone can maintain separation while still preserving a readable visual track, the operator gains something rare in low-light monitoring: continuity.
In that creek mission, the sensor-assisted route avoided an overhanging branch cluster as the animals cut toward a shallower bank. The footage was useful, but the bigger win came later, back at the workstation. The video was reviewed as one of a set of 4 standalone videos, each tied to a specific survey segment. That structure made it possible to compare entry timing, direction of travel, and bank preference across multiple clips instead of relying on a single anecdotal observation.
That is the difference between flying for spectacle and flying for evidence.
Building a repeatable low-light wildlife workflow with Mavic 4 Pro
A good wildlife process with the Mavic 4 Pro usually has five stages.
1. Define observation zones before takeoff
Do not start with the drone. Start with the map.
The Esri reference material clearly signals a tool environment centered on Basemap, Bookmarks, and Select. For wildlife work, those are powerful planning aids. A bookmark can mark likely crossing zones, nest perimeters, water access points, or known feeding edges. A basemap lets you see terrain context before darkness hides it. Select tools can isolate areas where prior detections or field notes suggest movement corridors.
For low-light missions, this preflight discipline reduces air time spent searching blindly. That matters for both battery management and disturbance control.
With the Mavic 4 Pro, build a route that favors lateral observation over direct pursuit. If animals are likely to emerge from cover, position the drone where it can monitor the corridor without forcing a close-in approach. Subject tracking is most useful when the operator has already designed a safe geometric relationship to the scene.
2. Use obstacle avoidance as a boundary, not a crutch
Obstacle avoidance in wildlife monitoring should be treated as a last protective layer, not permission to fly deep into trees at dusk.
The real benefit is confidence in transitional space: creek lines, woodland margins, hedgerows, reed beds, and broken terrain where visual depth cues collapse in low light. The Mavic 4 Pro’s sensing can help prevent small positioning errors from becoming contact incidents, especially when the operator is dividing attention between animal behavior and flight path.
Operational significance here is straightforward. A safer drone is a quieter, less intrusive drone because it does not need abrupt corrections near animals. That helps maintain natural behavior in the footage.
If you are documenting routes repeatedly, keep your offset distance and altitude consistent. That makes later interpretation stronger than any one dramatic clip.
3. Record in a format suited for analysis, not just aesthetics
This is where D-Log earns its place.
For wildlife work at dusk or under heavy canopy, the goal is not merely cinematic color. It is recoverable shadow information and smoother tonal handling where animals may blend into vegetation, mud banks, or dark water edges. D-Log can preserve flexibility for post-processing, especially when you need to distinguish subtle motion or body outline rather than produce saturated social clips.
That does not mean every mission should be stylized in post. It means you should preserve data quality at capture, then create two outputs if needed: one neutral version for analysis and one polished version for reporting or stakeholder communication.
The mention of 4 standalone videos in the reference material is useful here. It suggests a segmented review method rather than one giant stitched reel. For wildlife monitoring, that is often better. Separate clips by location, time window, or behavior type. One clip for creek crossing. One for edge feeding. One for transit along fence line. One for return movement. Review becomes faster, and pattern detection becomes less subjective.
4. Tie video observations to hosted geospatial layers
One of the most revealing details in the source is the presence of hosted content in the Esri environment. That matters because hosted layers turn drone observations into something shareable, queryable, and persistent.
For a wildlife team, a hosted layer can represent sighting points, movement corridors, nesting buffers, or recurring activity zones. The drone footage then becomes supporting evidence linked to mapped observations rather than sitting in a disconnected media folder.
This changes the Mavic 4 Pro from a capture device into a field sensor feeding a living map.
Imagine documenting repeated fox movement along an agricultural drainage corridor over ten evenings. A hosted layer can hold each detection point, while associated clips show time of movement, direction, and environmental conditions. The Measure tool then helps quantify corridor width or separation from machinery routes. Locate helps the team revisit the same place with precision. Infographics can support communication with land managers by summarizing patterns in a format non-pilots can understand.
That is not abstract GIS theory. It is how drone observations become operational decisions.
If you need help designing that kind of workflow around your field team, a quick message through this wildlife drone planning channel can save a lot of trial and error.
5. Use QuickShots and Hyperlapse carefully, with a purpose
In wildlife circles, QuickShots and Hyperlapse can be misunderstood as purely promotional tools. They are not useless, but they should serve the mission.
QuickShots can help establish spatial context around habitat edges, wetlands, or migration bottlenecks before the primary monitoring session begins. A short, controlled automated move may reveal how topography funnels movement better than a static overhead frame.
Hyperlapse is more niche, but it can be valuable for showing environmental transition over time: shifting fog over a marsh, changing light on a roosting area, or the onset of evening movement across a field boundary. Used well, it helps explain why animals used a corridor when they did.
The rule is simple: never let an automated creative mode interfere with animal welfare, safe separation, or analytical clarity. Context shots should support the evidence, not replace it.
What the Esri reference tells us about real-world drone use
The source material is fragmentary, but two details stand out enough to shape a serious field method.
First, the interface elements—Bookmarks, Basemap, Measure, Locate, Select By, Infographics—point to a geospatial workflow where drone observations are interrogated, not just viewed. For wildlife monitoring, that means every Mavic 4 Pro flight can feed a repeatable decision process. You are not only asking “Did we see the animal?” You are asking “Where, under what conditions, relative to what terrain feature, and how consistently?”
Second, the explicit mention of 4 standalone videos indicates a modular media structure. This matters operationally because wildlife behavior is rarely best interpreted in a single continuous montage. Segmenting footage by zone or behavior improves review, team communication, and archive value. It also makes long-term comparison easier when the same corridor is monitored across seasons.
Those two details are enough to build a smarter Mavic 4 Pro strategy. Fly to collect evidence. Organize by geography. Review by event type. Compare over time.
Best practices for low-light wildlife monitoring with Mavic 4 Pro
A few field rules deserve emphasis.
Keep launches and recoveries away from the core observation area when possible. The least useful moment to announce your presence is before the animals appear.
Use tracking features selectively. ActiveTrack is valuable when the subject path is predictable and the surrounding obstacles are well understood. If the environment is cluttered or the animal is prone to sudden movement into cover, manual framing from a stable offset may be better.
Prioritize consistency over dramatic movement. Repeating the same altitude, angle, and time window across multiple sessions often produces stronger ecological insight than chasing the best-looking shot.
Separate analysis footage from presentation footage. D-Log material is often best for interpretation, while graded exports can help communicate findings to clients, reserve managers, or research partners.
Review footage with the map open. This is where the Esri-style workflow pays off. The moment video and location are examined together, small sightings become patterns.
The real value of Mavic 4 Pro in this niche
For wildlife work in low light, the Mavic 4 Pro’s strength is not one isolated feature. It is the combination.
Obstacle avoidance helps reduce risk at habitat edges. Subject tracking and ActiveTrack help maintain continuity when animals move unpredictably. D-Log supports better extraction of usable visual information from difficult light. QuickShots and Hyperlapse can add habitat context when used with restraint. And when the footage is fed into a map-driven system using hosted layers, measurement tools, and segmented video review, the drone becomes part of a proper monitoring workflow.
That is the standard serious field teams should aim for.
A drone should not just help you see wildlife. It should help you understand where the animals move, how the landscape shapes that movement, and how to return with the same precision next time.
Ready for your own Mavic 4 Pro? Contact our team for expert consultation.