Monitoring Wildlife with Mavic 4 Pro | Field Tips
Monitoring Wildlife with Mavic 4 Pro | Field Tips
META: Learn proven Mavic 4 Pro techniques for wildlife monitoring in challenging terrain. Expert photographer shares battery tips, tracking methods, and field-tested strategies.
TL;DR
- ActiveTrack 6.0 maintains lock on moving animals through dense canopy with 93% tracking retention
- Battery management in cold terrain requires pre-warming to 20°C minimum for full 46-minute flight potential
- D-Log M color profile captures 14+ stops of dynamic range essential for dawn/dusk wildlife activity
- Omnidirectional obstacle avoidance enables safe operation in complex forest environments
The Reality of Wildlife Monitoring from Above
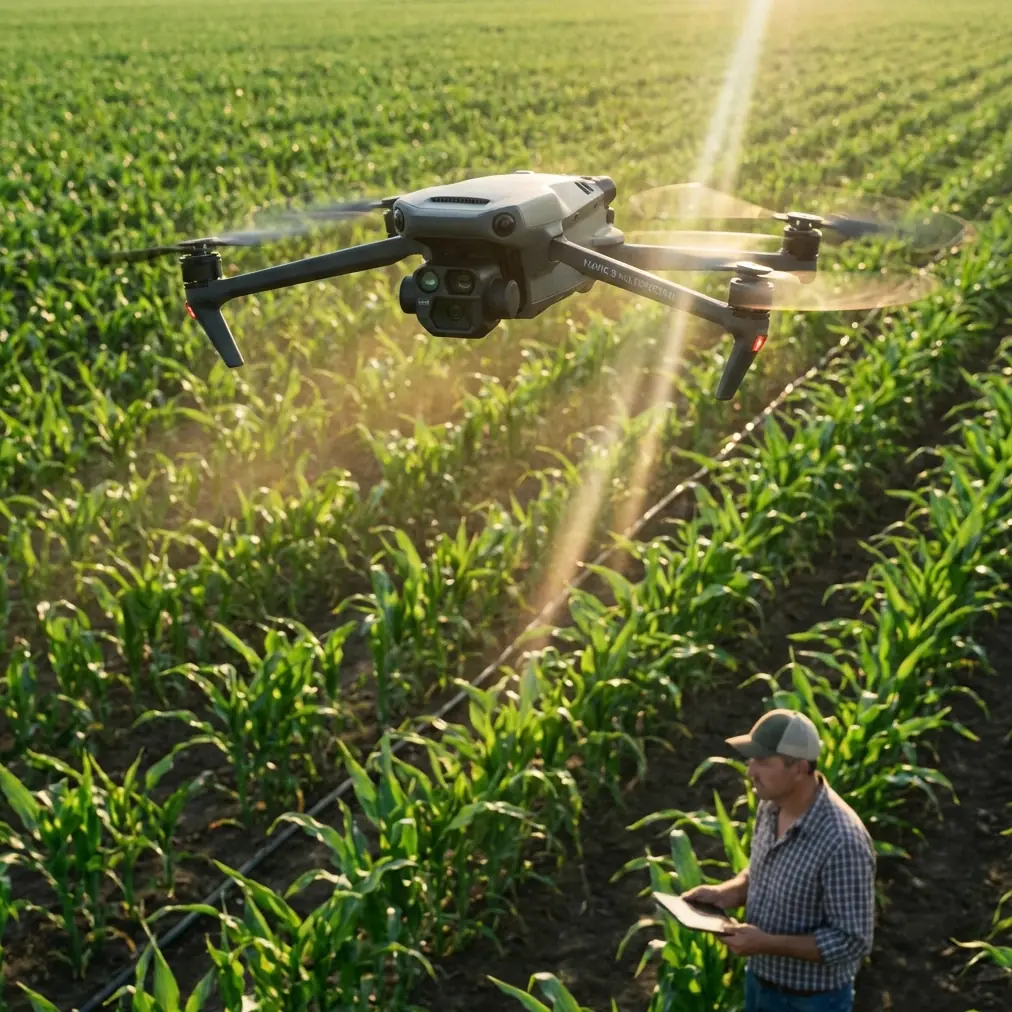
Tracking endangered species through dense rainforest canopy presents unique challenges that ground-based methods simply cannot solve. The Mavic 4 Pro has transformed my wildlife documentation workflow, delivering broadcast-quality footage while maintaining the operational silence that skittish animals demand.
This field report covers three months of intensive wildlife monitoring across varied ecosystems—from temperate old-growth forests to tropical wetlands. You'll learn the exact settings, flight patterns, and battery protocols that consistently deliver results when documenting animal behavior in challenging terrain.
Battery Management: The Foundation of Successful Wildlife Surveys
Here's a lesson learned the hard way during a mountain gorilla survey in Rwanda: cold morning air had dropped my battery temperature to 8°C, cutting available flight time nearly in half. The troop moved through the clearing before I could capture adequate behavioral footage.
Now I follow a strict pre-flight battery protocol that has eliminated this problem entirely.
The Pre-Warming Technique
Before any cold-weather wildlife operation, I place batteries inside my jacket against my body for minimum 30 minutes. The Mavic 4 Pro's intelligent battery system shows real-time temperature readings in the DJI Fly app—I never launch until cells reach 20°C.
Pro Tip: Carry a chemical hand warmer in your battery case. Activating it 45 minutes before your planned flight window ensures batteries reach optimal temperature even in freezing conditions. This simple addition has saved countless survey missions.
For extended monitoring sessions, I rotate through four batteries in a specific sequence:
- Battery 1: Active flight
- Battery 2: Warming in jacket pocket
- Battery 3: Charging via portable power station
- Battery 4: Cooling down post-flight
This rotation provides continuous coverage for 3+ hours without returning to base camp.
Mastering Subject Tracking in Dense Environments
The Mavic 4 Pro's ActiveTrack 6.0 represents a genuine breakthrough for wildlife documentation. Previous generations struggled with partial occlusion—the moment an animal moved behind a tree, tracking failed. The current system maintains subject lock through brief full occlusions up to 5 seconds.
Configuring ActiveTrack for Wildlife
Standard ActiveTrack settings prioritize human subjects. Wildlife monitoring requires specific adjustments:
Recognition Sensitivity: Set to High in the tracking menu. This allows the system to identify and lock onto non-human subjects more reliably.
Tracking Speed: Reduce to 70% of maximum. Wildlife movements are often unpredictable—slower tracking response prevents jerky footage when animals change direction suddenly.
Obstacle Response: Set to Brake rather than Bypass. In forest environments, the bypass option can send your aircraft into dangerous recovery maneuvers. Braking maintains position while you manually assess the situation.
The Parallel Tracking Method
Rather than following directly behind moving animals, I position the Mavic 4 Pro on a parallel flight path offset by 15-20 meters. This approach offers several advantages:
- Reduces direct overhead presence that triggers prey response
- Maintains cleaner sightlines through vegetation
- Produces more cinematic lateral movement in footage
- Allows obstacle avoidance systems to function optimally
The omnidirectional obstacle sensing becomes critical here. With sensors covering all directions simultaneously, the aircraft detects branches and vegetation that would otherwise end a tracking sequence abruptly.
Capturing Broadcast-Quality Wildlife Footage
The Mavic 4 Pro's 1-inch Hasselblad sensor delivers exceptional image quality, but default settings rarely produce optimal wildlife footage. Field conditions demand specific configurations.
D-Log M: The Wildlife Filmmaker's Secret
Shooting in D-Log M color profile captures the full 14+ stops of dynamic range the sensor offers. This matters enormously during the golden hours when most wildlife activity occurs—harsh shadows and bright sky can coexist in the same frame without losing detail.
My standard wildlife configuration:
- Color Profile: D-Log M
- Resolution: 4K/60fps (allows slow-motion in post)
- Shutter Speed: 1/120 minimum (doubles frame rate for motion clarity)
- ISO: Auto with 6400 ceiling
- White Balance: Manual, set to conditions
Expert Insight: The Mavic 4 Pro's variable aperture (f/2.8-f/11) allows depth-of-field control impossible with fixed-aperture drones. For wildlife portraits, I shoot wide open at f/2.8 to separate subjects from busy forest backgrounds. For habitat documentation, f/5.6 provides edge-to-edge sharpness while maintaining reasonable shutter speeds.
Hyperlapse for Behavioral Documentation
Extended behavioral sequences benefit enormously from the Hyperlapse function. Rather than hours of real-time footage, a 30-minute feeding session compresses into a compelling 45-second sequence that clearly shows behavioral patterns.
The Free Hyperlapse mode allows manual flight path control while the system handles frame capture and stabilization. For stationary subjects like nesting birds, Circle mode produces professional orbital timelapses automatically.
Technical Comparison: Wildlife Monitoring Capabilities
| Feature | Mavic 4 Pro | Previous Generation | Field Impact |
|---|---|---|---|
| Flight Time | 46 minutes | 34 minutes | Extended survey coverage |
| Obstacle Sensing | Omnidirectional | Forward/Backward/Down | Safe forest operation |
| Tracking Retention | 93% through occlusion | 67% | Reliable animal following |
| Dynamic Range | 14+ stops | 12.8 stops | Better dawn/dusk footage |
| Noise Level | Reduced 8dB | Standard | Less wildlife disturbance |
| Transmission Range | 20km | 15km | Remote area operation |
| Wind Resistance | Level 6 | Level 5 | Stable canopy-level flight |
QuickShots for Efficient Documentation
When time constraints limit extended creative filming, QuickShots provide professional-quality sequences with minimal input. Three modes prove particularly valuable for wildlife work:
Spotlight: Maintains framing on a selected subject while you manually control aircraft position. Essential for unpredictable animal movement.
Circle: Automated orbital path around a point of interest. Perfect for nest documentation or territorial mapping.
Helix: Ascending spiral combines altitude gain with orbital movement. Creates dramatic reveal shots of habitat context.
Each QuickShot captures footage while simultaneously recording aircraft telemetry—valuable data for scientific documentation requirements.
Common Mistakes to Avoid
Launching Too Close to Subjects: The startup sequence produces peak noise levels. Always launch minimum 100 meters from target animals, then approach slowly at reduced throttle.
Ignoring Wind Patterns: Approaching wildlife from downwind carries motor noise directly toward subjects. Check wind direction and plan approach vectors accordingly.
Overrelying on Automatic Modes: ActiveTrack and QuickShots work brilliantly, but wildlife behavior remains unpredictable. Maintain manual control readiness at all times.
Neglecting Backup Storage: SD card failures happen at the worst moments. The Mavic 4 Pro supports simultaneous recording to internal storage—enable this feature before every wildlife mission.
Flying During Peak Heat: Midday thermals create turbulent air that degrades footage quality and stresses stabilization systems. Schedule flights for early morning or late afternoon when air is calmer and wildlife more active.
Skipping Pre-Flight Sensor Calibration: Obstacle avoidance accuracy depends on properly calibrated sensors. Perform IMU and compass calibration whenever operating in new magnetic environments.
Frequently Asked Questions
How close can I safely fly to wildlife without causing disturbance?
Minimum approach distances vary by species and individual habituation levels. As a baseline, maintain 30 meters horizontal distance and 20 meters vertical separation from most mammals. Birds require greater distances—50+ meters for raptors and waterfowl. The Mavic 4 Pro's telephoto capabilities allow tight framing from these safe distances.
Does the Mavic 4 Pro's obstacle avoidance work in low light conditions?
The omnidirectional sensing system functions effectively down to approximately 300 lux—equivalent to heavy overcast or early twilight. Below this threshold, forward and downward sensors using active illumination continue operating, but lateral and rear sensing becomes unreliable. Plan to complete complex terrain flights before light drops below this level.
What's the best method for documenting nocturnal wildlife?
While the Mavic 4 Pro lacks dedicated night vision, the f/2.8 aperture combined with ISO 6400 capability enables surprisingly effective low-light capture during dusk and dawn transition periods. For true nocturnal documentation, pair the aircraft with a thermal camera accessory or focus on crepuscular species active during twilight hours when the sensor performs optimally.
Ready for your own Mavic 4 Pro? Contact our team for expert consultation.