Mavic 4 Pro for Windy Power-Line Inspection
Mavic 4 Pro for Windy Power-Line Inspection: A Field Method That Actually Holds Up
META: Practical Mavic 4 Pro guidance for windy power-line inspection, built around real transmission inspection workflows, crew roles, thermal capture requirements, and battery management tips from the field.
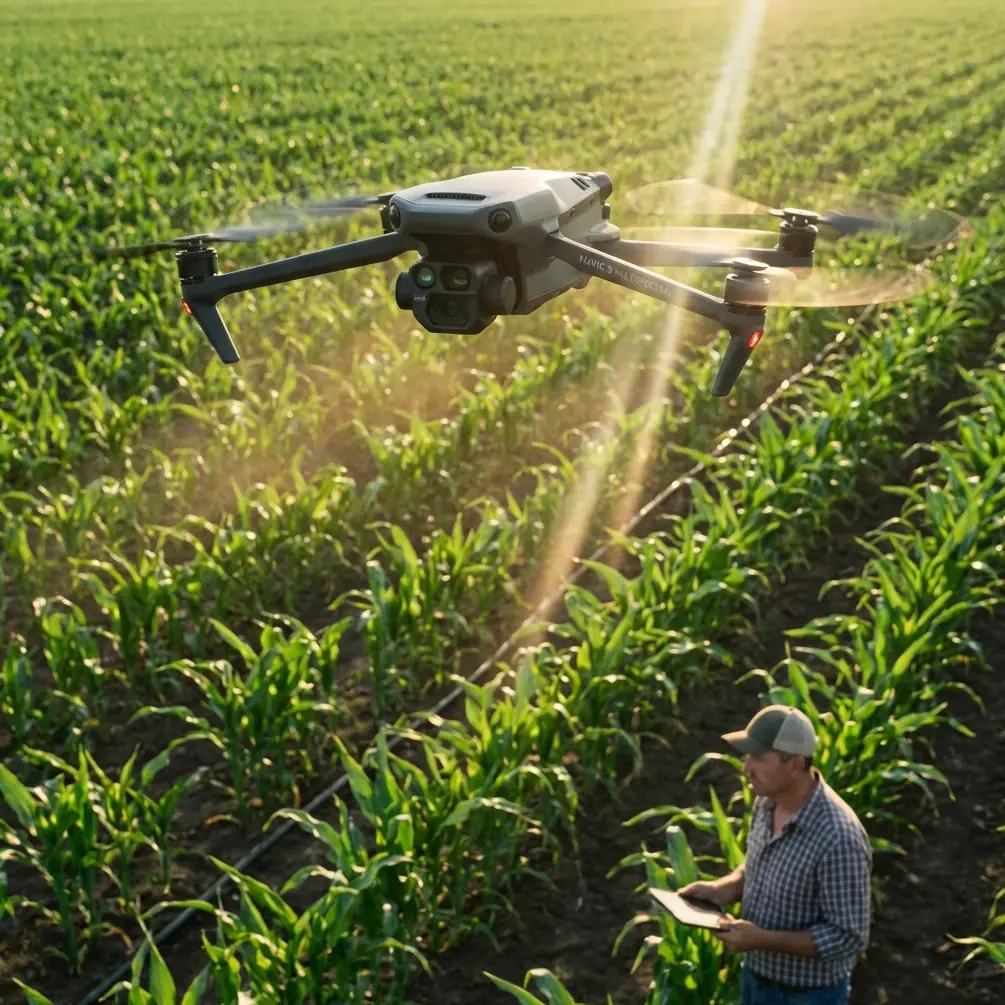
Power-line inspection is one of those jobs where drone marketing language stops mattering fast. What matters is whether you can hold a stable position near a structure in moving air, capture usable thermal and visible data on every level of a tower, and leave the site with a dataset that a client can actually review and trust.
For operators looking at the Mavic 4 Pro for this kind of work, the right question is not “Can it fly near lines?” The right question is: can you build a repeatable inspection method around it when wind, terrain, and tower geometry are working against you?
That is the lens I want to use here.
The reference workflow behind this article comes from a multirotor transmission-line inspection plan built around single-circuit towers from 35kV up to 1000kV. It is not a hobby scenario. It is a structured inspection model: a 3-person flight team, tower-by-tower capture, ultra-low-altitude positioning, visible-light detail collection, thermal diagnosis, and post-processing that flags suspected defects for the client. If you want to use a Mavic 4 Pro in windy power-line work, that framework matters more than any headline feature.
Start with the real inspection unit: the crew, not the aircraft
One of the smartest details in the source material is operational, not technical: each flight team consists of 3 people. One pilot handles aircraft control and flight safety. One data-collection specialist manages photo and video capture while recording tower information. One supervisor oversees plan execution and checks output quality.
That structure is worth preserving even if the Mavic 4 Pro makes solo flying look easy on paper.
Why? Because windy power-line inspection is a divided-attention problem. The pilot is already managing drift, tower offset, rotor wash effects near structure, route discipline, and contingency spacing around conductors and fittings. Asking that same person to also decide whether the visible image is sharp enough to inspect a split pin or whether a thermal frame needs to be repeated is where quality drops. The aircraft may be capable. The workflow becomes the weak point.
With a Mavic 4 Pro, the best results in this environment will come when you treat the aircraft as one part of a small inspection system. If the pilot can focus entirely on aircraft control and position holding, you reduce rushed framing. If another crew member watches the live feed and tracks asset coverage by tower level, missed hardware drops sharply.
For windy days, this matters even more. Wind doesn’t just move the drone. It compresses your decision window.
The inspection pattern should follow the tower, not the app
The source method is very specific: inspect each tower level by level. The drone flies and hovers at each structural tier, capturing insulators, line hardware, conductor-to-fitting connection points, and related attachments. That may sound obvious, but many less experienced operators still default to broad orbiting passes because they feel efficient.
They are often efficient at producing footage. They are not always efficient at producing inspection evidence.
A level-by-level hover pattern is particularly important when using a compact platform like the Mavic 4 Pro in wind. Long lateral moves around a tower in gusty conditions create more variability in subject distance, gimbal angle, and image consistency. A short controlled move, then hover, then capture sequence is easier to repeat and easier to review later.
The source also emphasizes ultra-low-altitude inspection to achieve precise, blind-spot-free imaging without climbing the tower manually. Operationally, that means you are not using the drone as a general corridor survey tool first. You are using it as a close visual and thermal inspection device around critical components.
This is where Mavic-series strengths can be useful if applied correctly:
- obstacle awareness can help maintain controlled positioning near structural elements
- subject tracking tools can assist with visual continuity in some non-energized context shots or route documentation
- D-Log can help preserve tonal detail for later review when lighting is harsh
- Hyperlapse and QuickShots may have value for project documentation or progress communication, but they are secondary here, not core inspection modes
For energized infrastructure in wind, your money shot is still the boring one: a stable, sharp, properly exposed hover frame of the exact fitting, insulator string, or connector the client needs to evaluate.
Thermal capability is only useful if your method is disciplined
The source specification calls for a thermal imager with at least 640×480 resolution, thermal sensitivity of at least 50mK, temperature accuracy of at least 2K, and a measurement range from -20°C to +150°C. It also notes pseudo-color display and the ability to show the hottest point and its temperature in real time.
Those numbers matter because power-line inspection is not simply “find something hot.” It is “find heating where it should not be, on hardware that must be compared against adjacent components and operating conditions.”
If you are pairing the Mavic 4 Pro with a thermal workflow, the operational significance is this: wind can cool surfaces unpredictably and can also destabilize hover precision during the exact seconds when you need thermal clarity. So your thermal pass cannot be improvised.
A disciplined sequence works better:
- visible-light establishing pass for tower orientation
- close visible stills of each target component group
- thermal hold on the same component group
- immediate review for hotspot localization and retake if needed
The source document specifically mentions real-time display of the hottest point position and temperature value. In practice, that is valuable only if your crew logs where that hotspot sits on the asset. A raw thermal anomaly without component context creates extra work later and can trigger avoidable ambiguity in the report.
On windy days, I recommend shorter thermal holds and more repeats rather than one long attempt. Gusts tend to create subtle framing shifts that become frustrating in post. Three controlled, short thermal captures are usually more reviewable than one drifting hover.
What image quality means in transmission work
Another source requirement is visible-light resolution of at least 20 megapixels, with enough clarity after enlargement to clearly identify bolts, cotter pins, and larger inspection targets. That is not a vanity spec. It tells you what the image is supposed to do.
For Mavic 4 Pro operators, this should shape both camera settings and flight distance. The job is not to make the tower look crisp. The job is to preserve enough detail that a reviewer can inspect small fastening elements and hardware condition without guessing.
This changes how you think about windy operations. In rough air, many pilots instinctively widen out for comfort. Safer spacing can be sensible, but if wind pushes you so far back that bolt-level detail degrades after zooming or cropping, you have not completed the inspection standard the source is describing.
The answer is not to crowd the structure. The answer is to break the work into smaller approach windows. Move in, stabilize, capture, exit, review. Then repeat for the next hardware set.
A stable workflow beats a brave one.
Windy-site route planning: what the reference efficiency numbers really tell us
The source gives useful productivity benchmarks based on terrain: about 14 towers per workday in mountains, 20 in hilly areas, and 24 in plains or urban flatland, based on an average of 4 towers per kilometer. It also notes that with an average of 20 towers per day, a crew can cover around 5 kilometers, with one takeoff and landing for every two towers.
Those figures are not there to promise speed. They are there to show how inspection efficiency changes when terrain and access shape your drone workflow.
For windy power-line work with the Mavic 4 Pro, this has two practical implications.
First, do not schedule by distance alone. Schedule by tower complexity, terrain exposure, and wind channeling. A ridge-line tower in gusty flow can consume the same time as several easy flatland structures.
Second, battery planning should be tied to tower count and hover demand, not headline endurance.
Here is the field tip I wish more crews followed: in windy inspection work, stop planning batteries as “minutes in the air” and start planning them as “inspection-quality hovers per pack.” That one shift prevents a lot of sloppy final towers.
If your route averages one takeoff for every two towers, and each tower requires multiple level holds for visible and thermal capture, your pack is not being spent on transit alone. It is being spent on stabilization corrections, repeated framing, and conservative exits. Wind accelerates all of that.
My practical rule with compact inspection platforms is simple: never assign the final critical side of a tower to the final quarter of a battery when conditions are gusty. Land earlier than your ego wants to. Swap. Come back with full control margin. The extra battery change is cheaper than discovering in post that your hottest connector frame is soft, skewed, or incomplete.
Obstacle avoidance is a support tool, not a substitute for inspection geometry
Since Mavic buyers naturally care about obstacle avoidance, it is worth saying plainly: around transmission structures, obstacle sensing can be helpful, but it does not remove the need for deliberate geometry.
Towers create dense visual patterns. Conductors, fittings, crossarms, and background clutter can make automatic systems less meaningful than pilots expect, especially in changing light and wind. For inspection work, obstacle avoidance is best treated as a layer of protection, not your primary positioning strategy.
The source workflow’s tower-by-tower, level-by-level hover logic is still the stronger foundation. It gives the pilot predictable approach angles and gives the data operator a checklist structure. In practice, that is what reduces misses.
ActiveTrack and subject tracking sound attractive in aerial workflows, but for close component inspection they should remain peripheral. Tracking is useful for broader asset-context shots, route documentation, or non-critical overview footage. It is not how you verify a connector, an insulator assembly, or a suspect heat point on a windy day.
Post-processing is part of the inspection, not an afterthought
One detail in the source deserves more attention than it usually gets: after the drone captures high-definition images, trained image-processing staff review each image, look for suspected defects, annotate them, and submit the marked results to the client.
That is the real finish line.
Mavic 4 Pro operators who want to work in power infrastructure should design the capture phase around reviewability. Every image should answer a reporting question later:
- Which tower is this?
- Which level is this?
- Which component group is shown?
- Is the image sharp enough to inspect?
- If thermal, where exactly is the hotspot?
- Can the suspected issue be annotated without ambiguity?
The source also requires retaining image records for key parts such as tower bodies, hardware, insulators, and line corridors, building an archive for each tower. That has long-term value. When you create a consistent file structure and repeatable image sequence, the next inspection cycle becomes far more useful because deterioration can be compared, not just described.
If you’re building this capability and want to discuss workflow details with someone who understands utility drone operations, you can message the team directly here.
A practical Mavic 4 Pro how-to for windy power-line inspection
If I were setting a Mavic 4 Pro team up for this mission profile, the workflow would look like this:
1. Build a 3-person operating rhythm
Keep pilot, data capture, and quality oversight distinct. Even if one person can technically do more, separation improves safety and output consistency.
2. Inspect by tower level
Do not rely on broad cinematic passes. Stop at each structural tier and capture the same component classes every time: insulators, hardware, conductor connection points, and attachments.
3. Prioritize visible-light sharpness first
If the still image cannot support fastener-level review after enlargement, reposition and retake. The source standard around 20MP-class inspection detail makes this non-negotiable.
4. Pair every visible target with a thermal check where applicable
Use short, deliberate thermal holds. Confirm hotspot position while still on site rather than assuming post-processing will rescue ambiguity.
5. Adjust output targets to terrain and wind
The reference average of 20 towers or roughly 5 kilometers per day is useful as a planning baseline, not a promise. Mountains, gust funnels, and difficult tower access will cut that down fast.
6. Manage batteries by hover workload
Count inspection events, not just flight minutes. On windy days, reserve fresh packs for the most exposed or detail-critical towers.
7. Organize files by tower and level before leaving site
The source requirement to establish records for each tower is exactly right. Good archiving is part of professional delivery, not office cleanup.
The bottom line
The Mavic 4 Pro can make sense for power-line work if it is used inside a disciplined inspection method. The source material behind this article makes that clear. This kind of operation is not about general aerial coverage. It is about close, structured, repeatable tower inspection with visible and thermal evidence, typically executed by a 3-person crew and judged on whether each tower’s critical components were captured clearly enough to identify suspected defects.
Two source details stand out as especially operationally significant. First, the level-by-level hover inspection model is what allows blind-spot reduction and precise diagnosis of insulators, fittings, and conductor connection points. Second, the thermal spec baseline—640×480 resolution, 50mK sensitivity, and real-time hottest-point display—shows that thermal work is expected to support actionable defect review, not just colorful imaging.
In windy conditions, success with a Mavic 4 Pro comes down to resisting the urge to fly fast and trusting a more methodical pattern: approach, stabilize, capture, verify, and only then move on. That is how you turn a compact drone into a reliable inspection tool rather than just an airborne camera.
Ready for your own Mavic 4 Pro? Contact our team for expert consultation.