Mavic 4 Pro Guide: Low-Light Power Line Monitoring
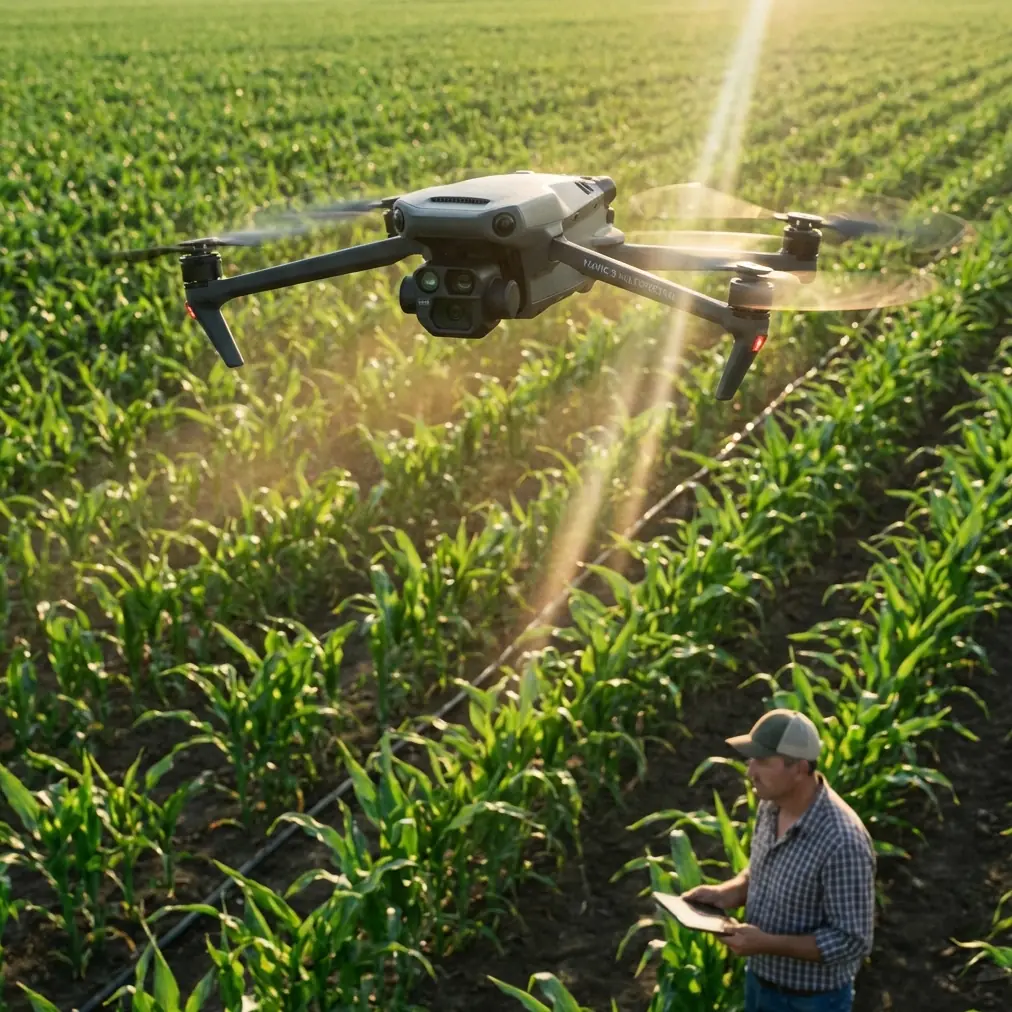
Mavic 4 Pro Guide: Low-Light Power Line Monitoring
META: Master low-light power line inspections with the Mavic 4 Pro. Learn expert techniques for obstacle avoidance, camera settings, and safe utility monitoring workflows.
TL;DR
- D-Log color profile preserves critical shadow detail in dawn/dusk power line inspections
- Omnidirectional obstacle avoidance prevents collisions with hard-to-see cables in reduced visibility
- ActiveTrack 6.0 maintains consistent framing while following transmission lines across terrain
- 1-inch CMOS sensor captures usable inspection footage down to 0.5 lux lighting conditions
The Challenge That Changed My Inspection Workflow
Three years ago, I nearly lost a drone to an unmarked guy-wire during a twilight transmission tower inspection. The cable was invisible against the darkening sky, and my previous aircraft lacked the sensing capability to detect it.
That incident cost me a contract and weeks of confidence rebuilding.
The Mavic 4 Pro has fundamentally transformed how I approach low-light utility work. Its combination of advanced sensing technology and exceptional low-light imaging means I can now complete inspections during the golden hours when thermal signatures are most revealing—without the constant fear of invisible obstacles.
This guide walks you through the exact settings, techniques, and workflows I've developed over 200+ hours of power line inspection flights.
Understanding Low-Light Challenges in Utility Inspection
Power line monitoring presents unique difficulties that compound in reduced lighting conditions.
Why Timing Matters for Thermal Detection
Utility companies increasingly request inspections during dawn or dusk hours. Temperature differentials between functioning and failing components become most apparent when ambient temperatures shift rapidly.
A failing insulator that reads identically to surrounding equipment at noon may show a 15-20 degree variance during the cooling period after sunset.
This creates a narrow operational window where lighting challenges peak precisely when inspection value is highest.
The Invisible Threat Matrix
Low-light power line environments contain multiple collision hazards:
- Guy-wires supporting transmission towers
- Unmarked distribution lines crossing inspection corridors
- Communication cables sharing utility poles
- Vegetation encroaching on right-of-way boundaries
- Wildlife deterrent devices mounted on structures
Traditional visual piloting becomes unreliable below 50 lux—roughly equivalent to deep twilight conditions.
Mavic 4 Pro Specifications for Utility Work
| Feature | Specification | Inspection Benefit |
|---|---|---|
| Sensor Size | 1-inch CMOS | Superior low-light detail capture |
| Video Resolution | 5.1K/60fps | Frame-by-frame defect analysis |
| Obstacle Sensing | Omnidirectional | 360-degree cable detection |
| Sensing Range | Up to 40m | Early warning for thin obstacles |
| D-Log Dynamic Range | 14+ stops | Shadow/highlight recovery |
| Max Flight Time | 46 minutes | Extended inspection corridors |
| ActiveTrack Version | 6.0 | Automated line-following |
Pre-Flight Configuration for Low-Light Operations
Proper setup before launch determines inspection success more than any in-flight adjustment.
Camera Settings Optimized for Utility Detail
Start with these baseline parameters and adjust based on specific conditions:
- ISO: Begin at 400, increase only as necessary
- Shutter Speed: 1/50 minimum for video, 1/120 for stills
- Aperture: f/4.0 balances depth of field with light gathering
- Color Profile: D-Log mandatory for post-processing flexibility
- White Balance: Manual at 5600K for consistent footage
Expert Insight: Never use Auto ISO for inspection work. Automatic adjustments create exposure inconsistencies between frames that complicate defect comparison analysis. Lock your settings and accept slightly darker footage that you'll correct in post.
Obstacle Avoidance Configuration
The Mavic 4 Pro's sensing system requires specific tuning for power line environments.
Navigate to Settings > Safety > Obstacle Avoidance and configure:
- Avoidance Behavior: Set to Brake rather than Bypass
- Sensing Mode: All Directions active
- Warning Distance: 15 meters minimum
- Braking Distance: 8 meters
Bypass mode creates unpredictable flight paths near energized equipment. Brake mode stops the aircraft and returns control to the pilot for manual navigation decisions.
Flight Path Planning
Pre-program your inspection route using waypoint missions during daylight hours when possible.
Key planning considerations:
- Maintain minimum 10-meter horizontal clearance from energized conductors
- Plan approach angles that keep the sun behind the aircraft
- Include hover points at each structure for detailed examination
- Set altitude floors 5 meters above the highest obstacle in each segment
In-Flight Techniques for Power Line Monitoring
Execution determines whether your preparation translates to usable inspection data.
Using ActiveTrack for Line Following
ActiveTrack 6.0 excels at maintaining consistent framing while the aircraft follows linear infrastructure.
Activation sequence:
- Position the drone with the power line visible in frame
- Draw a selection box around a section of conductor
- Select Trace mode from the tracking options
- Set tracking speed to maximum 8 m/s for inspection work
- Monitor the tracking indicator for lock stability
The system tracks the geometric pattern of the line rather than specific visual features, maintaining lock even as individual towers pass through frame.
Pro Tip: ActiveTrack struggles with line crossings where multiple conductors intersect. Pause tracking 50 meters before any junction point and manually navigate through the crossing before re-engaging.
Hyperlapse for Corridor Documentation
Hyperlapse mode creates compressed timeline footage showing entire transmission corridors in digestible formats for stakeholder presentations.
Optimal settings for utility Hyperlapse:
- Mode: Waypoint
- Interval: 3 seconds
- Duration: Calculate based on corridor length
- Speed: 2x provides detail while maintaining context
This technique produces deliverables that utility managers can review quickly while identifying sections requiring detailed examination.
QuickShots for Structure Documentation
QuickShots automated flight patterns create consistent documentation of individual structures.
Orbit mode circles transmission towers at configurable distances, capturing all sides without manual stick input.
Configure Orbit for inspection:
- Radius: 20-30 meters depending on structure size
- Speed: Slow setting
- Direction: Clockwise for consistency across all structures
Consistent documentation patterns enable direct comparison between inspection dates.
Post-Processing Low-Light Inspection Footage
D-Log footage requires processing to reveal its full diagnostic potential.
Shadow Recovery Workflow
Raw D-Log footage appears flat and desaturated by design. This preserves information that aggressive in-camera processing would destroy.
Processing sequence:
- Apply manufacturer LUT as starting point
- Increase shadow slider to +40 to reveal cable detail
- Reduce highlight slider to -20 to recover sky detail
- Add local contrast to enhance component edges
- Apply noise reduction calibrated to your ISO setting
Footage shot at ISO 800 typically requires noise reduction values between 25-35 without destroying fine detail.
Defect Identification Markers
Create a consistent marking system for identified issues:
- Red markers: Immediate attention required
- Yellow markers: Monitor at next inspection
- Blue markers: Documentation only, no action needed
Export marked footage with burned-in timecodes for field crew reference.
Common Mistakes to Avoid
Flying too fast for sensor processing: The obstacle avoidance system requires processing time. Speeds above 12 m/s reduce sensing reliability for thin objects like guy-wires.
Ignoring wind effects on stability: Low-light footage amplifies micro-movements. Wind speeds above 15 km/h create motion blur that obscures small defects.
Relying solely on automated tracking: ActiveTrack loses lock on uniform conductors against uniform backgrounds. Maintain manual override readiness throughout automated sequences.
Underestimating battery drain in cold conditions: Dawn inspections often occur in cold temperatures. Expect 15-20% reduction in flight time when temperatures drop below 10°C.
Skipping pre-flight sensor calibration: Obstacle sensing accuracy degrades without regular IMU calibration. Calibrate before any inspection flight, not just when prompted.
Frequently Asked Questions
Can the Mavic 4 Pro detect all power line obstacles?
The omnidirectional sensing system detects most obstacles, but extremely thin wires below 5mm diameter may not trigger warnings at maximum range. Always maintain visual contact with your flight path and treat sensor data as supplementary rather than primary collision avoidance.
What's the minimum lighting for usable inspection footage?
The 1-inch sensor produces analyzable footage down to approximately 0.5 lux—equivalent to deep twilight with clear skies. Below this threshold, footage becomes too noisy for reliable defect identification even with aggressive post-processing.
How does Subject tracking differ from ActiveTrack for linear infrastructure?
Subject tracking locks onto discrete objects and follows their movement. ActiveTrack 6.0 includes pattern recognition that maintains lock on static linear features like power lines, making it superior for utility inspection applications where the infrastructure doesn't move but the drone does.
Ready for your own Mavic 4 Pro? Contact our team for expert consultation.