Mavic 4 Pro for Dusty Forest Monitoring: A Practical Flight
Mavic 4 Pro for Dusty Forest Monitoring: A Practical Flight Workflow Grounded in Real Survey Standards
META: Learn how to use Mavic 4 Pro for dusty forest monitoring with a field workflow inspired by low-altitude photogrammetry standards, including flight altitude, control planning, image quality, and safer obstacle-aware operations.
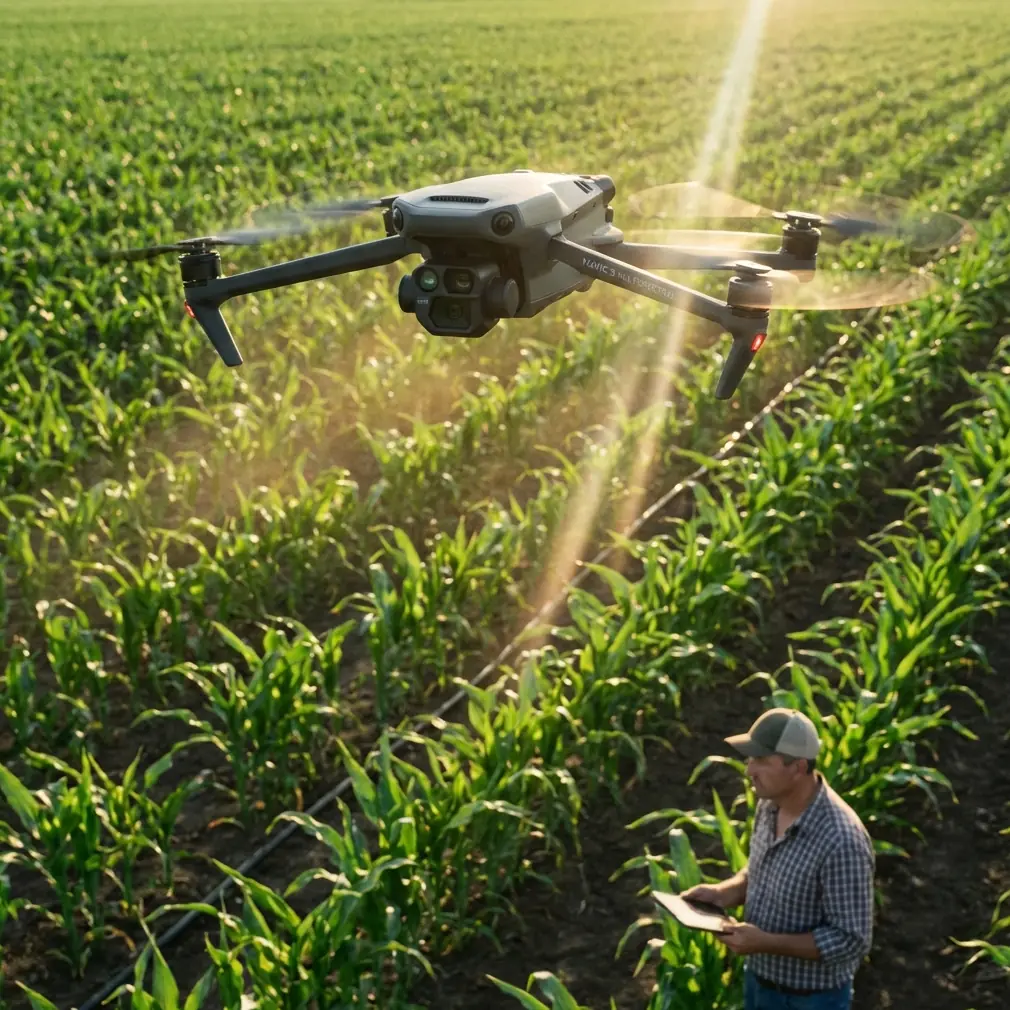
Forest monitoring with a Mavic 4 Pro is not just about getting dramatic canopy footage. In dusty conditions, the aircraft becomes a data collection tool operating in a difficult environment where visibility shifts, tree structure confuses automation, and every pass has to support usable mapping or repeatable observation.
That is where many operators go wrong. They focus on the aircraft’s feature set before they think about field discipline.
A better approach starts with a simple idea: fly the Mavic 4 Pro as if the mission has to stand up to formal survey scrutiny. That mindset is strongly aligned with the Chinese low-altitude digital aerial photogrammetry field standard, CH/Z 3004—2010, which defines outdoor work requirements for low-altitude aerial photogrammetry, including basic control point measurement, photo control point layout and measurement, field annotation, inspection and acceptance, and final deliverable submission. Even though this standard was written around low-altitude aerial survey systems more broadly, its logic fits a modern UAV workflow extremely well.
For anyone monitoring forests in dusty areas, that matters more than it may seem.
Why this standard-based mindset fits the Mavic 4 Pro
The reference material makes two things clear.
First, CH/Z 3004—2010 is specifically aimed at low-altitude digital aerial photogrammetry field operations. It was developed with the technical realities of ultralight aircraft and unmanned aerial vehicle imaging systems in mind. That means it is not some distant manned-aircraft framework awkwardly pasted onto drones. It was built around the kind of operational envelope that a Mavic-class aircraft actually lives in.
Second, the standard explicitly centers on mapping outputs at 1:500, 1:1000, and 1:2000 scales. That is operationally significant because it forces the pilot and survey planner to think backwards from the end product. If your forest monitoring mission is intended to compare canopy gaps, access tracks, erosion edges, firebreak encroachment, or tree-fall zones over time, your image capture has to be repeatable enough to support those scales of interpretation. Flying casually at random altitudes and relying on automation later usually creates inconsistency that shows up in the data.
So the real question is not “Can Mavic 4 Pro fly in dusty forests?” It can. The better question is “How do you plan and fly it so the results remain consistent, inspectable, and usable?”
Start with mission intent, not camera mode
Forest monitoring can mean several very different tasks:
- tracking canopy thinning over time
- checking road or trail encroachment
- monitoring storm or drought damage
- documenting replanting areas
- verifying boundaries and terrain changes
- spotting drainage problems in cleared or degraded zones
Each of those asks for a slightly different flight style. The Mavic 4 Pro’s intelligent functions like ActiveTrack, obstacle avoidance, QuickShots, and Hyperlapse are useful, but they are not your main method for baseline monitoring. They are secondary tools.
For the core mission, think in layers:
Baseline mapping pass
This is your structured, repeatable image capture.Targeted inspection pass
This is where obstacle avoidance and subject-aware tools help you inspect problem areas.Visual communication pass
This is where cinematic modes, D-Log capture, or Hyperlapse may support reporting.
That separation keeps the data clean. It also helps when dust begins to interfere with contrast and line-of-sight.
Optimal flight altitude for dusty forest monitoring
If you want one practical altitude insight, here it is: for a general forest monitoring mission in dusty conditions, start around 70 to 90 meters above ground level for your primary mapping pass, and adjust only after you assess canopy uniformity, terrain relief, and dust behavior.
Why this band works:
- It is usually high enough to reduce the worst near-ground dust disturbance and rotor wash interaction with loose debris.
- It gives better continuity across uneven canopy and broken terrain.
- It reduces the risk of flying too close to isolated tall trees, dead snags, or unseen branches.
- It still preserves enough ground detail for monitoring tasks that align with the scale discipline suggested by the standard’s 1:500 to 1:2000 output focus.
If you fly much lower, especially in dry forest corridors or cleared access lines, suspended dust can become a bigger image-quality problem. Lower altitude also increases the chance that obstacle sensing will be working overtime around branches, vines, and irregular tree crowns. If you go too high, you gain safety margin but may lose the detail needed for repeatable environmental interpretation.
For targeted inspections, dropping to 40 to 60 meters can make sense over clearings, roads, damaged sections, or exposed slopes, but only when the dust load is manageable and the canopy is not creating too many vertical hazards. In dense forest interiors, lower is not automatically better.
Dust changes more than image quality
Most pilots think about dust as a lens problem. It is broader than that.
Dust affects:
- visual contrast in captured images
- the reliability of horizon and texture definition
- obstacle perception in cluttered scenes
- consistency between one monitoring date and the next
- takeoff and landing safety
- post-processing confidence when identifying edges, paths, and sparse vegetation
This is exactly why the reference standard’s emphasis on inspection and acceptance is so valuable in a drone workflow. You should not wait until back in the office to decide whether the mission succeeded. Build field acceptance checks into the job.
After the first mapping leg, review:
- edge sharpness on canopy margins
- visibility in shaded forest edges
- continuity of overlap in dusty sectors
- whether roads, clearings, or stream lines remain interpretable
- whether dust haze is local or mission-wide
If the data is degrading, change the timing or route before you complete the whole flight set.
Ground control still matters, even with a smart aircraft
One of the strongest cues from CH/Z 3004—2010 is its attention to basic control point measurement and photo control point layout and measurement. That is not bureaucratic padding. It is the backbone of trust in the output.
The Mavic 4 Pro may offer highly capable positioning and stable flight, but for repeat forest monitoring, especially where findings may be compared over months or seasons, ground reference remains crucial. In practical terms, that means:
- establish a few durable, visible control points near accessible clearings, road edges, or open margins
- avoid placing markers under canopy where they are partly hidden or dust-obscured
- keep the layout consistent between repeat missions
- document point placement so future surveys can match them
Operationally, this helps in three ways.
First, it reduces drift between monitoring epochs.
Second, it improves confidence when measuring real change versus apparent change caused by geometry or alignment differences.
Third, it gives your client or internal team a defensible framework if the imagery is being used for environmental reporting, forestry operations, land management, or restoration verification.
Obstacle avoidance is useful, but don’t let it design the mission
Dusty forests are exactly the kind of environment where pilots can become too dependent on obstacle avoidance. The Mavic 4 Pro’s sensing suite is there to reduce risk, not to replace route design.
In forest monitoring, obstacle avoidance works best when you use it as a safety layer around a conservative flight plan. Tree crowns are irregular. Dry branches can be thin. Dust and angled sunlight can complicate sensing. Dense vertical texture may also tempt automated pathing to react in ways that are safe but inconsistent for mapping.
My rule is simple:
- Use a clean, pre-planned grid or corridor for the baseline mission.
- Keep enough vertical separation above canopy.
- Reserve more dynamic tracking functions for secondary inspection.
That is where ActiveTrack becomes useful. If you are following a maintenance vehicle on a forestry road, tracking a moving field crew at the edge of a replanting zone, or documenting a controlled civilian site activity, ActiveTrack can add context. But it should not replace the structured image capture needed for comparison and analysis.
D-Log and reporting value in dusty scenes
Dust creates a flat, muted visual environment. Highlights can bloom, shadows can close up under trees, and color separation can weaken. If your monitoring project includes stakeholder reporting, D-Log capture can be valuable because it gives more flexibility in post when you need to recover tonal detail without overcooking the image.
That said, the goal is not to make the forest look cinematic. The goal is to preserve interpretability.
A practical workflow looks like this:
- use your standard stills or mapping image set for analysis
- capture supplementary video in D-Log for communication and review
- create a short Hyperlapse only if it helps show change over a road corridor, edge expansion, or smoke/dust movement over time
QuickShots have a place too, but mainly for briefing visuals or site summaries. They are not the backbone of a monitoring workflow.
Build a field checklist around acceptance, not just battery life
The standard references a broader ecosystem of mapping quality and acceptance documents, including GB/T 24356 for quality inspection and acceptance of surveying and mapping results and CH/T 1004 for surveying technical design specifications. You do not need to become a standards specialist to benefit from that structure. You just need to borrow the discipline.
A smart field checklist for Mavic 4 Pro forest monitoring should include:
Before flight
- confirm mission objective and repeatability requirements
- define target altitude, usually 70 to 90 meters AGL for baseline capture
- identify canopy hazards and dust-prone takeoff zones
- verify control point visibility
- plan at least one alternate landing spot away from loose dust
During flight
- watch for image softening in dusty sectors
- monitor whether obstacle avoidance is reacting too often, which may indicate unsafe route geometry
- maintain visual awareness of isolated tall trees and dead tops
- check overlap and line consistency after the first leg
After first sortie
- inspect sample images on site
- confirm that control points are visible where required
- verify that terrain, roads, breaks, and canopy boundaries are interpretable
- decide whether to re-fly while still on location
That last point is the one too many teams skip.
Field annotation is not old-fashioned; it saves time later
CH/Z 3004—2010 also addresses field annotation requirements. In a modern drone context, that translates into disciplined metadata and notes. In dusty forest operations, write down:
- visibility level
- wind behavior near canopy
- dust source conditions
- areas of sensor hesitation or route adjustment
- time of day and sun angle
- unusual ground activity like vehicle movement or burning residue
Why does this matter? Because six weeks later, when someone compares missions and sees different edge clarity or canopy contrast, those notes explain whether the forest changed or the atmosphere did.
A practical tutorial flow for the Mavic 4 Pro in this scenario
Here is the workflow I would use.
1. Set the mission frame
Decide whether the priority is change detection, access corridor monitoring, replanting verification, or damage assessment.
2. Choose baseline altitude
Begin at 80 meters AGL as your default starting point. Move toward 70 meters if you need more detail and the air is clean enough. Move toward 90 meters if dust and canopy irregularity are hurting consistency.
3. Establish control logic
Use visible reference points where possible. Keep them repeatable for future visits.
4. Fly the structured pass first
Do not start with cinematic or tracking modes. Get the repeatable dataset while batteries are fresh and conditions are stable.
5. Review on site
Use field acceptance logic. If the data is weak, correct it immediately.
6. Run inspection passes
Now use obstacle-aware manual work, selective ActiveTrack, or closer visual review over flagged areas.
7. Capture communication assets
If needed, record short D-Log clips, a Hyperlapse of a corridor, or a concise overview sequence for reporting.
If you need help tailoring a forest monitoring workflow to your site conditions, this direct WhatsApp line can be useful: message a drone workflow specialist.
The real advantage of the Mavic 4 Pro here
The biggest advantage is not one individual feature. It is that a compact aircraft with modern obstacle handling, intelligent tracking, and high-end imaging can now be used within a field method that resembles formal aerial survey discipline.
That is the bridge professionals should care about.
The reference standard was written to bring order to low-altitude photogrammetry fieldwork: control points, layout, field verification, acceptance, deliverables. When you apply that thinking to a Mavic 4 Pro in dusty forest monitoring, the aircraft stops being just a flying camera. It becomes part of a repeatable observation system.
And that is what separates attractive footage from reliable forestry intelligence.
Ready for your own Mavic 4 Pro? Contact our team for expert consultation.