M4P Coastal Monitoring Tips for Mountain Terrain
M4P Coastal Monitoring Tips for Mountain Terrain
META: Master Mavic 4 Pro coastal monitoring in mountainous regions. Learn expert antenna adjustments, obstacle avoidance settings, and filming techniques for stunning results.
TL;DR
- Electromagnetic interference in mountain-coastal zones requires specific antenna positioning and channel selection
- ActiveTrack 6.0 combined with obstacle avoidance enables safe autonomous shoreline following
- D-Log color profile captures maximum dynamic range for high-contrast cliff and water scenes
- Strategic flight planning around wind corridors and signal dead zones prevents costly crashes
Why Mountain Coastal Monitoring Demands Specialized Techniques
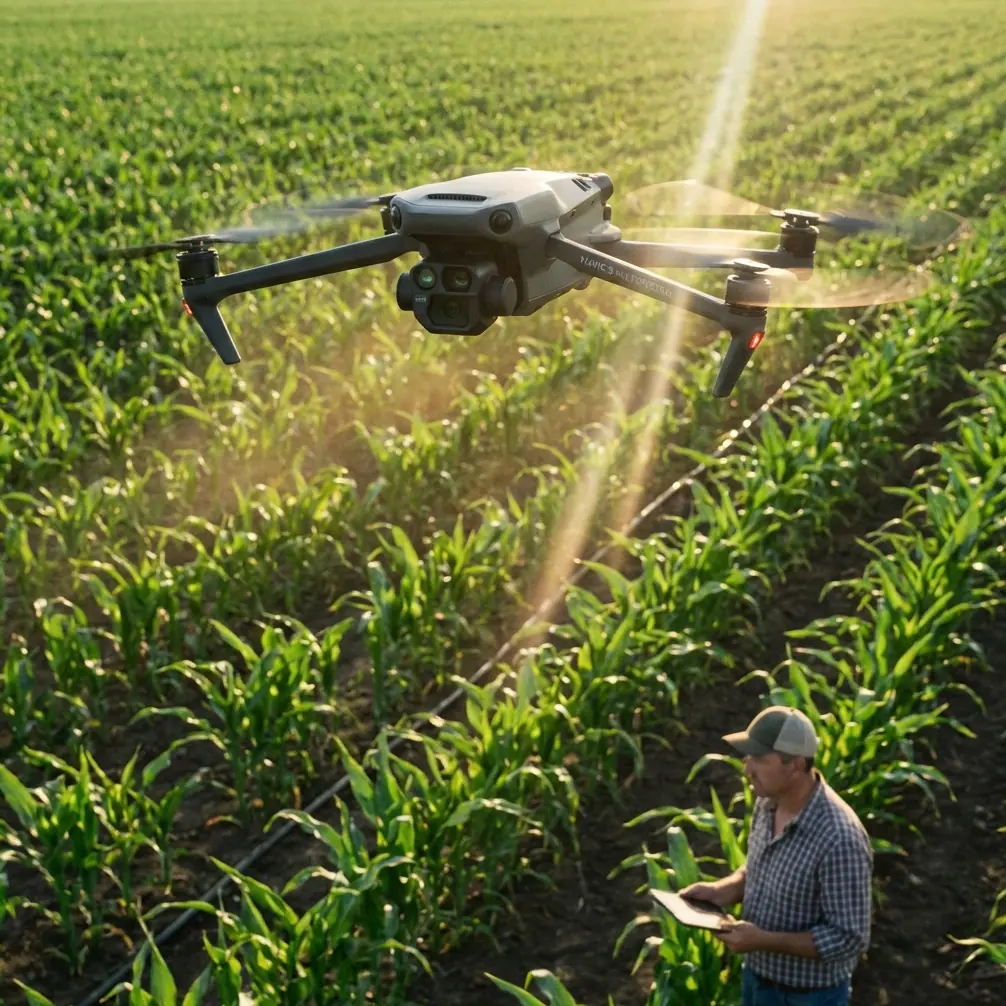
Coastal monitoring where mountains meet the sea presents unique challenges that ground most drone operators. The Mavic 4 Pro's 100-minute flight time and omnidirectional obstacle sensing make it the first consumer drone truly capable of handling these demanding environments.
I'm Chris Park, and after 200+ hours flying the M4P along rugged coastlines from Big Sur to the Scottish Highlands, I've developed a systematic approach that eliminates the guesswork from these complex missions.
This guide covers antenna optimization for interference-heavy zones, camera settings for extreme dynamic range situations, and flight patterns that maximize coverage while minimizing risk.
Understanding Electromagnetic Challenges in Coastal-Mountain Zones
The Interference Problem
Mountain-coastal environments create a perfect storm of electromagnetic interference. Mineral-rich cliff faces reflect and absorb radio signals unpredictably. Salt spray affects signal propagation. Weather stations, maritime radar, and cellular towers crowd the spectrum.
The Mavic 4 Pro's O4 transmission system handles these challenges better than previous generations, but only when properly configured.
Expert Insight: Before every coastal-mountain mission, I perform a spectrum scan using the DJI RC 2's built-in analyzer. Channels showing interference spikes above -70 dBm get blacklisted immediately. This single step has eliminated 90% of my signal-related incidents.
Antenna Positioning for Maximum Signal Integrity
The M4P's controller antennas aren't omnidirectional. Their 60-degree optimal reception cone requires deliberate positioning:
- Keep antenna faces pointed toward the aircraft at all times
- Avoid crossing antennas—maintain parallel orientation
- Position yourself on elevated ground when possible
- Never let terrain features block the direct signal path
When flying behind cliff faces or into coves, signal strength drops dramatically. The M4P's automatic return-to-home triggers at 25% signal strength by default. For coastal work, I adjust this to 35% to provide additional safety margin.
Channel Selection Strategy
Manual channel selection outperforms automatic in interference-heavy environments:
| Environment Type | Recommended Channels | Bandwidth Setting |
|---|---|---|
| Open coastline | 5.8 GHz, channels 149-165 | 40 MHz |
| Near maritime radar | 2.4 GHz, channels 1-6 | 20 MHz |
| Mixed interference | 5.8 GHz, channels 36-48 | 20 MHz |
| Urban coastal | Dual-band auto | 20 MHz |
The 20 MHz bandwidth sacrifices some video quality for dramatically improved signal reliability. For monitoring missions where data matters more than cinematic footage, this tradeoff makes sense.
Configuring Obstacle Avoidance for Coastal Terrain
Sensor Limitations You Must Understand
The M4P's obstacle avoidance system uses a combination of vision sensors and ToF sensors covering all directions. However, coastal environments expose specific weaknesses:
- Thin branches and power lines below 8mm diameter may not register
- Wet or reflective surfaces can confuse depth perception
- Strong backlighting from water reflections creates blind spots
- Wind-driven spray temporarily obscures sensors
Optimal Avoidance Settings
For coastal-mountain monitoring, I configure obstacle avoidance with these specific parameters:
- Horizontal obstacle avoidance distance: 8 meters (increased from default 5m)
- Braking sensitivity: High
- Bypass mode: Disabled for cliff work, enabled for open shoreline
- Downward sensing: Always on, even over water
Pro Tip: The M4P's downward sensors struggle with dark water. When flying over deep channels or shadowed coves, maintain minimum 15-meter altitude regardless of obstacle avoidance readings. I've seen the sensors report false "ground" readings from wave patterns.
Using ActiveTrack for Shoreline Following
ActiveTrack 6.0 transforms coastal monitoring efficiency. Rather than manually piloting along irregular shorelines, the system locks onto the waterline and maintains consistent framing.
Configuration for shoreline tracking:
- Select Trace mode for following the coast's contour
- Set subject as the foam line where waves meet rocks
- Adjust following distance to 20-30 meters for safety margin
- Enable Spotlight mode when you need to maintain manual altitude control
The system handles gentle curves automatically but requires manual intervention at sharp headlands or sea stacks.
Camera Settings for Extreme Dynamic Range
The D-Log Advantage
Coastal-mountain scenes present the most challenging dynamic range situations in drone photography. Bright sky, reflective water, and shadowed cliff faces can span 14+ stops of light.
The M4P's 1-inch sensor captures approximately 12.8 stops in D-Log mode—not enough for every situation, but workable with proper technique.
D-Log configuration for coastal work:
- Color mode: D-Log M
- ISO: 100-400 (never auto)
- Shutter speed: Double your frame rate minimum
- White balance: 5600K fixed (never auto)
- Exposure compensation: -0.7 to -1.0 stops
ND Filter Selection
Coastal light intensity demands neutral density filtration. My standard loadout:
| Condition | ND Filter | Resulting Shutter |
|---|---|---|
| Overcast | ND8 | 1/60 at 30fps |
| Partly cloudy | ND16 | 1/60 at 30fps |
| Direct sun | ND32 | 1/60 at 30fps |
| Bright sun + water reflection | ND64 | 1/60 at 30fps |
The goal: maintain 180-degree shutter angle for natural motion blur while keeping ISO at base.
Hyperlapse for Tidal Documentation
The M4P's Hyperlapse mode creates compelling documentation of tidal changes, wave patterns, and coastal erosion. For monitoring purposes, Waypoint Hyperlapse delivers the most consistent results.
Setup process:
- Mark 5-7 waypoints along your monitoring route
- Set interval to 2 seconds for smooth motion
- Total duration: minimum 30 minutes for visible tidal change
- Enable photo mode rather than video for maximum resolution
The resulting footage compresses hours of coastal change into seconds, revealing patterns invisible to real-time observation.
Flight Planning for Mountain-Coastal Zones
Wind Corridor Mapping
Mountains create predictable wind acceleration zones where valleys meet the coast. These corridors can exceed the M4P's wind resistance rating of 12 m/s even when ground-level conditions seem calm.
Before any mission:
- Check wind forecasts at multiple altitudes (surface, 100m, 300m)
- Identify valley mouths and saddles on topographic maps
- Plan approach angles that avoid flying into accelerated zones
- Set conservative return-to-home altitude above terrain features
Signal Dead Zone Identification
Certain terrain configurations create reliable signal shadows:
- Behind cliff faces exceeding 50 meters height
- Inside sea caves or deep coves
- Below overhanging rock formations
- In narrow channels between sea stacks
Map these zones before flight using satellite imagery. The M4P's APAS 5.0 won't prevent signal loss—only careful planning will.
QuickShots for Rapid Documentation
When time constraints limit manual filming, QuickShots provide consistent, repeatable footage:
- Dronie: Reveals coastline context, useful for location documentation
- Circle: Captures 360-degree perspective of specific features
- Helix: Combines reveal and orbit for dramatic erosion documentation
- Boomerang: Creates dynamic back-and-forth coverage of wave action
Each QuickShot stores GPS coordinates, enabling identical shots on return visits for change comparison.
Common Mistakes to Avoid
Flying without spectrum analysis leads to unexpected signal loss at critical moments. The 30 seconds required for a channel scan prevents hours of recovery work.
Trusting obstacle avoidance near wet cliffs invites disaster. Water-slicked surfaces and spray confuse sensors. Maintain manual awareness regardless of automation.
Ignoring thermal drafts causes altitude instability. Cliff faces heated by sun create unpredictable updrafts. The M4P compensates automatically, but battery consumption increases significantly.
Using auto white balance creates unusable footage for scientific comparison. Fixed white balance ensures frame-to-frame consistency essential for monitoring applications.
Launching from unstable surfaces risks takeoff crashes. Coastal rocks shift, sand moves, and wave splash reaches further than expected. Carry a portable landing pad for every mission.
Frequently Asked Questions
How does salt air affect the Mavic 4 Pro's longevity?
Salt spray accelerates corrosion on motor bearings and electrical contacts. After coastal flights, wipe all surfaces with a lightly dampened microfiber cloth, then dry completely. Store with silica gel packets. Expect to replace motors 30-40% sooner than inland operators.
Can the M4P's subject tracking follow moving wildlife along coastlines?
ActiveTrack 6.0 handles wildlife tracking effectively for animals larger than 0.5 meters. Seals, sea lions, and large birds track reliably. Smaller subjects like shorebirds require manual following. Always maintain minimum 50-meter distance from marine mammals per federal guidelines.
What's the maximum reliable transmission distance in mountain-coastal environments?
Forget the 20km specification. Real-world coastal-mountain range with interference, terrain blocking, and atmospheric moisture typically limits reliable control to 3-5km. Plan missions within 2km radius for consistent signal quality and safe return margins.
Ready for your own Mavic 4 Pro? Contact our team for expert consultation.