How I’d Map Urban Wildlife With the Mavic 4 Pro Without Gues
How I’d Map Urban Wildlife With the Mavic 4 Pro Without Guessing the Flight Plan
META: A practical Mavic 4 Pro workflow for mapping urban wildlife with safer tower-aware planning, GPS discipline, obstacle avoidance, ActiveTrack, D-Log, and mid-flight weather adjustments.
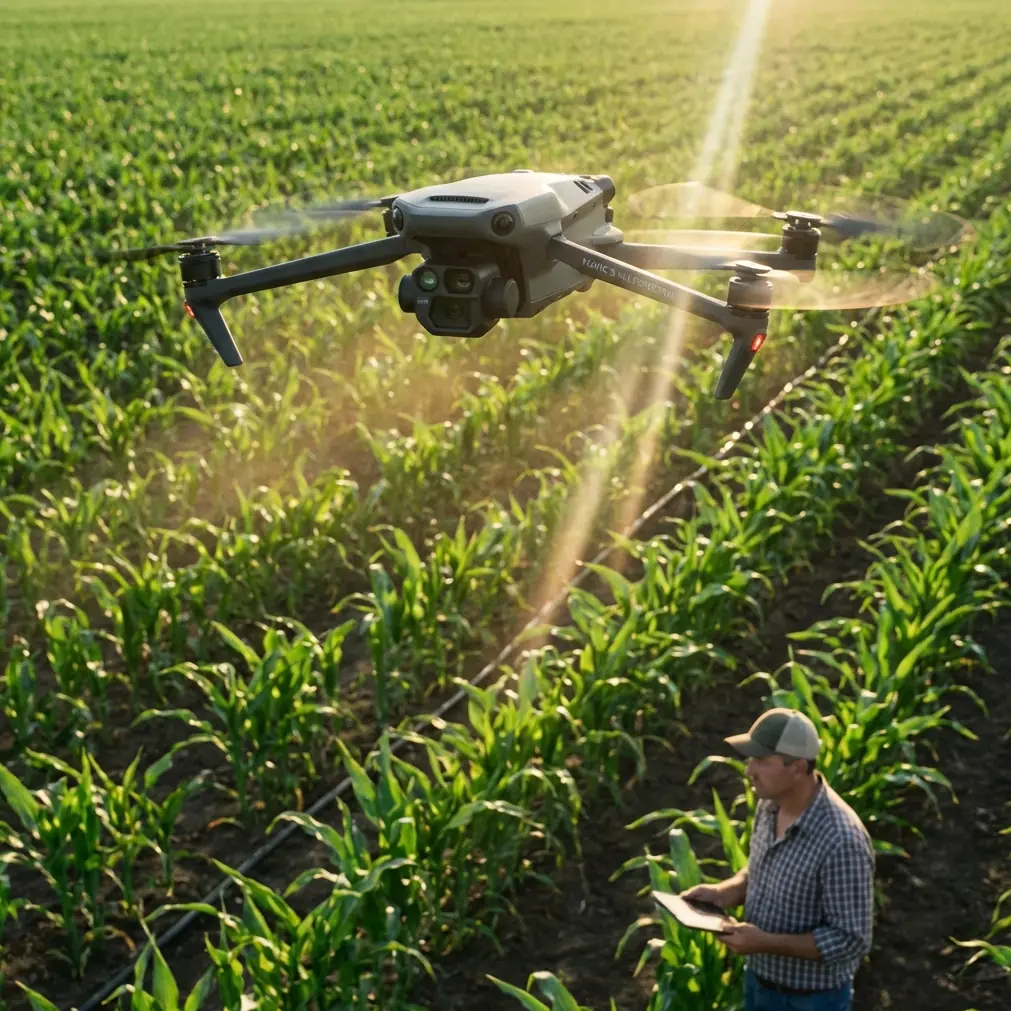
Urban wildlife mapping sounds gentle until you actually try to fly it.
Bird colonies settle near utility corridors. Foxes cut through drainage edges behind apartment blocks. Egrets use retention ponds bordered by poles, cables, and narrow service roads. In a city environment, the hard part is rarely finding wildlife. The hard part is building a repeatable flight workflow around infrastructure, interference, and changing conditions without contaminating your location data.
If I were taking a Mavic 4 Pro into that kind of job, I would not begin with camera settings or cinematic tricks. I’d begin with site discipline.
That may sound unromantic coming from a photographer, but reliable wildlife mapping depends on positional truth. If your collection points are sloppy, your image set becomes harder to trust later, especially when you’re comparing habitat use over time or handing material to an ecologist, planner, or utility-adjacent stakeholder.
One reference detail I keep coming back to comes from a tower inspection operating guide: before recording GPS data, the collection device should remain in place until the final data fluctuation is no greater than 10, and in the source procedure it specifies leaving the device for ten minutes before logging the point. That is not a small technical footnote. It changes how you prepare an urban wildlife mission.
With a Mavic 4 Pro, the temptation is to arrive, launch quickly, let obstacle avoidance do the heavy lifting, and trust the aircraft’s intelligence. For general flying, fine. For mapping wildlife in an urban area near vertical structures, that habit can undermine the dataset before the props even spin.
Start by treating the ground control decision as part of the flight
My field process would start with a slow walk into the collection zone to observe both habitat and built obstacles. The source procedure says to first observe the tower and surrounding line environment, then choose a relatively open area based on the pre-planned route. Translate that into an urban wildlife workflow and the principle still holds: do not choose your launch point because it is convenient. Choose it because it supports clean navigation, cleaner GNSS behavior, and a safer path around trees, poles, cables, and reflective building surfaces.
If the survey area includes utility structures, I’d identify a collection point relative to the structure, not randomly near it. Another specific detail from the reference matters here: the GPS coordinate collection point should sit at a 45-degree diagonal from one corner of the tower, within 15 to 20 meters. Operationally, that matters because it creates a consistent geometric relationship between the structure and your recorded point. Consistency is what makes later comparisons meaningful.
Now, urban wildlife mapping is not tower inspection. I’m not suggesting every habitat point should be handled as if it were a powerline asset. I am saying the same logic is useful when wildlife habitat intersects fixed infrastructure. If you’re documenting nesting activity near utility edges, canal fencing, light poles, or communication structures, placing your observation and GPS reference point with a repeatable offset gives you a better baseline for future revisits.
Why this matters more with wildlife than people expect
Wildlife mapping in cities often happens under imperfect conditions. You may be working from a narrow verge, a maintenance track, or a corner of open ground wedged between trees and service hardware. If your coordinate logging is rushed, multipath interference and local obstructions can give you just enough drift to weaken your confidence later.
That is why the source instruction to place the device in an open area to avoid local environmental interference is so useful here. It is easy to focus on the aircraft and forget that the integrity of the ground reference can be equally fragile. If I’m mapping urban wetlands, roost sites, or small mammal corridors with the Mavic 4 Pro, I want my launch zone and any supporting GPS logging position to be as open as possible. Not because it looks professional, but because reflective walls, overhead wires, and dense canopy can quietly degrade the entire exercise.
I’d also borrow another field rule from the reference: use at least two devices of the same type to compare the data. In practice, that might mean cross-checking your logged coordinates with a second receiver or matching device class before you commit the flight record. For habitat work that may later be repeated seasonally, that redundancy is worth the extra few minutes.
Building the Mavic 4 Pro flight around the site, not around wishful planning
The most overlooked sentence in the source material may be the one saying that if actual tower conditions conflict with the planned route, the route should be replanned according to onsite conditions.
That applies perfectly to the Mavic 4 Pro in urban wildlife work.
A preplanned route is only a draft. If the site has changed since your desktop review—new scaffolding, temporary barriers, fresh growth, a parked maintenance vehicle, or denser bird activity than expected—you adapt. The drone’s obstacle avoidance is valuable, but it should support route decisions, not replace them. This matters especially when mapping wildlife because unpredictable animal movement can pull your attention away from manmade hazards.
I’d use the Mavic 4 Pro’s obstacle sensing as a margin of safety while maintaining a route that already respects the environment. If a line of trees creates a wind funnel near a retention basin, I’m not asking automation to rescue a poor plan. I’m shifting altitude, entry angle, or stand-off position before takeoff.
The source also notes that the aircraft should remain 15 to 45 meters from the tower. In urban wildlife mapping, the exact stand-off distance will vary by habitat sensitivity and local conditions, but the principle remains strong: maintain a deliberate buffer from fixed structures. That buffer protects the aircraft, reduces abrupt control inputs, and lowers the chance of stressing birds or other animals with unnecessary close approaches.
My preferred capture sequence for urban wildlife mapping
With the Mavic 4 Pro, I’d split the mission into three layers.
1. Broad habitat context
First, I’d capture high, stable passes that describe the site as a whole: water edges, tree lines, service roads, rooftops, drainage channels, and open grass strips. This is where D-Log becomes useful. Not for style points. For information retention. Urban scenes can swing from harsh concrete glare to deep vegetation shadow in a single frame. A flatter recording profile gives more room later to interpret habitat boundaries clearly without clipping bright surfaces or crushing shaded cover.
2. Structural relationship mapping
Next, I’d fly lower, slower passes that show how habitat sits against urban infrastructure. This is where the tower-guide geometry becomes surprisingly relevant. If a nesting area or movement corridor lies near poles or utility support structures, I want imagery that preserves spatial relationship, not just attractive angles. Repeating a known offset or diagonal viewing position can make change detection much easier over time.
If needed, QuickShots and Hyperlapse can help build visual summaries for stakeholders, but I would treat them as secondary products. Wildlife mapping needs usable records first. Presentation assets come after.
3. Behavioral confirmation
Finally, if the operation allows and disturbance remains low, I’d use controlled tracking tools like ActiveTrack or subject tracking only in situations where they genuinely add mapping value. For example, following a waterbird’s movement between feeding and resting zones across a pond edge might help reveal how built obstacles shape behavior. But I would avoid relying on tracking for sensitive species or cluttered areas where the algorithm may prioritize continuity over ecological nuance.
Tracking is a tool, not a field strategy.
What happened when the weather changed mid-flight
This is where the Mavic 4 Pro earns its keep.
On an urban wildlife mission, weather rarely collapses dramatically. More often, it shifts just enough to complicate your assumptions. I’ve seen calm air turn into inconsistent gusts as cloud cover rolls over heated rooftops and paved surfaces. Light can flatten. Tree crowns start moving in ways that affect both obstacle clearance and animal behavior. Birds that were holding at pond edges suddenly relocate.
In that situation, the right response is not to push through the original shot list.
I’d reassess immediately. If crosswind starts building along a line of poles or above a canal edge, I’d shorten the route, simplify the geometry, and return to broad mapping passes instead of low detailed work. Obstacle avoidance helps here because it adds confidence when visual contrast drops or when wind causes small lateral corrections near branches and urban structures. But just as important is the earlier discipline: because I chose an open collection area and built the route around stand-off margins, the aircraft has room to recover without forcing me into a rushed exit.
This is also why the reference instruction to record the height difference between the collection point and the tower base deserves attention. In urban wildlife mapping, local elevation differences can distort your judgment more than expected, especially around embankments, flood channels, raised paths, or terraced landscaping. When weather changes mid-flight, those vertical relationships matter even more. A route that felt comfortably clear in still air can tighten quickly if you were casual about relative height.
The photographer’s trap: beautiful footage that maps poorly
As a photographer, I understand the urge to produce dramatic reveals, low skims, and elegant orbit shots. The Mavic 4 Pro is built for visually compelling work. But wildlife mapping in a city is one of those assignments where visual beauty can easily outrun field usefulness.
A smooth orbit around a wetland edge may look excellent while telling you very little about nesting distribution. A dramatic push-in toward a roost may actually reduce your ability to compare the same site later. The better approach is to let the mission logic drive the camera.
That’s why I like the source’s insistence on recording not just coordinates but also location information and site conditions. For Mavic 4 Pro operators, that means maintaining notes on where the launch point sat relative to habitat, what side of the structure or corridor you worked from, what the weather did, and whether the actual environment forced a route change. Those notes make the imagery defensible.
If you’re building this kind of workflow and want to compare field setups or mission logic with another operator, you can reach out here: https://wa.me/85255379740
A practical checklist I’d use before takeoff
Not a generic drone checklist. A wildlife-mapping one.
- Walk the area first and observe both habitat activity and urban hazards.
- Select a relatively open collection and launch area, not merely the nearest one.
- Let any GPS logging stabilize; the source procedure calls for ten minutes, with the final fluctuation no greater than 10 before recording.
- If working near a tower or similar structure, use a consistent offset. The reference specifies a 45-degree diagonal point within 15 to 20 meters.
- Record relative elevation differences between your point and the structure or terrain feature.
- Cross-check position data with more than one device where possible.
- Replan the route if real site conditions conflict with your preflight map.
- Maintain stand-off distance from structures and avoid using obstacle avoidance as a substitute for judgment.
- Treat ActiveTrack, QuickShots, and Hyperlapse as mission support tools, not the mission itself.
- If weather shifts, reduce complexity first. Do not force the original plan.
The real strength of the Mavic 4 Pro for this work
For urban wildlife mapping, the Mavic 4 Pro is not just valuable because it flies well or captures attractive footage. Its value is that it can support a disciplined operator who understands that mapping is a chain. Site selection, GPS patience, obstacle buffers, route flexibility, and camera intent all link together.
Break one link and the output becomes less reliable.
The reference material behind this workflow comes from a very different operating context, yet its field logic transfers remarkably well: observe first, choose open ground, stabilize coordinates, maintain known spatial relationships, record height differences, and replan when reality disagrees with the plan. Those are not bureaucratic rules. They are what keep an urban wildlife mission from becoming a folder full of pretty but weak evidence.
And that, for me, is the right way to use a Mavic 4 Pro in the city. Not as a shortcut, but as a precise aerial tool that rewards careful habits.
Ready for your own Mavic 4 Pro? Contact our team for expert consultation.