Mapping Urban Power Lines With Mavic 4 Pro
Mapping Urban Power Lines With Mavic 4 Pro: What Actually Matters for Photogrammetry Accuracy
META: A technical review of using Mavic 4 Pro for urban power-line mapping, with practical guidance on GSD, relative altitude, overlap control, antenna positioning, and flight planning.
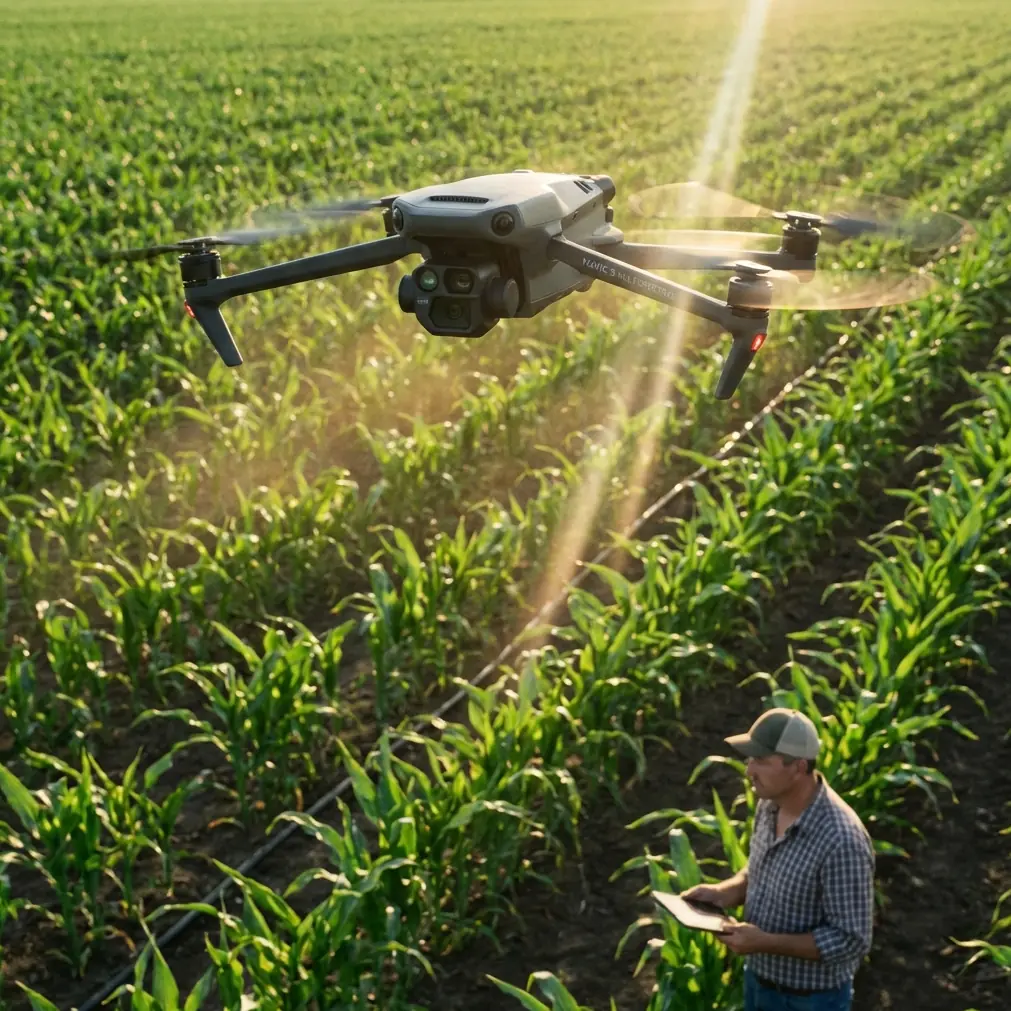
Urban power-line mapping pushes a drone in two directions at once. You need close visual detail around poles, insulators, and conductors, but you also need disciplined photogrammetry if the output has to support measurement, corridor documentation, or planning. That tension is exactly where the Mavic 4 Pro becomes interesting.
A lot of pilots approach a new aircraft by looking at the headline features first: obstacle avoidance, subject tracking, QuickShots, Hyperlapse, D-Log, ActiveTrack. Those are useful in their own lanes. But for utility corridor work in a dense city environment, the better question is simpler: can the aircraft help you collect imagery at the right resolution, from the right height, with repeatable overlap and stable links in a cluttered RF environment?
That is the real test.
The first mistake: flying by legal altitude instead of mapping altitude
When people talk about altitude, they often mean one number. In mapping, that shortcut causes problems.
The reference material draws a clear distinction between relative flight height and absolute flight height. Relative height is the distance from the camera’s optical center to the ground being photographed. Absolute height is the camera height above mean sea level at the instant of exposure. For urban power-line mapping, that difference is not academic. It changes your ground sampling distance, your overlap behavior, and ultimately whether your output is usable.
Why does that matter with the Mavic 4 Pro?
Because city power corridors rarely sit over flat, uniform terrain. You may launch from a rooftop, a service road, or an open lot while the line itself passes over medians, side streets, substations, retaining walls, and uneven ground. If you only monitor absolute altitude, your images can drift away from the intended resolution as the terrain changes beneath the aircraft. The result is inconsistent image scale across the corridor.
The reference source makes the operational point directly: relative flight height should be designed against the elevation of the photography zone’s reference surface. In practical terms, for Mavic 4 Pro corridor missions, you should plan your line capture based on the actual average ground or corridor reference elevation under the route, not just your takeoff point. That is how you keep image resolution predictable.
For urban utility teams, this is one of the biggest quiet advantages of a disciplined operator. The aircraft may be smart, but the map quality still depends on the pilot understanding what altitude means in photogrammetry.
GSD is not just a specification box. It is the job.
For power-line mapping, image sharpness alone is not enough. You need usable ground resolution, or GSD, matched to the output requirement.
The reference material cites an experienced rule for cadastral oblique photogrammetry:
ground resolution = map scale denominator / 300 (cm)
The example given is very concrete: for 1:500 cadastral mapping, an appropriate ground resolution is about 1.67 cm.
Now, urban power-line mapping is not identical to cadastral work, but the lesson transfers cleanly. Before the Mavic 4 Pro leaves the ground, you should define the deliverable first. Are you building a corridor record? Extracting pole positions? Updating a digital twin? Supporting engineering review around clearances and attachments? Each of those outputs demands a different GSD target.
This is where many “drone inspections” underperform. Pilots fly at a comfortable height, trust the sensor, and assume the imagery will be detailed enough later. That is backwards. The reference data is explicit that larger photographic scale improves interpretation and map accuracy, but also warns that pushing scale too far increases workload and cost. That tradeoff is central to Mavic 4 Pro planning.
With the Mavic 4 Pro, the right approach is to choose the minimum GSD that still supports the deliverable, then set the flight profile around that. If you fly tighter than necessary, you create more images, longer processing time, heavier storage loads, and more field exposure near urban obstacles. If you fly too high, small hardware details disappear and measured outputs become less reliable.
So the aircraft is only half the story. The real performance metric is whether your relative altitude was tuned to the required GSD.
Why sensor math still matters, even with a smart drone
The source text also revisits a photogrammetry basic that many modern pilots skip: pixel size. It defines the pixel as the smallest unit of a digital image and notes that pixel size is usually expressed as the side length of that square pixel.
The example in the source is useful because it grounds the concept numerically: a Sony A7R sensor at 35.9 mm × 24 mm with an image size of 7360 × 4912 yields a pixel size of about 4.87 µm.
You are not flying a Sony A7R on a Mavic 4 Pro, but the principle is the same. GSD does not come from branding. It comes from the relationship between sensor geometry, lens characteristics, and relative flight height. The source even states the practical design logic plainly: when pixel size and focal parameters are fixed, different GSD values are achieved by adjusting relative flight height.
That matters operationally because many urban utility crews treat zoom or crop as substitutes for proper mission design. They are not. If your goal is map-grade or engineering-useful imagery, you should not “fix” an overly high flight with digital convenience later. The Mavic 4 Pro may give you excellent image tools and strong automated support, but the cleanest data still starts with the correct standoff distance.
For corridor mapping, this means you should think in terms of a data chain:
- Required output scale or measurement need
- Target GSD
- Relative flight height over the corridor reference surface
- Overlap and baseline behavior
- Safe capture path around poles, wires, trees, façades, and traffic geometry
The drone is the collection platform. The map quality is created in planning.
Overlap is where urban line mapping gets subtle
Power lines look like a linear job, so it is tempting to think in simple passes: fly along the corridor, keep the target centered, and let automation help. That works for visual review. It is not enough for stronger photogrammetric results.
The source material explains the role of the base-height ratio, which is the relationship between the photographic baseline and the camera station height above ground. This ratio affects forward overlap between adjacent images. The reference makes an important point: if the base-height ratio increases, forward overlap decreases; if the ratio decreases, overlap increases.
That sounds technical, but the field consequence is straightforward. Too much overlap is not automatically better. The source warns that excessive forward overlap reduces the stereo intersection angle, weakens the 3D effect, and can hurt elevation measurement quality. In other words, if your Mavic 4 Pro is taking images too densely along a power-line corridor, your model may become heavier without becoming better.
This matters especially in urban settings where vertical context matters. Utility poles, crossarms, rooftop encroachments, sign gantries, street trees, and adjacent building edges all create a layered environment. If the overlap is poorly balanced, your reconstruction may struggle where you most need depth confidence.
So when planning an M4P mission, do not chase overlap numbers blindly. Match interval, speed, and corridor geometry to the purpose of the survey. For asset documentation, you may tolerate a different image cadence than for 3D corridor extraction or topographic support.
The source reference is valuable here because it reminds us that overlap is a precision variable, not just a safety blanket.
What Mavic 4 Pro features help—and which ones should stay secondary
For urban power-line work, the Mavic 4 Pro’s smart features should serve the mission, not define it.
Obstacle avoidance matters because city corridors are full of lateral hazards: trees, light poles, façades, traffic signs, overhead utility crossings, and narrow access lanes. It adds a layer of protection, particularly when repositioning between capture segments or holding a stable path near cluttered environments. But it should never be treated as permission to fly casually around wires. Conductors and thin line elements remain challenging visual targets for any sensing system.
ActiveTrack and subject tracking are better thought of as supporting tools rather than primary mapping modes. For documenting maintenance vehicles, following access movement, or capturing contextual footage around a corridor segment, they can be useful. For measured photogrammetry of fixed infrastructure, preplanned and disciplined route control still wins.
QuickShots and Hyperlapse have value too, but not for the core survey block. They are good for stakeholder communication, corridor change summaries, training material, or progress storytelling. If a utility client wants a fast visual narrative of route conditions before deeper analysis, these modes can help create understandable context without replacing the technical mission.
D-Log is more relevant than many mapping teams realize. In urban power-line environments, lighting can be harsh and contrasty: bright sky, reflective metal, shaded streets, dark transformers, pale concrete rooftops. Better dynamic range handling gives you more flexibility in post when visual interpretation of hardware condition matters. It does not increase geometric accuracy, but it can improve the readability of scene details that engineers and inspectors care about.
So yes, the feature set is attractive. But if I were evaluating the Mavic 4 Pro strictly for utility mapping, I would rank its contribution this way: stable capture platform first, image consistency second, mission discipline third, smart features fourth.
Antenna positioning advice for maximum range in urban corridors
The user scenario here specifically calls for antenna positioning advice, and it deserves more attention than it usually gets.
In urban power-line mapping, range problems often have less to do with pure distance and more to do with orientation, blockage, and interference. Buildings, passing vehicles, steel structures, rooftop equipment, and even your own body position can weaken the control and video link. Power infrastructure corridors can also create multipath reflections that make a link feel less stable than the map suggests.
Here is the practical rule: do not point the flat face or the tip of the controller antennas directly at the drone. Position them so the broad side of the antenna orientation presents toward the aircraft, because that is generally where the signal pattern is strongest. Then maintain a clean line of sight whenever possible.
A few field habits make a big difference with the Mavic 4 Pro:
- Stand clear of parked trucks, chain-link fencing, and transformer cabinets when possible.
- If you are launching from a sidewalk or roadside pocket, step away from walls or metal barriers that can shadow the controller.
- Reorient your body as the drone moves down the corridor so the antenna geometry stays favorable.
- Avoid operating from behind tinted glass inside a vehicle.
- In dense streets, gain a little elevation if legal and safe—sometimes a small change in operator position clears a major obstruction.
- If the route bends behind structures, reposition before the aircraft gets there rather than trying to “push through” the signal drop.
This is one of those boring skills that separates clean operations from stressful ones. If your team wants route-specific planning help, I’d suggest sending the corridor geometry and site constraints through this urban mapping support chat before the mission.
A better way to think about Mavic 4 Pro for utility mapping
The strongest case for the Mavic 4 Pro in this kind of work is not that it replaces traditional survey logic. It is that it makes that logic easier to execute in a compact platform.
The reference document keeps pulling us back to first principles: relative altitude, pixel size, photographic scale, GSD, and base-height ratio. Those are not old textbook leftovers. They are still the backbone of accurate corridor imaging. The Mavic 4 Pro becomes valuable when it helps a field team apply those principles faster and more safely in a constrained city environment.
For urban power lines, that means:
- Plan relative height, not just takeoff altitude
- Set a target GSD based on the final output
- Avoid the trap of assuming more overlap is always better
- Use intelligent features for support, not as substitutes for survey design
- Treat controller antenna orientation as part of mission planning, not an afterthought
If those pieces are handled well, the aircraft can do more than capture attractive footage. It can produce data that holds up when engineers zoom in, compare corridors over time, or build deliverables that need consistent spatial detail.
That is the standard worth aiming for. Not flashy flying. Reliable information.
Ready for your own Mavic 4 Pro? Contact our team for expert consultation.