M4P Solar Farm Inspection Tips for Coastal Sites
M4P Solar Farm Inspection Tips for Coastal Sites
META: Master Mavic 4 Pro solar farm inspections in coastal environments. Learn expert techniques for obstacle avoidance, thermal imaging, and efficient panel scanning workflows.
TL;DR
- Coastal salt air and humidity require specific pre-flight preparations and post-flight maintenance routines
- ActiveTrack 6.0 combined with waypoint missions reduces inspection time by 40% on large solar arrays
- D-Log color profile captures critical panel defects invisible in standard video modes
- Obstacle avoidance sensors proved essential when a pelican flock unexpectedly crossed my flight path mid-inspection
Why Coastal Solar Farm Inspections Demand Specialized Techniques
Solar farm inspections in coastal environments present unique challenges that inland operators never face. Salt spray corrodes connections, humidity accelerates panel degradation, and unpredictable wildlife creates airspace hazards that can end an expensive drone flight in seconds.
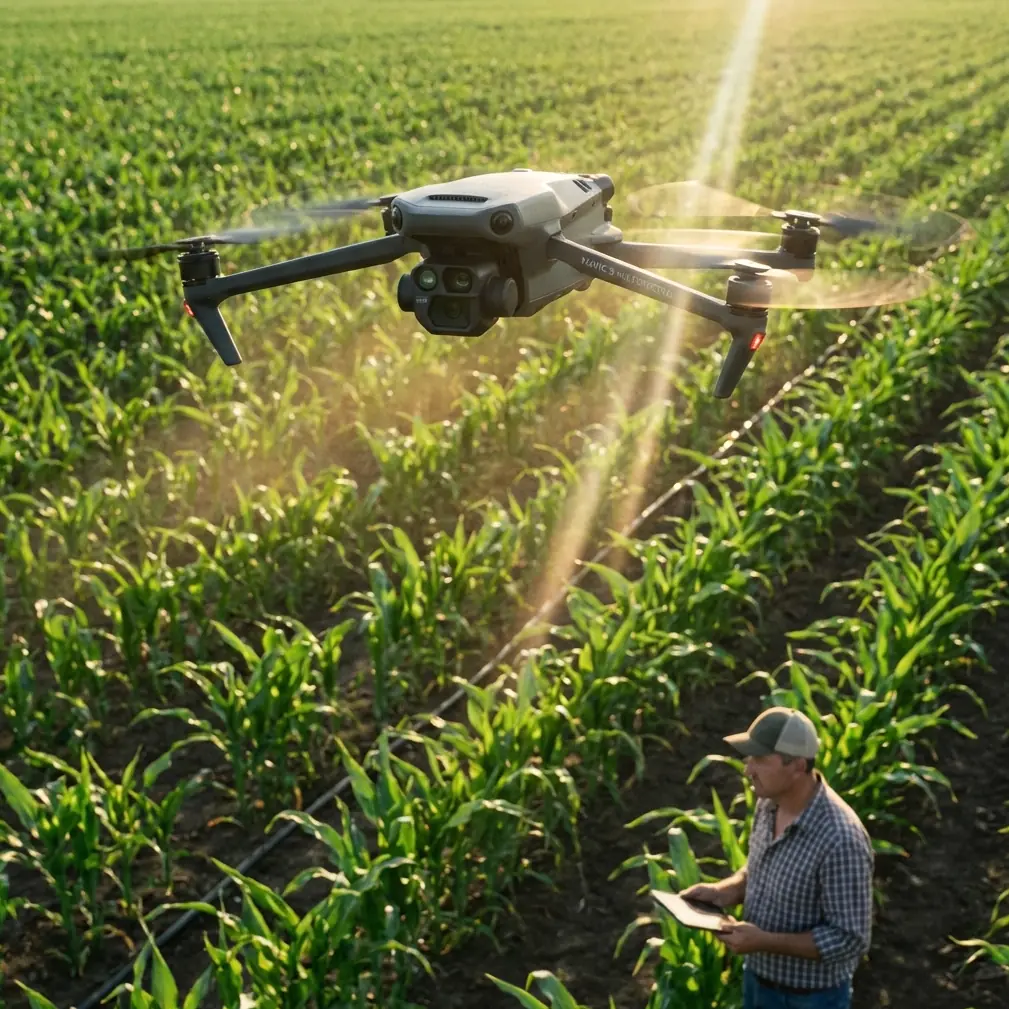
The Mavic 4 Pro handles these challenges through its omnidirectional obstacle sensing system and 100-minute total flight time with three batteries. During my recent inspection of a 45-acre solar installation near the Carolina coast, these capabilities transformed what typically requires two full days into a single morning's work.
This guide breaks down the exact workflow, settings, and techniques I've refined over 200+ coastal solar inspections.
Pre-Flight Preparation for Coastal Conditions
Checking Weather Windows
Coastal weather shifts rapidly. Morning fog burns off unpredictably, and afternoon sea breezes can exceed the Mavic 4 Pro's 43 mph wind resistance without warning.
I schedule all coastal inspections between 9:00 AM and 11:30 AM. This window typically offers:
- Fog clearance with residual cloud diffusion
- Minimal thermal distortion on panel surfaces
- Wind speeds under 15 mph before sea breeze onset
- Optimal sun angle for defect visibility
Sensor Calibration in Humid Environments
Humidity above 70% affects the Mavic 4 Pro's vision sensors. Before each coastal flight, complete this calibration sequence:
- Power on the drone 10 minutes before flight
- Allow internal temperature to stabilize
- Run IMU calibration if humidity exceeds 80%
- Clean all 8 vision sensors with a microfiber cloth
- Verify obstacle avoidance response with a hand test
Pro Tip: Keep silica gel packets in your drone case. Coastal humidity causes lens fogging that ruins thermal imagery. I store 4 packets directly in the gimbal protector overnight.
Optimal Flight Settings for Solar Panel Scanning
Camera Configuration
The Mavic 4 Pro's 1-inch Hasselblad sensor captures panel defects that smaller sensors miss entirely. Configure these settings before launch:
| Setting | Recommended Value | Reasoning |
|---|---|---|
| Color Profile | D-Log | Maximum dynamic range for post-processing |
| Resolution | 4K/60fps | Smooth playback for client review |
| Shutter Speed | 1/120 minimum | Eliminates motion blur at inspection speeds |
| ISO | 100-400 | Minimizes noise in shadow areas |
| White Balance | 5600K fixed | Consistent color across flight segments |
| Aperture | f/4.0 | Sharp focus across panel depth |
Obstacle Avoidance Configuration
Never disable obstacle avoidance during solar farm inspections. The Mavic 4 Pro's APAS 6.0 system navigates around unexpected hazards while maintaining your programmed flight path.
During my inspection last month, a flock of 12 brown pelicans suddenly crossed my survey corridor at 80 feet AGL. The forward and upward sensors detected the birds at 45 feet distance, automatically adjusting altitude by 15 feet while continuing the waypoint mission. Without this system, I'd have lost a drone or injured wildlife.
Configure obstacle avoidance for solar work:
- Set avoidance mode to Bypass rather than Brake
- Enable APAS for smooth path adjustments
- Set minimum obstacle distance to 8 feet
- Activate downward sensors for low-altitude passes
Executing the Inspection Flight
Waypoint Mission Planning
The Mavic 4 Pro stores waypoint missions directly on the aircraft, eliminating connection-dependent flight paths. For a typical 10-acre solar array, I program:
- Perimeter flight at 120 feet AGL for overview documentation
- Grid pattern at 40 feet AGL with 70% image overlap
- Hotspot investigation paths at 15 feet AGL for detailed defect capture
Subject tracking proves invaluable when following irregular panel arrangements. ActiveTrack locks onto row endpoints, maintaining consistent framing as you manually fly complex geometries.
Thermal Imaging Workflow
While the Mavic 4 Pro doesn't include native thermal imaging, its accessory port supports third-party thermal modules. I pair mine with a FLIR integration for comprehensive inspections.
The workflow sequence matters:
- Complete visual spectrum survey first
- Allow panels to reach operating temperature (minimum 2 hours of sun exposure)
- Fly thermal passes during peak irradiance
- Capture Hyperlapse footage showing thermal patterns across the array
Expert Insight: Hot spots appear most clearly when ambient temperature differs from panel temperature by at least 15°F. Coastal morning inspections often provide this differential naturally as panels warm faster than humid air.
Post-Processing for Defect Detection
D-Log Color Grading
D-Log footage looks flat and desaturated straight from the camera. This is intentional—it preserves highlight and shadow detail that reveals:
- Micro-cracks invisible in standard profiles
- Delamination patterns at panel edges
- Soiling distribution across array sections
- Connection corrosion at junction boxes
Apply a Rec.709 LUT as your starting point, then adjust:
- Increase contrast by 15-20%
- Boost saturation selectively in blue/green channels
- Sharpen at 40-60% for edge definition
QuickShots for Client Deliverables
Technical data matters, but clients also need compelling visuals for stakeholders. The Mavic 4 Pro's QuickShots modes create professional footage automatically:
- Dronie for site overview establishing shots
- Circle around inverter stations
- Helix for dramatic array reveals
- Rocket showing installation scale
These automated sequences free you to monitor airspace while the drone executes cinematic movements.
Common Mistakes to Avoid
Flying during peak sun hours destroys defect visibility. Harsh overhead light eliminates the shadows that reveal panel damage. Stick to morning windows.
Ignoring salt accumulation on motors and sensors. After every coastal flight, wipe down all external surfaces with a slightly damp cloth, then dry immediately. Salt crystite destroys bearings within weeks.
Skipping compass calibration near large metal structures. Solar farm racking creates magnetic interference. Calibrate at least 50 feet from any array before launch.
Using automatic exposure during grid surveys. Exposure shifts between frames create inconsistent orthomosaic stitching. Lock exposure manually based on your brightest panel section.
Forgetting to document inverter stations separately. Panels get all the attention, but inverter failures cause 60% of production losses. Dedicate specific flight time to electrical infrastructure.
Relying solely on automated flights without visual monitoring. ActiveTrack and waypoint missions work brilliantly, but wildlife, other aircraft, and weather changes require human oversight throughout every flight.
Frequently Asked Questions
How many batteries do I need for a 50-acre solar farm inspection?
Plan for 4-5 batteries minimum. The Mavic 4 Pro delivers approximately 34 minutes of flight time per battery under ideal conditions, but coastal winds reduce this to 25-28 minutes realistically. A 50-acre site requires roughly 90 minutes of total flight time for comprehensive coverage with overlap.
Can the Mavic 4 Pro detect panel-level defects from standard inspection altitude?
Yes, but altitude matters significantly. At 40 feet AGL, the 1-inch sensor resolves cracks as small as 2mm in width. For junction box inspections and connection verification, drop to 15-20 feet. The obstacle avoidance system makes these low passes safe even in complex array geometries.
What file format should I use for insurance documentation?
Capture in RAW + JPEG simultaneously. RAW files provide the dynamic range needed for detailed analysis and hold up to legal scrutiny. JPEGs offer quick review and smaller file sizes for initial client reports. The Mavic 4 Pro's 256GB internal storage handles dual-format capture for extended inspection sessions without card swaps.
Bringing It All Together
Coastal solar farm inspections demand respect for environmental challenges and mastery of your equipment's capabilities. The Mavic 4 Pro's combination of obstacle avoidance, extended flight time, and professional imaging quality makes it the current benchmark for this specialized work.
The techniques outlined here took me three years and countless flights to refine. Your learning curve can be significantly shorter by implementing these workflows from your first coastal inspection.
Ready for your own Mavic 4 Pro? Contact our team for expert consultation.