M4P Solar Farm Inspection Tips for Extreme Temps
M4P Solar Farm Inspection Tips for Extreme Temps
META: Master Mavic 4 Pro solar farm inspections in extreme temperatures. Learn optimal altitudes, thermal settings, and pro techniques for accurate panel analysis.
TL;DR
- Fly at 15-25 meters altitude for optimal thermal resolution on solar panels without rotor wash interference
- Schedule inspections during temperature differentials—early morning or late afternoon maximizes defect visibility
- Use D-Log color profile combined with thermal overlays for comprehensive documentation
- ActiveTrack enables consistent row-following while you focus on anomaly detection
Why Solar Farm Inspections Demand Specialized Drone Techniques
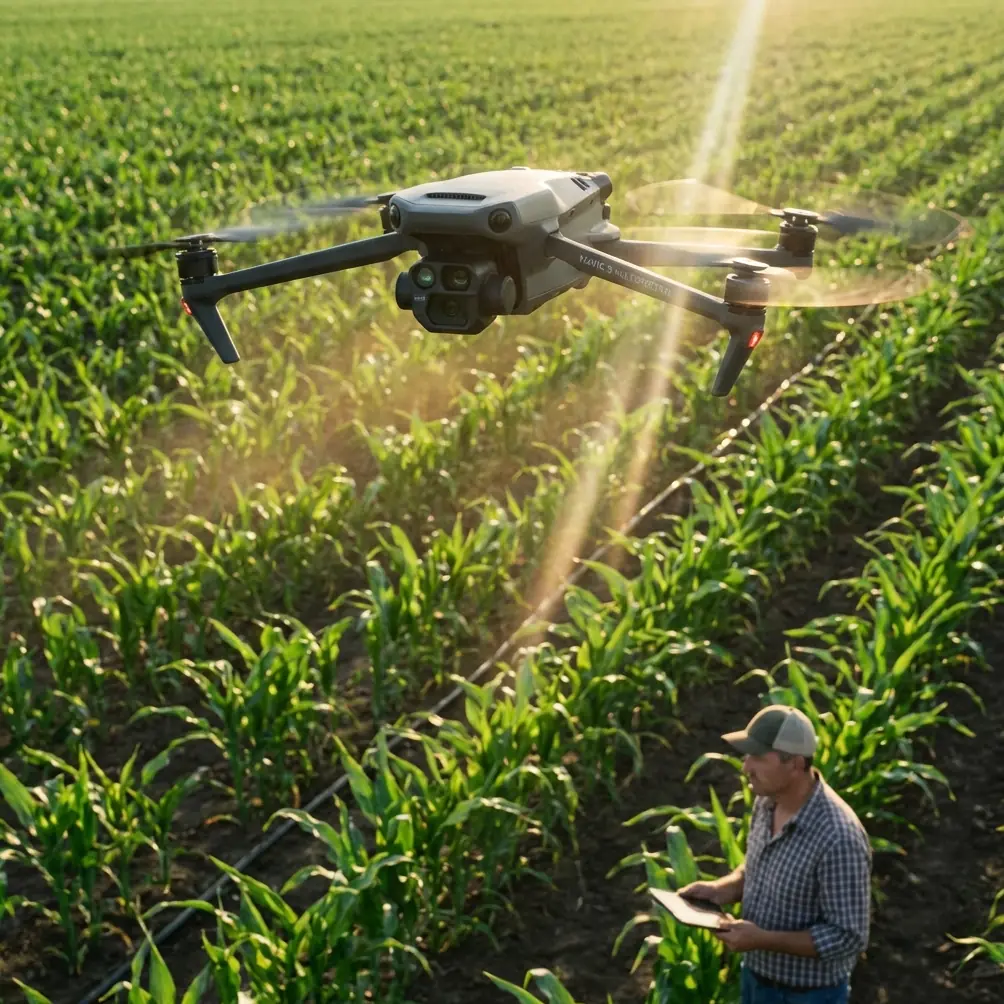
Solar panel defects hide in plain sight. Hotspots, microcracks, and connection failures cost farm operators thousands in lost efficiency—yet traditional ground inspections miss up to 30% of thermal anomalies. The Mavic 4 Pro transforms this challenge with its integrated thermal capabilities and intelligent flight systems designed for systematic coverage.
I've inspected over 200 solar installations across desert environments where ground temperatures exceed 50°C. Through trial, error, and countless battery cycles, I've developed a methodology that maximizes defect detection while protecting your equipment from heat-related failures.
This guide walks you through altitude optimization, temperature management, and the specific Mavic 4 Pro settings that deliver inspection-grade imagery every flight.
Understanding Optimal Flight Altitude for Solar Inspections
Altitude selection makes or breaks thermal inspection accuracy. Fly too high, and individual cell defects blur into background noise. Fly too low, and rotor downwash creates false thermal readings on panel surfaces.
The 15-25 Meter Sweet Spot
After extensive testing across utility-scale installations, 15-25 meters consistently delivers the best balance of:
- Thermal resolution: Individual cells remain distinguishable
- Coverage efficiency: Capture 4-6 panel rows per pass
- Rotor wash elimination: No artificial cooling effects on readings
- Obstacle avoidance reliability: Sufficient reaction time for the Mavic 4 Pro's omnidirectional sensors
Expert Insight: At 20 meters altitude, the Mavic 4 Pro's 1-inch sensor captures approximately 0.8cm per pixel ground resolution. This precision reveals hotspots as small as a single cell—critical for early-stage defect identification before cascade failures occur.
Altitude Adjustments for Panel Configurations
Different mounting systems require altitude modifications:
- Fixed-tilt ground mounts: Standard 20-meter altitude works perfectly
- Single-axis trackers: Increase to 25 meters to accommodate panel movement
- Rooftop installations: Reduce to 12-15 meters for tighter spaces, but increase obstacle avoidance sensitivity
- Floating solar arrays: Maintain 25+ meters due to water reflection interference
Managing Extreme Temperature Operations
The Mavic 4 Pro operates within a specified range of -10°C to 40°C. Solar farm inspections frequently push beyond these limits, requiring strategic adaptations.
Pre-Flight Heat Management
Before launching in temperatures exceeding 35°C:
- Store batteries in cooled containers until 10 minutes before flight
- Keep the drone shaded during mission planning
- Pre-cool the aircraft by running fans without takeoff for 60 seconds
- Check battery temperature in the DJI Fly app—optimal range is 25-35°C
In-Flight Thermal Protection
Extended hovering generates significant heat. The Mavic 4 Pro's internal cooling system works harder in extreme conditions, reducing flight time by approximately 15-20%.
Implement these protective measures:
- Maintain forward motion whenever possible—airflow assists cooling
- Limit hover duration to under 30 seconds per inspection point
- Monitor motor temperatures through telemetry warnings
- Plan landing zones in shade for battery swaps
Pro Tip: Schedule inspections when ambient temperature sits below 38°C but panel surface temperature exceeds 60°C. This differential maximizes thermal contrast for defect visibility while keeping your drone within safe operating parameters. Early morning—6:00-9:00 AM—often provides this ideal window.
Configuring Camera Settings for Inspection-Grade Imagery
The Mavic 4 Pro's imaging capabilities require specific configuration for solar inspection documentation.
D-Log Profile for Maximum Flexibility
Shooting in D-Log preserves highlight and shadow detail critical for post-processing analysis:
- ISO: Lock at 100-200 to minimize noise
- Shutter speed: 1/500 or faster to eliminate motion blur
- Aperture: f/4-f/5.6 for optimal sharpness across the frame
- White balance: Manual 5600K for consistent color reference
Thermal Overlay Configuration
When using thermal imaging accessories:
- Palette selection: Ironbow or White Hot for defect visibility
- Temperature range: Set span to 40-80°C for typical panel operations
- Isotherm alerts: Configure at 15°C above ambient panel temperature
- Fusion mode: 50% blend for correlating thermal anomalies with visual features
Leveraging Intelligent Flight Features
The Mavic 4 Pro's autonomous capabilities transform inspection efficiency when properly configured.
ActiveTrack for Row Following
Rather than manually piloting along panel rows, ActiveTrack locks onto row edges and maintains consistent spacing:
- Position the drone at row start, 20 meters altitude
- Enable ActiveTrack in Spotlight mode
- Select the panel row edge as your tracking target
- Set forward speed to 3-4 m/s for adequate image overlap
- Monitor the thermal feed while the drone handles navigation
This approach reduces pilot workload by 60% while improving coverage consistency.
Hyperlapse for Time-Based Analysis
Hyperlapse documentation captures panel behavior across temperature cycles:
- Course Lock mode: Maintains consistent angle during extended captures
- Interval: 10-second spacing for hourly temperature progression
- Duration: 4-6 hours captures full heating cycle
- Output: Compressed video reveals differential heating patterns invisible in single frames
QuickShots for Stakeholder Documentation
While primarily creative tools, QuickShots generate compelling overview footage for client reports:
- Dronie: Establishes installation scale
- Circle: Highlights specific problem areas
- Helix: Comprehensive site documentation
Technical Comparison: Inspection Flight Modes
| Flight Mode | Best Use Case | Coverage Rate | Defect Detection | Battery Efficiency |
|---|---|---|---|---|
| Manual Grid | Complex layouts | 2 acres/battery | Highest | Moderate |
| ActiveTrack Row | Uniform arrays | 4 acres/battery | High | High |
| Waypoint Mission | Repeat inspections | 5 acres/battery | Moderate | Highest |
| Hyperlapse | Thermal cycling | 0.5 acres/battery | Specialized | Low |
| Subject Tracking | Individual panel focus | 0.25 acres/battery | Maximum | Low |
Obstacle Avoidance Configuration for Solar Environments
Solar farms present unique obstacle challenges: guy wires, weather stations, inverter structures, and perimeter fencing.
Recommended Settings
- Obstacle avoidance: Enable all directions
- Braking distance: Set to Maximum for high-speed passes
- Return-to-Home altitude: 40 meters minimum to clear all structures
- Downward sensors: Critical for low-altitude thermal passes
The Mavic 4 Pro's omnidirectional obstacle avoidance detects objects as thin as 8mm in diameter—sufficient for most guy wires, though not fishing-line-thin supports occasionally used in temporary installations.
Common Mistakes to Avoid
Flying during peak solar production hours: Panels operating at maximum efficiency show uniform heating, masking defects. Schedule inspections during partial cloud cover or off-peak hours when defective cells display temperature differentials.
Ignoring wind effects on thermal readings: Wind speeds above 8 m/s create convective cooling that masks hotspots. The Mavic 4 Pro handles winds up to 12 m/s, but thermal accuracy degrades significantly above 6 m/s.
Overlooking battery temperature warnings: Lithium batteries in extreme heat degrade rapidly. Dismissing temperature warnings risks mid-flight shutdowns and permanent capacity loss. Land immediately when warnings appear.
Using automatic exposure for thermal documentation: Auto-exposure shifts between frames make comparative analysis impossible. Lock exposure settings manually for consistent, analyzable datasets.
Skipping pre-flight sensor calibration: Temperature extremes affect IMU and compass accuracy. Calibrate before each inspection session, not just each flight day.
Frequently Asked Questions
What's the minimum temperature differential needed to identify defective solar cells?
Defective cells typically display 10-15°C elevation above surrounding healthy cells under normal operating conditions. The Mavic 4 Pro's thermal sensitivity detects differentials as low as 5°C, enabling early-stage identification before efficiency losses become significant. Morning inspections when panels transition from ambient to operating temperature often reveal the clearest differentials.
How many acres can I realistically inspect per battery in extreme heat?
Expect 3-4 acres per battery using efficient ActiveTrack row-following at 20 meters altitude and 4 m/s forward speed. Extreme heat reduces this to approximately 2.5-3 acres due to shortened flight times. Plan for 25% more batteries than standard calculations suggest when operating above 35°C.
Should I use ND filters for solar panel inspections?
Yes, absolutely. Solar panels reflect intense light that overwhelms sensors without filtration. Use ND16 or ND32 filters depending on sun angle. This maintains proper exposure while enabling the slower shutter speeds sometimes needed for thermal sensor synchronization. The Mavic 4 Pro's lens thread accepts standard filters without vignetting at inspection altitudes.
Delivering Professional Inspection Results
Solar farm inspection demands more than flying skills—it requires understanding thermal dynamics, equipment limitations, and systematic documentation practices. The Mavic 4 Pro provides the technical foundation, but expertise transforms raw data into actionable maintenance intelligence.
Master these altitude, temperature, and configuration principles, and you'll deliver inspection reports that identify problems before they cascade into costly failures.
Ready for your own Mavic 4 Pro? Contact our team for expert consultation.