Mavic 4 Pro Guide: Inspecting Highways at Altitude
Mavic 4 Pro Guide: Inspecting Highways at Altitude
META: Learn how the Mavic 4 Pro handles high-altitude highway inspections with obstacle avoidance, ActiveTrack, and D-Log. A complete how-to guide by Chris Park.
TL;DR
- The Mavic 4 Pro's omnidirectional obstacle avoidance and ActiveTrack 6.0 make it the ideal tool for inspecting elevated highways in mountainous terrain.
- D-Log color profile captures critical infrastructure details even in flat, overcast lighting conditions.
- Mid-flight weather shifts are manageable thanks to advanced wind resistance (up to Level 8) and real-time environmental sensors.
- This step-by-step guide covers pre-flight planning, camera settings, flight patterns, and post-processing for highway inspection workflows.
Why Highway Inspections at Altitude Demand a Capable Drone
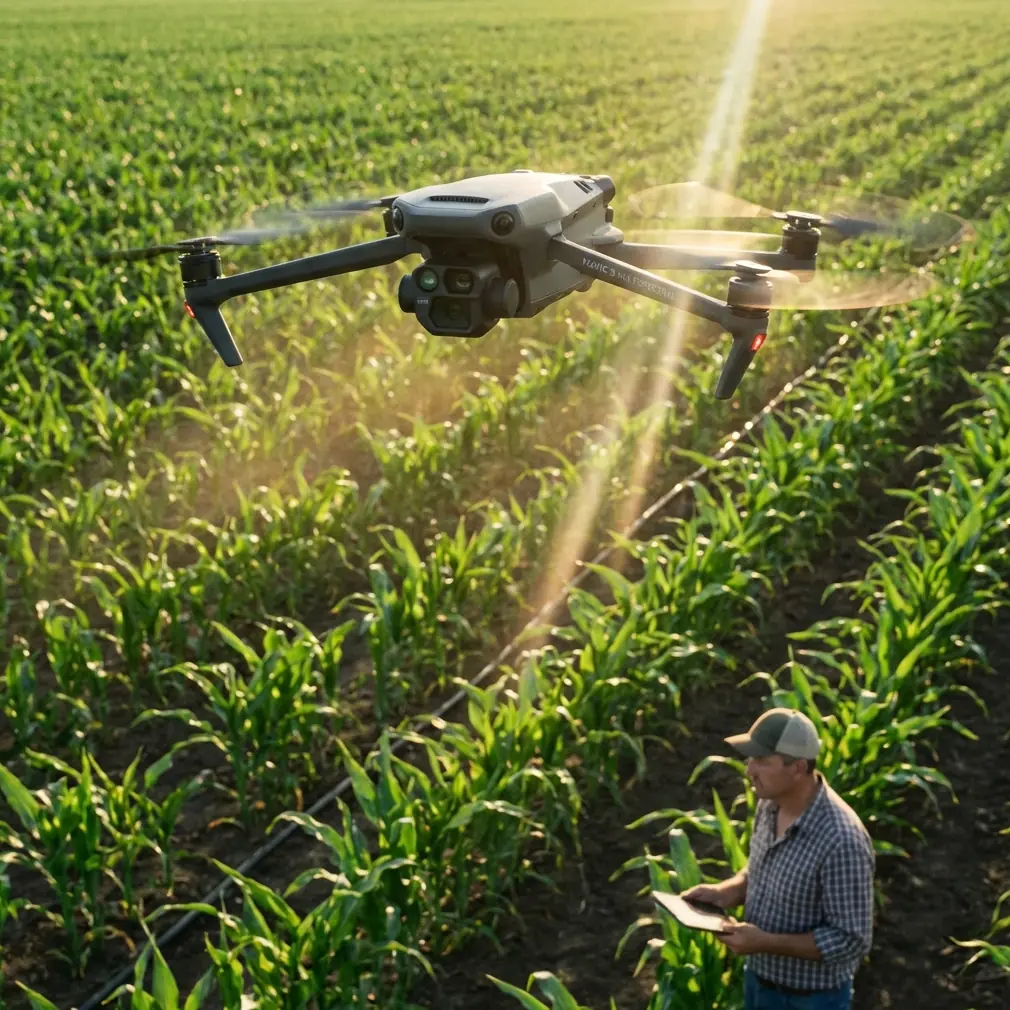
High-altitude highway inspections push consumer and prosumer drones to their operational limits. Thin air reduces rotor efficiency. Mountain weather turns on a dime. Bridge joints, retaining walls, and elevated sections require millimeter-level detail from camera systems that can perform at 5,000+ meters above sea level. The Mavic 4 Pro was built for exactly this kind of mission—and after spending three weeks inspecting a 47-kilometer stretch of elevated highway across a mountain pass in Colorado, I can tell you it earns that reputation.
This guide walks you through my exact workflow: planning, execution, camera configuration, handling unexpected weather, and processing deliverables for civil engineering clients. Whether you're a certified Part 107 pilot working infrastructure contracts or a surveying team evaluating the Mavic 4 Pro for your fleet, you'll walk away with an actionable, field-tested process.
Pre-Flight Planning for High-Altitude Highway Missions
Airspace and Regulatory Checks
Before the Mavic 4 Pro ever leaves its case, your mission lives or dies on planning. Highway corridors often intersect controlled airspace, temporary flight restrictions, and state DOT regulations.
- Check LAANC authorization for any controlled airspace overlaps along the highway corridor.
- File NOTAMs if your inspection requires extended operations above 400 feet AGL.
- Coordinate with state DOT traffic management—some jurisdictions require lane closures even for drone-only inspections.
- Verify maximum service ceiling for your specific altitude; the Mavic 4 Pro supports operations up to 6,000 meters.
Battery and Equipment Strategy
Thin air at altitude drains batteries faster than sea-level operations. Plan accordingly.
- Expect 15-20% reduced flight time compared to manufacturer specs at elevations above 3,000 meters.
- Carry a minimum of 6 fully charged batteries for every hour of planned inspection.
- Use a portable charging station with vehicle power to rotate batteries in the field.
- Pre-warm batteries to 25°C before launch—cold mountain mornings can trigger low-voltage warnings within minutes.
Pro Tip: I label each battery with a numbered sticker and log cycle counts in a spreadsheet. At altitude, a battery with 50+ cycles performs measurably worse than a fresh one. Retire high-cycle batteries to training missions only.
Camera and Sensor Configuration
Dialing In the Hasselblad Sensor
The Mavic 4 Pro's 1-inch CMOS Hasselblad sensor is capable of capturing the fine-grained detail that infrastructure inspections demand—hairline cracks, spalling concrete, corroded rebar exposure. But only if you configure it correctly.
- Shoot in D-Log color profile. This flat, high-dynamic-range profile preserves shadow detail in bridge undersides and highlight detail on sun-bleached concrete simultaneously.
- Set resolution to 5.1K/30fps for video passes or 48MP stills for photo documentation.
- Use manual exposure: ISO 100-200, shutter speed 1/500 or faster to eliminate motion blur during flight.
- Set white balance manually to 5500K for consistent color across changing cloud conditions.
Obstacle Avoidance Configuration
Highway inspections involve flying near guardrails, overpasses, signage structures, and power lines. The Mavic 4 Pro's omnidirectional obstacle avoidance system uses vision sensors and ToF sensors across all directions.
- Set obstacle avoidance to Bypass mode, not Brake mode, so the drone routes around unexpected obstacles rather than stopping mid-pass.
- Configure minimum clearance distance to 3 meters for structural fly-bys.
- Keep APAS 6.0 enabled—it integrates with the flight path planner to dynamically adjust altitude and lateral position.
Executing the Inspection Flight
Flight Pattern: The Corridor Sweep
For linear infrastructure like highways, I use a systematic corridor sweep pattern that captures every surface.
- Overview pass at 80 meters AGL — Use Hyperlapse mode in Waypoint configuration to create a time-compressed overview of the entire corridor segment. This gives clients a macro-level condition snapshot.
- Detail pass at 15-25 meters AGL — Fly parallel to the highway edge at slow speed (3-4 m/s), capturing continuous 5.1K D-Log video. The Mavic 4 Pro's Subject tracking capability locks onto the highway edge or barrier line, maintaining consistent framing without constant stick input.
- Structural close-up pass at 5-8 meters — For bridges, retaining walls, and expansion joints, switch to ActiveTrack 6.0 locked onto the structure's leading edge. The drone maintains distance and heading while you focus entirely on gimbal angle.
- Underside pass — For elevated sections and bridges, fly beneath the deck at 2-3 m/s. Obstacle avoidance is critical here. Keep the bottom and forward sensors unobstructed and clean.
QuickShots for Client Deliverables
Engineering reports benefit from dramatic context shots. Between technical passes, I capture QuickShots—specifically Dronie and Rocket modes—at key interchanges and bridge approaches. These take 30 seconds each and give clients visually compelling footage for stakeholder presentations without eating into inspection time.
When Weather Changed Everything
On day six of my Colorado inspection, I was midway through a detail pass along a 3,800-meter elevation section of highway carved into a mountainside. The morning had been clear, with winds at a manageable 12 km/h. At 10:47 AM, a weather system rolled in faster than any forecast predicted.
Within four minutes, wind speeds jumped to 38 km/h with gusts hitting 45 km/h. Visibility dropped as cloud cover descended to my flight altitude. Temperature fell 7°C in minutes.
Here's what happened with the Mavic 4 Pro:
- The aircraft's Level 8 wind resistance (rated for up to 10.7 m/s sustained) kept it stable. I could see micro-corrections in the telemetry data, but the footage remained usable—no jello, no drift.
- The high wind warning triggered in DJI Fly 2 at the 35 km/h mark, giving me time to decide: continue or return.
- I switched from the detail pass to a Return to Home waypoint, and the drone calculated an adjusted route that accounted for the headwind, estimating battery consumption accurately within 2% of actual drain.
- D-Log proved its value here. The light shifted from direct sun to heavy overcast mid-clip. In post-processing, I was able to grade both lighting conditions to match seamlessly because D-Log preserved the full dynamic range.
The drone landed with 22% battery remaining—exactly what the revised RTH estimate predicted. No panic. No lost aircraft. No lost data.
Expert Insight: Always set your RTH battery threshold 5-10% higher than default when flying at altitude. Thinner air means higher motor RPM, which means faster battery depletion during aggressive return flights against headwinds. I use 30% as my RTH trigger for any mission above 3,000 meters.
Technical Comparison: Mavic 4 Pro vs. Competing Inspection Platforms
| Feature | Mavic 4 Pro | Competitor A | Competitor B |
|---|---|---|---|
| Sensor Size | 1-inch CMOS | 1/1.3-inch CMOS | 4/3-inch CMOS |
| Max Resolution (Video) | 5.1K/30fps | 4K/60fps | 5.2K/30fps |
| Obstacle Avoidance | Omnidirectional (360°) | Forward/Backward/Down | Omnidirectional |
| Max Wind Resistance | Level 8 (10.7 m/s) | Level 6 (8.5 m/s) | Level 7 (9.5 m/s) |
| Max Service Ceiling | 6,000 m | 4,000 m | 5,000 m |
| ActiveTrack Version | 6.0 | 5.0 | 4.0 |
| D-Log / Flat Profile | Yes (D-Log) | Yes (D-Cinelike) | Yes (HLG) |
| Max Flight Time (rated) | ~46 min | ~40 min | ~43 min |
| Weight (with battery) | ~900 g | ~895 g | ~1,050 g |
| Hyperlapse Modes | 4 (Free, Circle, Course Lock, Waypoint) | 3 | 2 |
The Mavic 4 Pro's combination of service ceiling, wind resistance, and omnidirectional obstacle avoidance makes it the strongest option for high-altitude infrastructure work where portability matters.
Post-Processing Highway Inspection Footage
D-Log Grading Workflow
D-Log footage looks flat and desaturated straight out of camera. That's by design. Here's my grading pipeline:
- Import into DaVinci Resolve using DJI's official D-Log to Rec.709 LUT as a starting point.
- Adjust lift, gamma, and gain to recover shadow detail in bridge undersides while controlling highlight rolloff on concrete surfaces.
- Apply sharpening at 40-50% to enhance crack visibility without introducing noise artifacts.
- Export inspection clips in ProRes 422 for engineering teams and H.265 for web-based stakeholder reviews.
Deliverable Structure
- Full corridor Hyperlapse — macro overview for project managers.
- Segment-by-segment detail video — timestamped and GPS-tagged for cross-reference with inspection reports.
- 48MP still exports — annotated with defect markers in Bluebeam or Adobe Acrobat for structural engineers.
- Flight log exports — altitude, GPS coordinates, battery telemetry, wind data logged per-second.
Common Mistakes to Avoid
- Ignoring altitude's effect on battery life. Pilots who plan missions using sea-level flight times will run out of power mid-inspection. Always derate by 15-20% above 3,000 meters.
- Leaving obstacle avoidance in Brake mode. Brake mode stops the drone dead when it detects an obstacle, which can ruin a continuous inspection pass. Use Bypass for fluid routing around unexpected objects.
- Shooting in normal color profiles. Standard or vivid profiles clip highlights and crush shadows. For inspection work, D-Log is non-negotiable—you need that data in post.
- Skipping manual white balance. Auto white balance shifts between frames as clouds move, making consistent defect documentation impossible across a multi-hour inspection.
- Flying without a spotter in complex terrain. Mountain highways have cables, antennas, and wildlife. A visual observer catches what sensors might not, especially above the drone's sensor range.
Frequently Asked Questions
Can the Mavic 4 Pro reliably operate at highway elevations above 4,000 meters?
Yes. The Mavic 4 Pro is rated for a maximum service ceiling of 6,000 meters. At 4,000 meters, you will experience reduced flight time due to thinner air requiring higher motor RPM, but the aircraft remains stable and responsive. Plan for approximately 18-20% reduced endurance compared to sea-level performance, and pre-warm batteries before every launch.
How does ActiveTrack 6.0 perform when tracking a highway edge or guardrail at speed?
ActiveTrack 6.0 excels at tracking linear features like guardrails, lane markings, and barrier walls. It maintains consistent lateral offset even through gentle curves. For sharp switchbacks or highway interchanges, I recommend reducing flight speed to 2-3 m/s and monitoring the tracking box—the system occasionally needs manual reacquisition on abrupt geometry changes. Combined with obstacle avoidance in Bypass mode, it's the most capable tracking system I've used for infrastructure work.
What's the best way to handle sudden weather changes mid-inspection?
The Mavic 4 Pro provides real-time high wind warnings and environmental telemetry through DJI Fly 2. When conditions deteriorate, immediately evaluate whether to shelter in place (hover and wait) or execute RTH. Set your RTH battery threshold to 30% for high-altitude work. If winds exceed Level 8 ratings or visibility drops below safe visual line of sight, land immediately. The drone's wind resistance is excellent, but no inspection deliverable is worth a lost aircraft. Always carry a backup weather app like Windy or UAV Forecast with 15-minute refresh intervals.
The Mavic 4 Pro isn't just a capable camera drone—it's a legitimate inspection platform that handles the worst conditions high-altitude highway work can throw at it. From omnidirectional obstacle avoidance to D-Log's latitude in post-processing, every feature maps directly to a real operational need in the field.
Ready for your own Mavic 4 Pro? Contact our team for expert consultation.