Mavic 4 Pro Guide: Mountain Highway Inspection Mastery
Mavic 4 Pro Guide: Mountain Highway Inspection Mastery
META: Master mountain highway inspections with the Mavic 4 Pro. Learn essential pre-flight protocols, obstacle avoidance techniques, and D-Log settings for professional results.
By Chris Park, Creator
TL;DR
- Pre-flight sensor cleaning is non-negotiable for mountain highway work—dust and debris disable critical obstacle avoidance systems
- The Mavic 4 Pro's omnidirectional sensing handles unpredictable mountain terrain where GPS signals fluctuate
- D-Log color profile captures the dynamic range needed for shadowed valleys and sun-bleached asphalt simultaneously
- ActiveTrack 6.0 maintains lock on moving vehicles during traffic flow assessments even through tunnel transitions
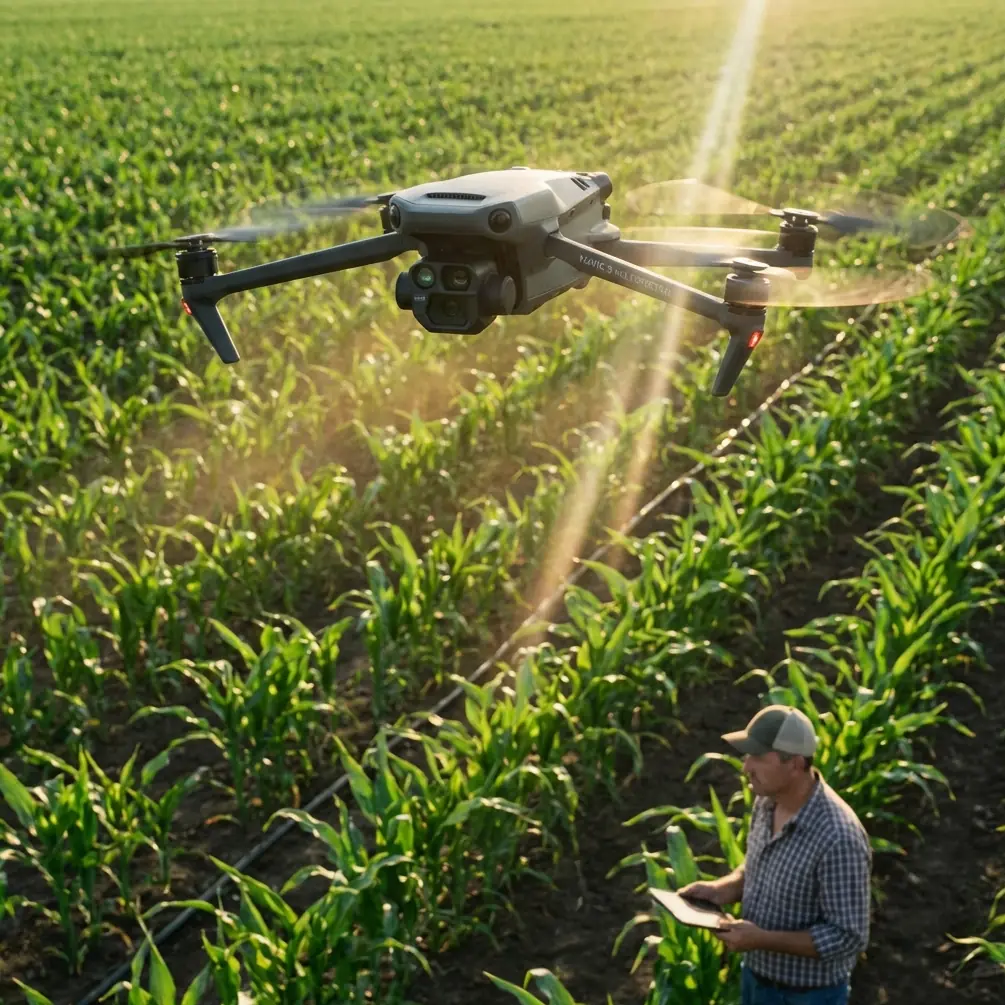
Why Mountain Highway Inspections Demand More From Your Drone
Mountain highway inspection isn't standard aerial photography. You're dealing with elevation changes exceeding 3,000 feet within single flight missions, wind shear around cliff faces, and infrastructure that spans shadowed ravines to exposed ridgelines.
The Mavic 4 Pro handles these challenges through a sensor suite that processes environmental data 4x faster than previous generations. But here's what most operators miss: those sensors become liabilities when contaminated.
The Pre-Flight Cleaning Protocol That Saves Missions
Before every mountain highway deployment, I spend exactly seven minutes on sensor maintenance. This isn't optional—it's the difference between a successful inspection and a drone embedded in a mountainside.
Critical cleaning sequence:
- Obstacle avoidance sensors (all six directions) with microfiber and sensor-safe solution
- Gimbal glass using circular motions from center outward
- Propeller attachment points cleared of grit that causes vibration
- Cooling vents checked for debris that triggers thermal shutdowns
- Landing gear sensors wiped to ensure accurate ground detection
Mountain environments deposit fine particulate matter that's invisible until it triggers a false obstacle reading. I've watched operators skip this step and lose visual obstacle avoidance mid-flight when dust particles scattered light across forward sensors.
Expert Insight: Carry a dedicated sensor cleaning kit in a sealed container. Mountain humidity combined with temperature swings creates condensation that bonds dust to optical surfaces. Clean sensors before and after each flight day.
Configuring Obstacle Avoidance for Complex Terrain
The Mavic 4 Pro's obstacle avoidance system uses binocular vision sensors paired with ToF (Time of Flight) modules across all directions. For highway inspection work, default settings create problems.
Recommended Obstacle Avoidance Settings
Bypass mode should be your primary configuration. The default "brake" setting stops your drone when detecting obstacles—useful for beginners, catastrophic when you're tracking a guardrail along a cliff edge and the system interprets the rock face as an imminent collision.
Adjust these parameters before mountain deployment:
- Forward sensing range: Maximum (50m)
- Lateral sensing: Active with bypass enabled
- Downward sensing: Active for terrain following
- Upward sensing: Active (critical near overhangs and bridges)
- Obstacle avoidance behavior: Bypass rather than brake
The system processes obstacle data at 60fps, giving you responsive protection without the jarring stops that ruin inspection footage.
Handling GPS-Denied Environments
Mountain highways include tunnels, deep cuts, and overhanging rock formations where GPS signals degrade or vanish. The Mavic 4 Pro's visual positioning system maintains stability using downward cameras, but you need to configure behavior before entering these zones.
Set your RTH (Return to Home) behavior to hover rather than ascend. Default ascent behavior in a tunnel means your drone climbs directly into concrete.
Subject Tracking for Traffic Flow Assessment
Highway inspections often require documenting traffic patterns, vehicle behavior at specific infrastructure points, and emergency response access routes. ActiveTrack 6.0 on the Mavic 4 Pro handles these requirements with notable improvements.
ActiveTrack Configuration for Vehicle Monitoring
The system now predicts vehicle trajectories using machine learning models trained on traffic patterns. This means maintaining lock on a vehicle entering a tunnel and reacquiring it on exit—previous generations lost tracking completely in these scenarios.
Optimal tracking settings:
- Tracking mode: Parallel for highway work (maintains consistent distance)
- Obstacle avoidance: Active during tracking
- Speed limit: Set to match expected vehicle speeds plus 15% buffer
- Recognition sensitivity: High for consistent vehicle shapes
For traffic flow documentation, QuickShots modes offer automated capture sequences. The Dronie and Circle modes work well for intersection documentation, while Helix captures interchange complexity from multiple angles automatically.
Pro Tip: When tracking vehicles through areas with overhead structures, temporarily switch to manual control. ActiveTrack's vertical adjustment can position your drone dangerously close to bridge undersides when compensating for terrain elevation changes.
D-Log and Hyperlapse: Capturing Inspection-Grade Footage
Mountain highway environments present the most challenging dynamic range scenarios in aerial inspection work. You're simultaneously capturing:
- Shadowed valley floors
- Sun-bleached concrete surfaces
- Dark tunnel interiors
- Reflective guardrails and signage
D-Log Configuration for Maximum Flexibility
D-Log on the Mavic 4 Pro captures 12.8 stops of dynamic range when properly configured. This flat color profile preserves highlight and shadow detail that standard profiles clip permanently.
Essential D-Log settings:
- Color profile: D-Log M (optimized for Mavic 4 Pro sensor)
- ISO: 100-400 for daylight (avoid auto)
- Shutter speed: Double your frame rate (1/60 for 30fps)
- White balance: Manual at 5600K for consistent grading
The footage looks flat and desaturated in-camera. This is correct. You're capturing data, not final images. Post-processing recovers the full dynamic range your client needs for infrastructure assessment.
Hyperlapse for Long-Duration Documentation
Highway inspection contracts often require documenting traffic patterns over extended periods. The Mavic 4 Pro's Hyperlapse mode captures time-compressed footage while maintaining flight stability.
Hyperlapse modes for highway work:
- Free: Manual flight path for custom documentation routes
- Circle: Automated rotation around specific infrastructure points
- Course Lock: Maintains heading while you control position
- Waypoint: Pre-programmed paths for repeatable documentation
Set capture intervals based on documentation requirements. For traffic flow analysis, 2-second intervals over 30-minute periods produce usable time-lapse data. For infrastructure condition documentation, 5-second intervals capture sufficient detail while extending battery life.
Technical Comparison: Mavic 4 Pro vs. Previous Generations
| Feature | Mavic 4 Pro | Mavic 3 Pro | Mavic 2 Pro |
|---|---|---|---|
| Obstacle Sensing | Omnidirectional | Omnidirectional | 4-direction |
| Sensing Range | 50m forward | 40m forward | 20m forward |
| ActiveTrack Version | 6.0 | 5.0 | 2.0 |
| D-Log Dynamic Range | 12.8 stops | 12.8 stops | 10 stops |
| Max Flight Time | 46 minutes | 43 minutes | 31 minutes |
| Wind Resistance | 12 m/s | 12 m/s | 10 m/s |
| Hyperlapse Modes | 4 modes | 4 modes | 4 modes |
| Sensor Processing | 60fps | 45fps | 30fps |
| GPS + Visual Positioning | Dual system | Dual system | Single system |
The 46-minute flight time matters significantly for mountain highway work. Elevation changes and wind resistance drain batteries faster than flatland operations. That additional 3-minute buffer over the Mavic 3 Pro often determines whether you complete a section or return for a second flight.
Common Mistakes to Avoid
Trusting factory obstacle avoidance settings in complex terrain. Default brake behavior creates dangerous situations when the system misinterprets rock faces, vegetation, or infrastructure as collision threats. Configure bypass mode before mountain deployment.
Ignoring sensor contamination. Mountain environments deposit invisible particulate matter that degrades obstacle avoidance reliability. The system doesn't warn you—it simply fails when you need it most.
Using auto exposure in high-contrast environments. The camera constantly adjusts between shadow and highlight, producing unusable footage for professional inspection documentation. Lock exposure manually or use D-Log for post-processing flexibility.
Flying ActiveTrack through GPS transition zones. Tunnel entries and exits create GPS signal fluctuations that confuse tracking algorithms. Switch to manual control through these transitions.
Neglecting wind shear around terrain features. Mountain highways follow valleys and ridgelines where wind behavior changes dramatically over short distances. Monitor wind warnings and maintain manual override readiness.
Frequently Asked Questions
How does the Mavic 4 Pro handle sudden elevation changes during highway following?
The terrain following system uses downward ToF sensors combined with barometric data to maintain consistent altitude above ground level. For highway inspection, set terrain following to active with a minimum altitude of 30 meters to accommodate bridge structures and overhead signage. The system adjusts altitude automatically as terrain rises and falls, maintaining your set distance from the surface below.
Can ActiveTrack maintain lock on vehicles through tunnel sections?
ActiveTrack 6.0 uses predictive algorithms that estimate vehicle trajectory when visual contact is lost. For tunnels under 200 meters, the system typically reacquires the target on exit. Longer tunnels require manual tracking or waypoint-based flight paths that parallel the expected vehicle route. Always maintain visual line of sight and manual override capability.
What's the optimal D-Log workflow for highway inspection deliverables?
Capture in D-Log M at the lowest clean ISO your lighting allows. Import footage into DaVinci Resolve or Adobe Premiere with the DJI D-Log to Rec.709 LUT as a starting point. Adjust exposure, contrast, and saturation to match client specifications. Export at H.265 for archival and H.264 for client delivery. Maintain original D-Log files for future reprocessing if inspection requirements change.
Your Next Mountain Highway Mission
The Mavic 4 Pro transforms mountain highway inspection from a high-risk operation into a systematic documentation process. The combination of omnidirectional obstacle avoidance, extended flight time, and professional-grade imaging capabilities handles the unique challenges these environments present.
Start with the pre-flight cleaning protocol. Configure your obstacle avoidance for bypass behavior. Lock your exposure settings before launch. These fundamentals determine whether your inspection produces professional deliverables or unusable footage.
Ready for your own Mavic 4 Pro? Contact our team for expert consultation.