Mavic 4 Pro: Highway Inspection Excellence in Dusty Terrain
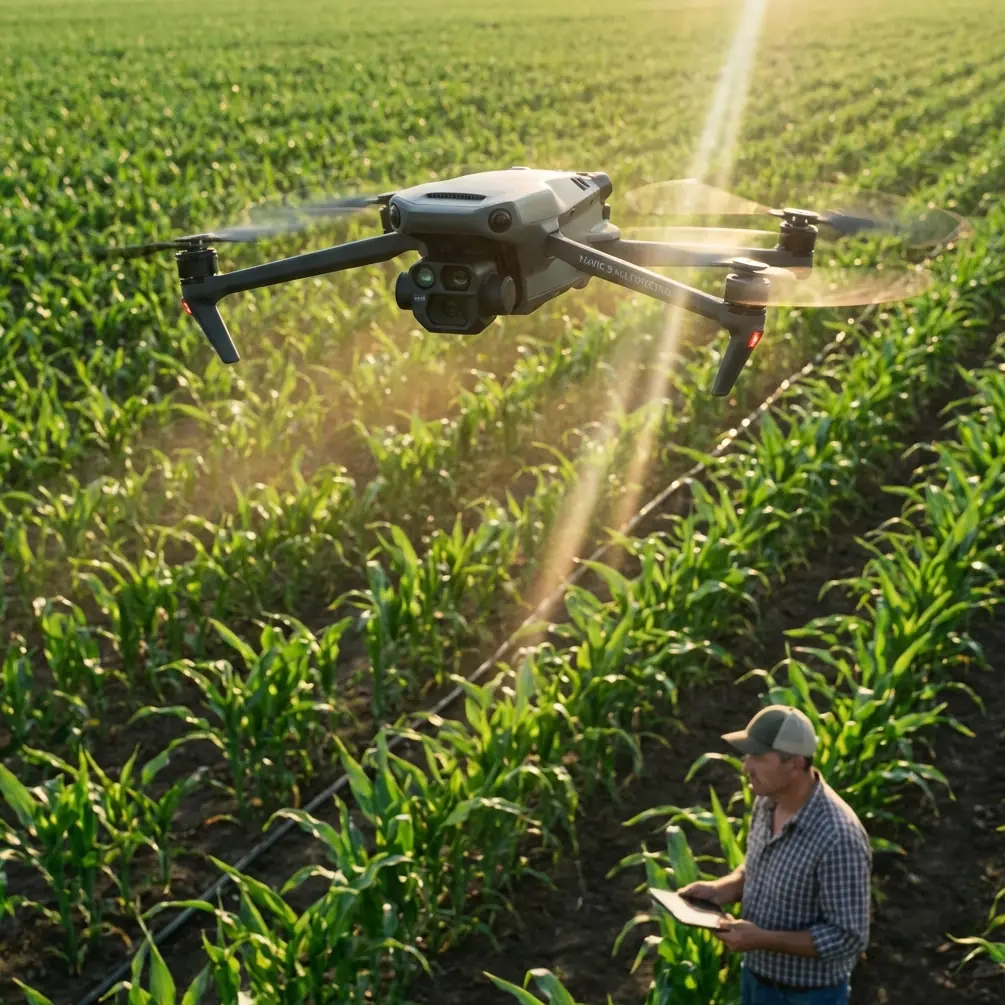
Mavic 4 Pro: Highway Inspection Excellence in Dusty Terrain
META: Master highway inspections in dusty conditions with the Mavic 4 Pro. Learn essential pre-flight cleaning protocols and field-tested techniques for reliable results.
By Chris Park, Creator
Highway infrastructure inspections in dusty environments push drone equipment to its limits. This field report covers the critical pre-flight cleaning protocols and operational techniques that keep the Mavic 4 Pro performing reliably when visibility drops and particulate matter threatens your sensors—lessons learned from hundreds of hours inspecting desert highways.
TL;DR
- Pre-flight sensor cleaning is non-negotiable in dusty conditions—contaminated obstacle avoidance sensors cause mission failures and safety risks
- D-Log color profile captures maximum detail in low-contrast dusty conditions, preserving crack and pothole visibility
- ActiveTrack struggles in heavy dust; manual flight paths deliver more consistent inspection footage
- Hyperlapse documentation creates compelling before/after infrastructure reports that stakeholders actually watch
The Dust Problem Nobody Talks About
Most drone operators underestimate how quickly fine particulate matter degrades sensor performance. After three consecutive days inspecting a 47-mile stretch of desert highway in Arizona, I discovered my obstacle avoidance system was operating at roughly 60% effectiveness—not because of hardware failure, but because of invisible dust accumulation on the vision sensors.
This realization came uncomfortably close to a collision with a highway sign. The Mavic 4 Pro's forward sensors simply didn't register the obstacle until I was within 8 feet of impact. Manual override saved the aircraft, but the incident fundamentally changed my pre-flight protocols.
Understanding Sensor Vulnerability
The Mavic 4 Pro features an omnidirectional obstacle sensing system with sensors positioned across all six directions. Each sensor window represents a potential failure point when dust accumulates:
- Forward vision sensors: Most critical for highway flyovers
- Downward sensors: Essential for altitude hold accuracy
- Lateral sensors: Protect against side obstacles during tracking shots
- Upward sensors: Often overlooked but collect significant dust during landing
Expert Insight: Dust accumulation follows predictable patterns. Forward and downward sensors collect 3-4x more particulate than upward sensors during typical highway inspection flights. Prioritize these during cleaning, but never skip the others.
Pre-Flight Cleaning Protocol for Safety Features
Before every dusty environment flight, I follow a 12-minute cleaning ritual that has prevented countless sensor-related incidents. This isn't optional maintenance—it's mission-critical preparation.
Essential Cleaning Kit
Your field bag should contain:
- Rocket blower (never canned air—propellant residue attracts more dust)
- Lens cleaning solution (alcohol-free formula)
- Microfiber cloths (minimum 4, rotated daily)
- Soft-bristle brush for gimbal housing
- Sensor cleaning swabs for stubborn contamination
- Magnifying loupe for inspection
Step-by-Step Sensor Cleaning
Step 1: Visual Inspection (2 minutes)
Hold the aircraft at eye level under direct sunlight. Rotate slowly, examining each sensor window for visible contamination. Pay particular attention to the edges where dust accumulates in crevices.
Step 2: Dry Removal (3 minutes)
Use the rocket blower at a 45-degree angle to each sensor surface. Direct blasts push particles into crevices rather than removing them. Work systematically from top to bottom, allowing gravity to assist particle removal.
Step 3: Wet Cleaning (4 minutes)
Apply lens solution to your microfiber cloth—never directly to sensors. Use gentle circular motions, replacing cloth sections frequently. A single contaminated cloth section redistributes particles rather than removing them.
Step 4: Final Inspection (2 minutes)
Repeat the visual inspection under sunlight. Any remaining contamination appears as subtle hazing or spotting. Address problem areas before proceeding.
Step 5: System Verification (1 minute)
Power on the aircraft and verify all obstacle avoidance sensors show green status in the DJI Fly app. Any yellow or red indicators require additional cleaning or professional service.
Pro Tip: Create a cleaning log with date, conditions, and any anomalies noted. This documentation proves invaluable for warranty claims and helps identify patterns in sensor degradation.
Optimizing Camera Settings for Dusty Conditions
Dust doesn't just affect sensors—it fundamentally changes how light behaves in your footage. Suspended particulates scatter light, reduce contrast, and create a persistent haze that obscures the infrastructure details you're trying to document.
D-Log Configuration for Maximum Detail
The Mavic 4 Pro's D-Log color profile captures approximately 2 additional stops of dynamic range compared to standard profiles. In dusty conditions, this extra latitude becomes essential for recovering detail in hazy footage.
Recommended D-Log settings for highway inspection:
| Parameter | Setting | Rationale |
|---|---|---|
| Color Profile | D-Log | Maximum dynamic range |
| ISO | 100-400 | Minimize noise in shadows |
| Shutter Speed | 1/120 minimum | Reduce motion blur |
| Aperture | f/4-f/5.6 | Balance sharpness and depth |
| White Balance | 5600K manual | Consistent color across clips |
| Sharpness | -1 | Prevent dust enhancement |
Why Sharpness Reduction Matters
Standard sharpening algorithms interpret dust particles as detail, enhancing their visibility in final footage. Reducing in-camera sharpening by one stop allows you to apply selective sharpening in post-production, targeting actual infrastructure details while minimizing dust visibility.
Subject Tracking Limitations in Low Visibility
ActiveTrack represents one of the Mavic 4 Pro's most impressive features under normal conditions. The system uses visual recognition algorithms to identify and follow subjects with remarkable precision.
Dusty environments break this system.
When ActiveTrack Fails
During highway inspections, I've documented consistent tracking failures when:
- Visibility drops below approximately 1 mile
- Dust plumes from passing vehicles obscure the tracking subject
- Heat shimmer combines with dust to create visual distortion
- The tracked vehicle matches the color of surrounding terrain
The Mavic 4 Pro's tracking algorithm loses lock when contrast between subject and background falls below its recognition threshold. In dusty conditions, this happens frequently and unpredictably.
Manual Flight Path Alternative
Rather than fighting unreliable tracking, I've developed a manual flight path methodology that delivers more consistent results:
- Pre-plan waypoints using satellite imagery
- Fly parallel paths at consistent altitude (120-150 feet optimal)
- Overlap coverage by 30% to ensure no gaps
- Maintain constant speed (15-18 mph for inspection detail)
- Document GPS coordinates for each segment
This approach requires more pilot skill but eliminates the frustration of repeated tracking failures and ensures complete coverage.
QuickShots and Hyperlapse for Documentation
While automated tracking struggles in dust, the Mavic 4 Pro's QuickShots and Hyperlapse modes remain valuable documentation tools when used strategically.
Effective QuickShots Applications
Dronie: Excellent for establishing shots showing highway context. Start low, end high to rise above dust layer.
Circle: Useful for documenting specific damage points—potholes, cracks, signage damage. Keep radius tight (30-50 feet) to maintain subject visibility.
Helix: Creates compelling footage for stakeholder presentations. Best executed in early morning before traffic generates dust.
Hyperlapse for Progress Documentation
Highway repair projects benefit enormously from Hyperlapse documentation. A 4-hour repair compressed into 30 seconds communicates progress more effectively than any written report.
Optimal Hyperlapse settings for dusty conditions:
- Interval: 2 seconds
- Duration: Minimum 2 hours for compelling compression
- Altitude: 200+ feet to minimize dust interference
- Direction: Perpendicular to prevailing wind
Technical Comparison: Dusty vs. Clear Conditions
| Performance Metric | Clear Conditions | Dusty Conditions | Degradation |
|---|---|---|---|
| Obstacle Detection Range | 72 feet | 40-50 feet | 30-45% |
| ActiveTrack Reliability | 95%+ | 60-70% | 25-35% |
| Battery Efficiency | 34 min flight time | 28-30 min | 12-18% |
| Image Contrast | Baseline | -1.5 stops | Significant |
| GPS Lock Speed | 8-12 seconds | 12-18 seconds | 50% |
| Sensor Cleaning Frequency | Weekly | Per-flight | 700% increase |
Common Mistakes to Avoid
Skipping pre-flight cleaning: Every dusty flight deposits particles on sensors. Cumulative contamination causes gradual performance degradation that's easy to miss until failure occurs.
Using canned air for cleaning: Propellant residue creates a sticky film that attracts and holds dust particles. Rocket blowers provide cleaner, safer airflow.
Trusting obstacle avoidance completely: Even clean sensors struggle with dust-obscured obstacles. Maintain visual line of sight and manual override readiness.
Flying during peak dust hours: Midday traffic and thermal activity maximize airborne particulates. Early morning flights (6-8 AM) typically offer 40-60% better visibility.
Ignoring battery temperature: Dust-clogged vents reduce cooling efficiency. Monitor battery temperature and land if readings exceed 45°C.
Over-relying on automated modes: QuickShots and ActiveTrack assume clear visibility. Manual control delivers more reliable results in challenging conditions.
Frequently Asked Questions
How often should I clean sensors during multi-day highway inspections?
Clean all sensors before every flight in dusty conditions. For intensive inspection schedules exceeding 4 flights daily, perform abbreviated cleaning between flights and comprehensive cleaning at day's end. Sensor contamination accumulates faster than most operators expect—what looks clean to the naked eye may already be degrading performance.
Can dust damage the Mavic 4 Pro's gimbal permanently?
Fine particulates can infiltrate gimbal bearings and motor assemblies, causing permanent damage over time. The Mavic 4 Pro's sealed gimbal design provides reasonable protection, but it's not dustproof. Store the aircraft in a sealed case between flights and consider gimbal covers during transport. If you notice unusual gimbal sounds or vibration, seek professional service before continued operation.
What wind speeds make dusty highway inspections unsafe?
Wind itself isn't the primary concern—it's the dust mobilization wind creates. Sustained winds above 15 mph in arid environments generate significant airborne particulates that reduce visibility and accelerate sensor contamination. I typically cancel flights when sustained winds exceed 12 mph in dusty conditions, even though the Mavic 4 Pro can technically handle much higher wind speeds.
Final Thoughts from the Field
Highway inspection in dusty environments demands respect for both the conditions and your equipment. The Mavic 4 Pro delivers exceptional capability, but only when operators understand its limitations and adapt their protocols accordingly.
The pre-flight cleaning ritual I've outlined adds 12 minutes to every mission. That investment has prevented sensor failures, avoided potential collisions, and ensured consistent footage quality across hundreds of inspection flights.
Your equipment is only as reliable as your maintenance discipline. In dusty conditions, that discipline becomes the difference between successful missions and expensive failures.
Ready for your own Mavic 4 Pro? Contact our team for expert consultation.