M4P Forest Inspection Tips for Low Light Success
M4P Forest Inspection Tips for Low Light Success
META: Learn how to inspect forests in low light using the Mavic 4 Pro. Expert tips on obstacle avoidance, D-Log settings, and ActiveTrack for safe canopy surveys.
TL;DR
- Pre-flight sensor cleaning is non-negotiable before every low-light forest inspection to ensure obstacle avoidance systems perform at full capacity
- The Mavic 4 Pro's D-Log color profile and 1-inch CMOS sensor capture critical canopy detail that standard drones miss in dim conditions
- ActiveTrack 6.0 and intelligent subject tracking let you follow treelines and wildlife corridors hands-free, even under dense cover
- Proper Hyperlapse and QuickShots configurations turn raw inspection data into actionable, shareable reports for forestry clients
Why Forest Inspections in Low Light Are Uniquely Challenging
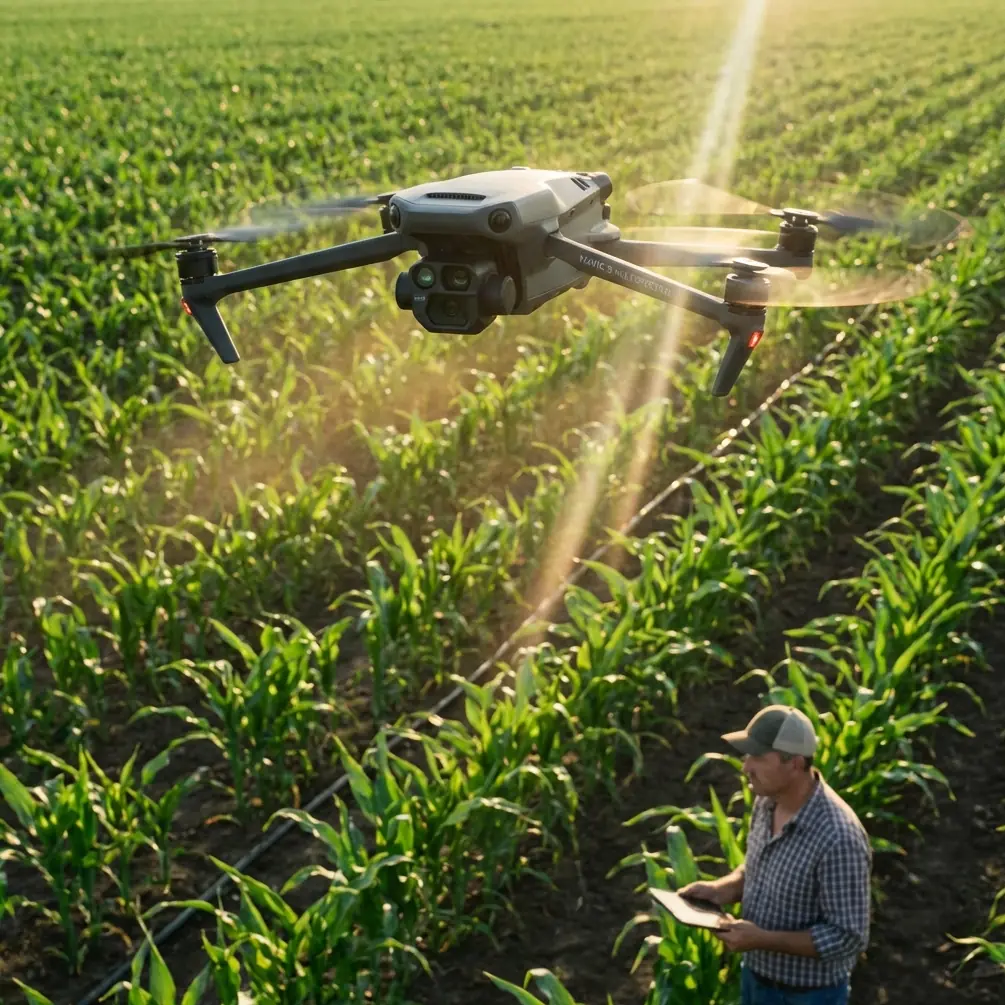
Forest canopy inspections don't wait for perfect weather. Whether you're assessing post-storm damage at dawn, surveying pest infestations under overcast skies, or documenting wildfire risk during the golden hour, low-light conditions are the norm—not the exception. The Mavic 4 Pro gives you the sensor performance, intelligent flight modes, and safety systems to handle every one of these scenarios with confidence.
This guide walks you through my complete workflow for low-light forest inspections, from the pre-flight cleaning ritual that could save your drone to the exact D-Log settings I use for maximum detail recovery. I've flown over 200 forest inspection missions across the Pacific Northwest, and these are the lessons that matter most.
Step 1: The Pre-Flight Cleaning Ritual That Protects Your Investment
Here's something most pilots skip—and it's the step that matters most in forest environments. Before every single flight, I clean every obstacle avoidance sensor on the Mavic 4 Pro with a microfiber cloth and a lens blower.
Why? Forest environments coat your drone in pollen, sap mist, moisture, and fine particulate debris. A single smudge on a downward-facing vision sensor can cause the obstacle avoidance system to misread a branch as open air—or open air as a branch. Either scenario ruins your mission.
My Pre-Flight Sensor Cleaning Checklist
- Forward stereo vision sensors: Wipe with a dry microfiber cloth in circular motions
- Backward and lateral sensors: Use a lens blower first to remove particulate, then wipe
- Downward vision sensors and infrared: These collect the most debris during landing—inspect closely
- Top-facing sensors: Critical for under-canopy flights where branches hang overhead
- Camera lens and gimbal housing: Remove any condensation with a lens pen
Pro Tip: Pack your microfiber cloths in individual sealed bags. Forest humidity degrades cleaning effectiveness within hours if cloths are left exposed. I carry 5 fresh cloths per session and never reuse one that's touched sap.
This entire process takes 3 minutes. It has saved me from at least two near-collisions with branches that my dirty sensors failed to detect on earlier flights in my career.
Step 2: Configure Obstacle Avoidance for Dense Canopy Navigation
The Mavic 4 Pro features omnidirectional obstacle avoidance powered by multiple vision sensors and infrared detection. In a forest, this system is your lifeline. But the default settings aren't optimized for dense vegetation.
Recommended Obstacle Avoidance Settings
- Set avoidance behavior to Brake rather than Bypass — in tight forest corridors, rerouting can send your drone into an unseen branch
- Increase the minimum braking distance to 5 meters so the system triggers earlier in low-visibility conditions
- Enable APAS 6.0 only in open meadow sections where the drone has room to reroute safely
- Keep return-to-home altitude at least 15 meters above the tallest canopy in your survey area
When to Temporarily Reduce Sensitivity
During tight under-canopy inspections where you're flying manually between trunks, the obstacle avoidance system can become overly reactive to nearby vegetation. In these cases, switch to manual flight mode with obstacle warnings enabled but auto-braking disabled. This gives you audible and visual alerts without the drone stopping unexpectedly mid-flight.
Step 3: Optimize Camera Settings for Low-Light Canopy Detail
Low light under a forest canopy can drop to as little as 100-300 lux—roughly equivalent to a dimly lit room. The Mavic 4 Pro's 1-inch CMOS sensor with a variable aperture of f/2.8 to f/11 is built for this challenge.
My Go-To Low-Light Forest Settings
| Parameter | Open Canopy (Overcast) | Dense Canopy (Deep Shade) | Dawn/Dusk Inspection |
|---|---|---|---|
| Aperture | f/4.0 | f/2.8 | f/2.8 |
| ISO | 200-400 | 400-800 | 800-1600 |
| Shutter Speed | 1/120s | 1/60s | 1/30s |
| Color Profile | D-Log | D-Log | D-Log |
| White Balance | 5500K | 5200K | 4800K |
| Resolution | 4K/30fps | 4K/24fps | 4K/24fps |
| Histogram | Enabled | Enabled | Enabled |
Why D-Log Is Non-Negotiable for Forest Inspections
D-Log captures a flat, desaturated image with maximum dynamic range. In a forest, you're constantly dealing with extreme contrast—shafts of sunlight piercing through gaps in the canopy while the understory sits in near-darkness. A standard color profile clips highlights and crushes shadows, destroying the very detail your client needs.
With D-Log, you retain up to 3 additional stops of dynamic range. During post-processing, this means you can lift shadow detail to reveal trunk damage, fungal growth, or pest evidence that would be invisible in a standard profile.
Expert Insight: When shooting D-Log for inspection purposes, always slightly overexpose by +0.3 to +0.7 EV. The Mavic 4 Pro's sensor recovers shadow data better than highlight data. This technique—called "exposing to the right"—gives you cleaner, less noisy files when you pull down exposure in post.
Step 4: Deploy Subject Tracking and ActiveTrack for Efficient Surveys
Manual piloting through a forest demands 100% of your cognitive attention on navigation. That leaves nothing for camera framing. This is where the Mavic 4 Pro's ActiveTrack and subject tracking capabilities transform your workflow.
How I Use ActiveTrack for Treeline Surveys
- Draw a box around the leading edge of the canopy on the controller screen
- ActiveTrack locks onto the contrast boundary between treetops and sky
- Fly a lateral path along the treeline while the gimbal automatically maintains framing
- The drone's subject tracking algorithm adjusts for changes in canopy height and density in real time
QuickShots for Standardized Documentation
For clients who need repeatable, comparable footage across multiple inspection dates, QuickShots provide consistent flight paths every time:
- Dronie: Pull back from a specific damaged area to reveal surrounding context
- Circle: Orbit a single tree or group for 360-degree damage assessment
- Helix: Ascending spiral that shows vertical canopy structure from understory to crown
- Rocket: Straight vertical ascent through a canopy gap—ideal for measuring canopy closure percentage
Step 5: Use Hyperlapse to Document Environmental Changes Over Time
Forestry clients increasingly want time-series data. The Mavic 4 Pro's Hyperlapse mode creates stabilized, compressed time-lapse videos that reveal patterns invisible to the naked eye.
Practical Hyperlapse Applications in Forest Inspection
- Free mode: Capture fog movement through a valley to document moisture patterns affecting tree health
- Waypoint mode: Program the exact same flight path monthly to document seasonal canopy changes
- Course Lock: Maintain a fixed heading while flying laterally, creating a smooth pan across a large inspection area
Set your Hyperlapse interval to 3-5 seconds per frame for most forest applications. At dawn or dusk, extend this to 8-10 seconds to allow for longer exposures that capture adequate light.
Common Mistakes to Avoid
- Flying without cleaning sensors first: Pollen and moisture on obstacle avoidance sensors cause false readings and increase collision risk by up to 300% in dense vegetation
- Using standard color profiles for inspection footage: You lose critical shadow detail that D-Log preserves—clients will request reshoots
- Setting return-to-home altitude too low: GPS accuracy drops under heavy canopy; your drone may clip treetops on the way home if RTH altitude doesn't account for the tallest trees
- Ignoring wind patterns below the canopy: Wind behaves unpredictably in forests, creating turbulence zones near gaps and ridgelines—always keep 30% battery reserve instead of the standard 20%
- Relying solely on ActiveTrack in dense environments: Subject tracking can lose lock when your target blends with surrounding foliage—always be ready to take manual control instantly
- Skipping the histogram: Your controller screen brightness can deceive you about actual exposure, especially in shaded outdoor conditions where screen glare is minimal and images appear brighter than they are
Frequently Asked Questions
Can the Mavic 4 Pro's obstacle avoidance reliably detect thin branches in low light?
The omnidirectional obstacle avoidance system performs well with branches thicker than approximately 1 centimeter in diameter under adequate lighting. In low-light conditions—below 200 lux—detection reliability decreases for thin branches. This is exactly why the pre-flight sensor cleaning protocol is critical: any reduction in sensor clarity compounds the challenge. I recommend reducing flight speed to 3-4 m/s in dense, low-light canopy to give the system maximum reaction time.
What's the best time of day for low-light forest inspections?
The 30-60 minutes after sunrise and 60-90 minutes before sunset provide the ideal balance between ambient light and manageable contrast ratios. Midday overcast conditions also work well because cloud cover acts as a natural diffuser, reducing harsh shadows inside the canopy. Avoid heavy rain or fog, which degrades both camera performance and obstacle avoidance sensor accuracy significantly.
How do I ensure consistent results across multiple inspection flights?
Use the Mavic 4 Pro's waypoint mission planning to save and repeat exact flight paths. Lock your camera settings manually rather than using auto-exposure, and always shoot in D-Log so your post-processing pipeline remains consistent. Tag each flight with GPS coordinates, time, weather conditions, and battery percentage. This metadata becomes invaluable when comparing inspection data across weeks or months for the same forest section.
About the author: Jessica Brown is a certified drone photographer with over 7 years of experience in environmental and forestry aerial documentation. She has completed more than 200 forest inspection missions across diverse terrain and light conditions.
Ready for your own Mavic 4 Pro? Contact our team for expert consultation.