Mavic 4 Pro Guide: Mastering Coastal Inspections
Mavic 4 Pro Guide: Mastering Coastal Inspections
META: Discover how the Mavic 4 Pro transforms coastal inspections with advanced obstacle avoidance and extended range. Expert tips for shoreline surveying success.
TL;DR
- Antenna positioning directly impacts your coastal inspection range—orientation matters more than altitude
- The Mavic 4 Pro's omnidirectional obstacle avoidance prevents collisions with cliffs, sea stacks, and unexpected wildlife
- D-Log color profile captures critical erosion details that standard video modes miss entirely
- ActiveTrack and Subject tracking enable hands-free monitoring of moving shoreline features
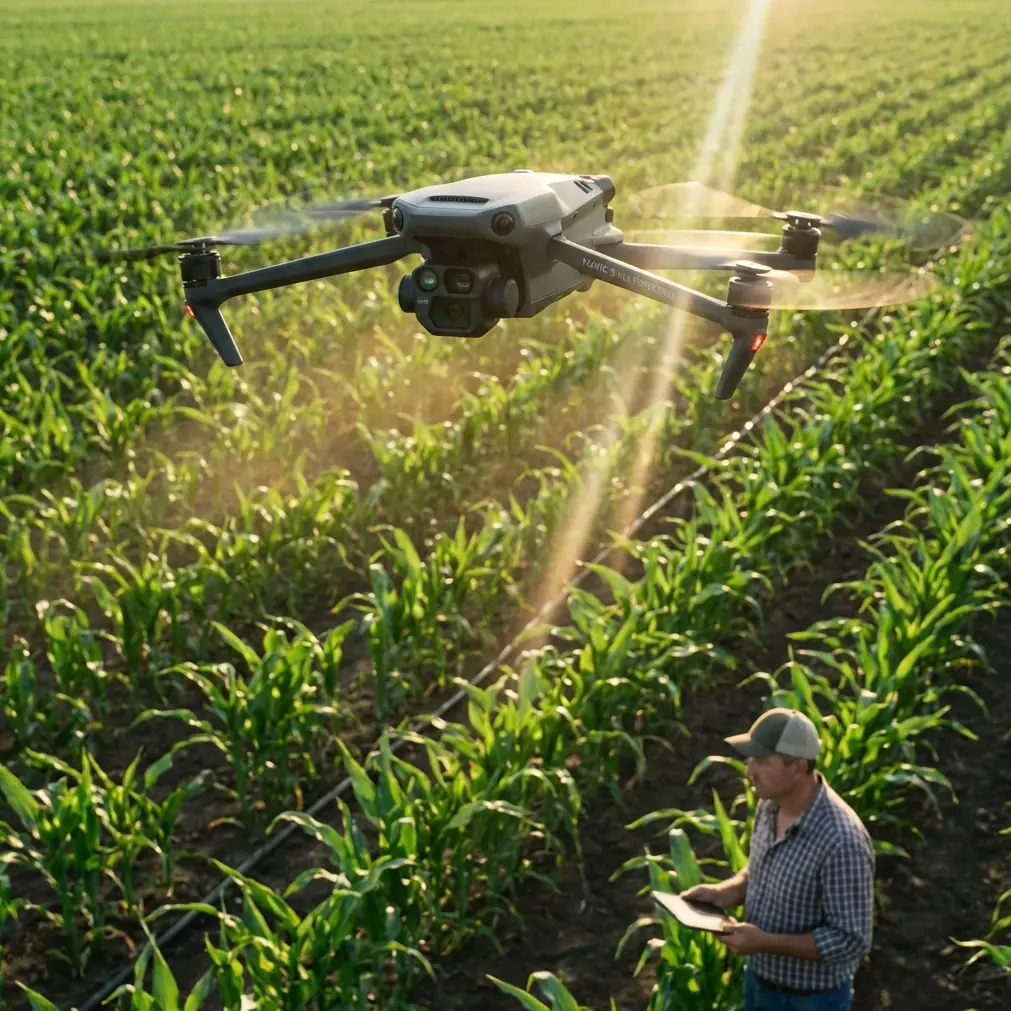
Coastal inspections present unique challenges that ground-based surveys simply cannot address. Salt spray corrosion, cliff erosion rates, marine debris accumulation, and infrastructure integrity along shorelines all require aerial perspectives that only advanced drones can provide. The Mavic 4 Pro has become the go-to platform for coastal professionals, and this guide breaks down exactly how to maximize its capabilities for shoreline work.
Why Coastal Environments Demand Specialized Drone Approaches
Saltwater environments are unforgiving. The combination of corrosive air, unpredictable wind patterns, and complex terrain creates a perfect storm of operational challenges. Traditional inspection methods—boat-based observation, cliff rappelling, or helicopter surveys—are expensive, dangerous, and often incomplete.
The Mavic 4 Pro addresses these pain points with a sensor suite designed for exactly these conditions. Its 1-inch CMOS sensor captures the fine details needed for erosion analysis, while the airframe's compact design allows operation in confined spaces between rock formations.
The Antenna Positioning Secret Most Pilots Miss
Here's what separates professional coastal operators from hobbyists: antenna orientation determines your effective range more than any other single factor.
The Mavic 4 Pro's controller antennas aren't omnidirectional—they transmit in a flat, disc-shaped pattern perpendicular to the antenna surface. When inspecting coastlines, most pilots make the critical error of pointing their antennas directly at the drone.
Expert Insight: Keep your controller antennas perpendicular to the ground with the flat surfaces facing your drone's position. This orientation can extend your reliable signal range by 30-40% in coastal environments where salt particles already degrade transmission quality.
For maximum range during shoreline surveys:
- Position yourself on elevated ground when possible
- Maintain antenna orientation as the drone moves along the coast
- Avoid standing near metal structures, vehicles, or wet rock faces
- Keep the controller at chest height rather than waist level
Leveraging Obstacle Avoidance for Cliff Face Inspections
The Mavic 4 Pro's omnidirectional obstacle sensing system uses a combination of vision sensors and infrared detection to create a protective bubble around the aircraft. This becomes invaluable when inspecting:
- Vertical cliff faces with irregular protrusions
- Sea caves and overhangs
- Nesting areas where birds may approach unexpectedly
- Rocky outcrops obscured by sea spray
The system detects obstacles from up to 40 meters in optimal conditions, though salt mist can reduce this range. Configure your obstacle avoidance settings before each coastal mission:
- Set avoidance behavior to "Brake" rather than "Bypass" near cliff faces
- Enable downward sensing for low-altitude shoreline passes
- Adjust sensitivity to "High" in complex terrain
- Disable avoidance only when necessary for tight cave inspections
Subject Tracking Along Dynamic Shorelines
ActiveTrack and Subject tracking modes transform how professionals monitor coastal changes. Rather than manually piloting while trying to observe erosion patterns, these intelligent flight modes handle aircraft control automatically.
For erosion monitoring, lock onto a distinctive rock formation or installed survey marker. The drone maintains consistent framing while you focus entirely on visual assessment. This technique proves especially valuable for:
- Documenting progressive cliff retreat over multiple visits
- Following debris flow patterns during tidal changes
- Tracking wildlife movement along protected shorelines
- Monitoring beach nourishment project boundaries
Pro Tip: When using Subject tracking along coastlines, set your tracking speed to "Slow" and enable Parallel tracking mode. This creates smooth, documentary-quality footage while maintaining safe distances from terrain.
Capturing Professional-Grade Coastal Documentation
The difference between amateur coastal footage and professional inspection documentation comes down to camera settings and flight patterns.
D-Log: The Non-Negotiable Setting for Serious Work
Standard color profiles crush shadow detail and blow out highlights—exactly the areas where erosion evidence hides. D-Log preserves the full dynamic range your sensor captures, revealing:
- Hairline fractures in rock faces
- Subtle color variations indicating mineral seepage
- Vegetation stress patterns signaling unstable ground
- Water infiltration staining invisible in standard modes
D-Log requires color grading in post-production, but the additional detail captured makes this step worthwhile for any professional application.
QuickShots and Hyperlapse for Context Documentation
While manual flight provides the most control, intelligent flight modes serve specific documentation purposes:
QuickShots excel at creating repeatable establishing shots. The Dronie and Circle modes produce consistent footage that allows frame-accurate comparison between inspection visits months or years apart.
Hyperlapse captures tidal patterns, weather changes, and lighting conditions that affect coastal infrastructure. A 4-hour Hyperlapse compressed to 30 seconds reveals erosion patterns invisible in real-time observation.
Technical Comparison: Coastal Inspection Configurations
| Configuration | Best Use Case | Key Settings | Range Impact |
|---|---|---|---|
| Standard Survey | General shoreline mapping | 4K/30fps, Auto exposure | Full range |
| Cliff Detail | Erosion documentation | 4K/60fps, D-Log, Manual focus | 80% range |
| Cave Inspection | Enclosed space surveys | 1080p/60fps, High ISO, Obstacle avoidance off | 40% range |
| Wildlife Monitoring | Protected species documentation | 4K/30fps, Subject tracking, Zoom lens | 90% range |
| Hyperlapse Tidal | Long-duration pattern capture | Interval 2s, Waypoint mode | Stationary |
| Emergency Response | Rapid damage assessment | 4K/30fps, QuickShots, Auto settings | Full range |
Common Mistakes to Avoid
Flying directly into onshore winds during return flights. Always calculate your return battery reserve based on headwind conditions. A drone that flew out effortlessly may struggle to return against 25+ km/h coastal gusts.
Ignoring salt accumulation on sensors. Obstacle avoidance sensors coated with salt spray provide false readings. Wipe all sensor surfaces with a microfiber cloth before each flight, not just at the end of the day.
Launching from sandy beaches. Prop wash kicks sand into motors and gimbal mechanisms. Use a landing pad or launch from rocky surfaces, concrete, or vehicle roofs.
Neglecting compass calibration in new locations. Coastal areas often contain mineral deposits that affect magnetic readings. Calibrate your compass at each new inspection site, especially near volcanic formations or areas with iron-rich geology.
Trusting battery percentage over voltage. Cold ocean air and high-drain maneuvers deplete batteries faster than the percentage indicator suggests. Monitor cell voltage directly and land when any cell drops below 3.5V.
Forgetting to log environmental conditions. Wind speed, tide state, humidity, and visibility all affect both flight performance and inspection validity. Document these conditions for every mission.
Frequently Asked Questions
How does salt air affect Mavic 4 Pro flight time and maintenance?
Salt air reduces flight time by approximately 5-8% due to increased air density and motor resistance from microscopic salt crystal accumulation. After coastal operations, wipe down the entire airframe with a slightly damp cloth, paying special attention to motor vents, gimbal mechanisms, and sensor surfaces. Store the drone in a sealed case with silica gel packets to prevent corrosion between flights.
What's the minimum safe altitude for coastal cliff inspections?
Maintain at least 10 meters of clearance from cliff faces during initial survey passes. This buffer accounts for unexpected gusts, thermal updrafts common along sun-heated rock faces, and obstacle avoidance reaction time. Once you've mapped the terrain and understand local wind patterns, you can reduce this distance for detail work—but never below 3 meters without disabling obstacle avoidance for manual precision control.
Can the Mavic 4 Pro handle inspections during light rain or sea spray?
The Mavic 4 Pro lacks official water resistance ratings, making operation in rain inadvisable. Light sea spray at altitude is generally tolerable for short periods, but landing with wet surfaces risks water intrusion during storage. If spray contact occurs, dry all surfaces immediately and avoid powering down until moisture evaporates—active electronics generate heat that aids drying.
Coastal inspections demand equipment that matches the environment's complexity. The Mavic 4 Pro delivers the sensor quality, intelligent flight modes, and obstacle awareness that shoreline work requires. Master antenna positioning, leverage D-Log for documentation, and respect the unique challenges salt air presents.
Ready for your own Mavic 4 Pro? Contact our team for expert consultation.