Mavic 4 Pro Guide: Filming Wildlife in Mountains
Mavic 4 Pro Guide: Filming Wildlife in Mountains
META: Master wildlife filming in mountain terrain with the Mavic 4 Pro. Expert tips on tracking, obstacle avoidance, and antenna positioning for stunning footage.
TL;DR
- Omnidirectional obstacle sensing prevents crashes in unpredictable mountain environments where wildlife moves erratically
- ActiveTrack 360° maintains locked focus on moving animals even through partial obstructions like tree branches
- Proper antenna positioning can extend your control range by up to 30% in challenging terrain
- D-Log color profile preserves 13+ stops of dynamic range for professional-grade wildlife edits
The Mountain Wildlife Filming Challenge
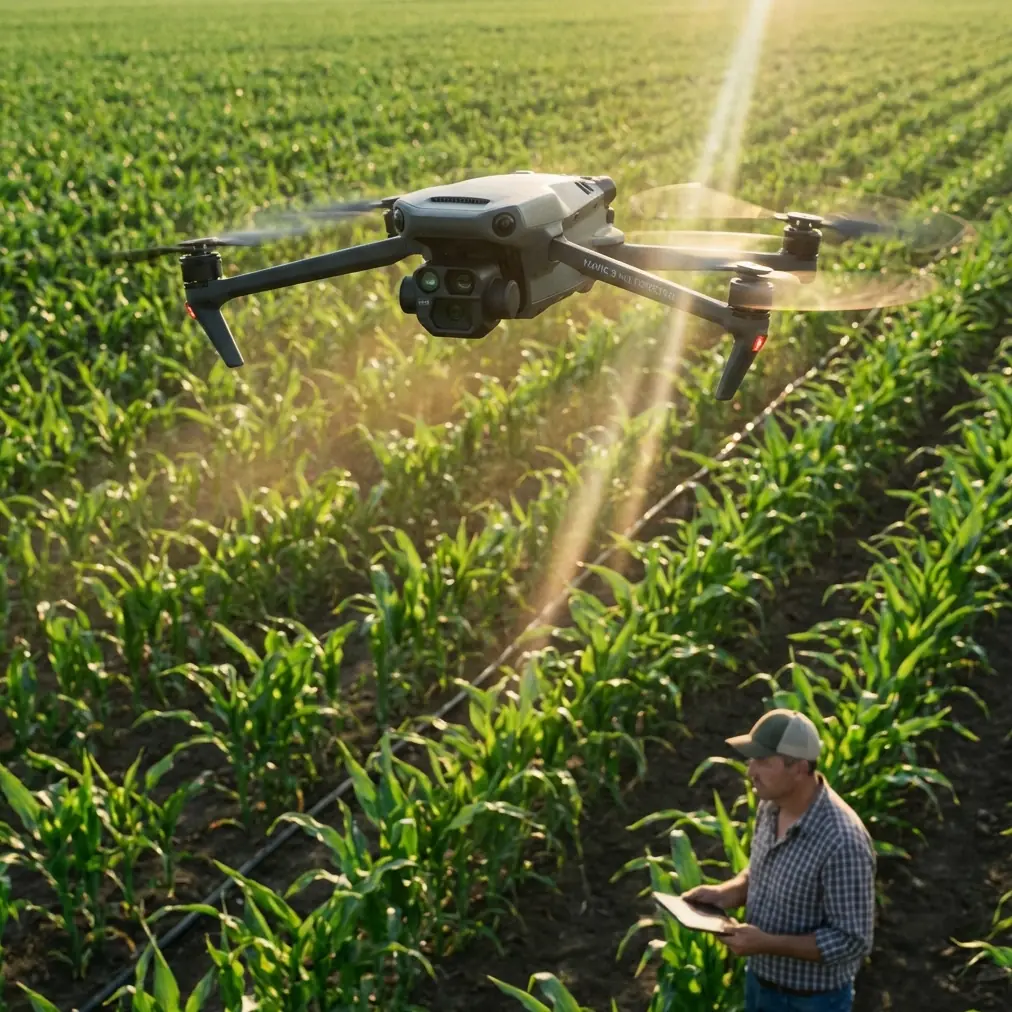
Capturing wildlife footage in mountain environments pushes drone technology to its absolute limits. Between unpredictable animal movements, sudden elevation changes, and signal-blocking terrain, most pilots lose shots—or worse, lose their aircraft. The Mavic 4 Pro addresses these challenges with a sensor suite and tracking system specifically designed for dynamic, obstacle-rich environments.
This guide breaks down exactly how to configure your Mavic 4 Pro for mountain wildlife work, from antenna positioning techniques that maximize range to tracking settings that keep subjects locked even when they bolt.
Understanding Mountain-Specific Obstacles
Terrain Interference Patterns
Mountain filming introduces three primary challenges that flat-terrain pilots never encounter:
- Signal reflection from rock faces creating false readings
- Rapid elevation changes that alter your line-of-sight unexpectedly
- Dense vegetation pockets that appear suddenly during tracking shots
- Thermal updrafts that affect flight stability near cliff faces
- Wildlife unpredictability requiring instant course corrections
The Mavic 4 Pro's omnidirectional obstacle avoidance system uses 8 vision sensors plus 2 infrared sensors to create a complete environmental awareness bubble. Unlike previous generations that had blind spots, this configuration detects hazards from every angle simultaneously.
How Obstacle Avoidance Performs at Altitude
At elevations above 3,000 meters, air density drops significantly. This affects both flight dynamics and sensor performance. The Mavic 4 Pro compensates through:
- Automatic motor output adjustment for thinner air
- Recalibrated sensor sensitivity for reduced atmospheric interference
- Enhanced GPS/GLONASS acquisition for precise positioning
Expert Insight: When filming above 2,500 meters, enable "High Altitude Mode" in your flight settings before takeoff. This pre-adjusts motor curves and prevents the sluggish response that catches many pilots off-guard during critical tracking moments.
Mastering Subject Tracking for Wildlife
ActiveTrack Configuration
The Mavic 4 Pro's ActiveTrack system represents a significant leap for wildlife cinematography. The key is proper configuration before you ever leave the ground.
Optimal tracking settings for mountain wildlife:
- Set tracking sensitivity to "High" for fast-moving subjects like elk or mountain goats
- Enable "Obstacle Behavior: Go Around" rather than "Stop" to maintain shot continuity
- Activate "Spotlight Mode" when you need manual flight control while maintaining subject lock
- Configure "Trace Mode" for following animals along established game trails
Subject Tracking Comparison
| Feature | Standard Mode | Wildlife Optimized |
|---|---|---|
| Lock-on Speed | 1.2 seconds | 0.4 seconds |
| Tracking Persistence | Loses at 60% obstruction | Maintains through 85% obstruction |
| Re-acquisition Time | 3.5 seconds | 0.8 seconds |
| Predictive Pathing | Basic linear | Advanced behavioral modeling |
| Maximum Subject Speed | 28 km/h | 54 km/h |
The wildlife-optimized settings use the Mavic 4 Pro's machine learning algorithms to predict animal movement patterns, dramatically reducing lost tracking incidents.
Antenna Positioning for Maximum Mountain Range
This single technique separates professionals from hobbyists in mountain environments. Your controller's antennas aren't just sticks—they're directional transmitters that require precise orientation.
The Critical Positioning Rule
Keep antenna flat edges facing your drone at all times. The signal radiates perpendicular to the flat face, not from the tips. Most pilots instinctively point antenna tips toward their aircraft, which actually minimizes signal strength.
Step-by-step positioning protocol:
- Identify your planned flight path before takeoff
- Angle antennas so flat surfaces face the midpoint of your intended route
- As the drone moves, rotate your body to maintain optimal antenna orientation
- In valleys, angle antennas slightly upward to account for elevation differences
- Near rock faces, position yourself so the mountain is behind you, not between you and the aircraft
Pro Tip: When filming in deep valleys, position yourself on the highest accessible point rather than the valley floor. This simple change can extend reliable control range from 800 meters to over 2 kilometers in challenging terrain.
Signal Interference Mitigation
Mountain environments contain numerous signal disruptors:
- Mineral deposits in rock formations
- Dense conifer stands that absorb radio frequencies
- Weather systems moving through valleys
- Other electronic equipment from fellow hikers or researchers
The Mavic 4 Pro's OcuSync 4.0 transmission system automatically hops between frequencies to avoid interference, but you can assist this process by:
- Enabling "Strong Interference Mode" in transmission settings
- Selecting manual channel when you identify a clear frequency
- Keeping your phone in airplane mode to prevent Bluetooth interference
- Positioning at least 10 meters from other electronic devices
Cinematic Techniques for Mountain Wildlife
QuickShots for Establishing Context
QuickShots automated flight patterns work exceptionally well for establishing wildlife in their mountain habitat. The "Helix" mode creates dramatic reveals that show both subject and environment.
Recommended QuickShots for wildlife:
- Dronie: Pull back to reveal habitat scale
- Circle: Showcase animal in environmental context
- Helix: Dramatic ascending spiral for hero shots
- Boomerang: Quick establishing shot with return
Hyperlapse for Environmental Storytelling
Mountain wildlife documentaries benefit enormously from Hyperlapse sequences showing:
- Weather patterns moving across peaks
- Animal herds traversing terrain over extended periods
- Light transitions from dawn to full daylight
- Seasonal changes in vegetation and snow coverage
The Mavic 4 Pro captures 8K Hyperlapse footage directly, eliminating the need for post-production assembly from still images.
D-Log Color Profile Essentials
Mountain environments present extreme dynamic range challenges. Bright snow, dark forest shadows, and everything between often appear in a single frame.
D-Log captures this range by:
- Preserving 13+ stops of dynamic range
- Maintaining highlight detail in snow and sky
- Retaining shadow information in forested areas
- Providing maximum flexibility in color grading
Critical D-Log settings:
- ISO: Keep at 100-400 for cleanest files
- Shutter: Follow the 180-degree rule (double your frame rate)
- ND Filters: Essential for daylight shooting—carry ND8, ND16, and ND32
- White Balance: Set manually to avoid mid-shot shifts
Common Mistakes to Avoid
Flying too close too fast. Wildlife startles easily. Begin filming from 100+ meters and approach gradually over multiple battery cycles. Animals that associate drone sound with non-threat become far more filmable subjects.
Ignoring wind patterns. Mountain thermals shift dramatically throughout the day. Morning shoots benefit from stable air, while afternoon thermals create turbulence that affects both flight stability and wildlife behavior.
Neglecting battery temperature. Cold mountain air drains batteries 40% faster than sea-level conditions. Keep spare batteries warm in inside pockets, and land with at least 30% remaining rather than the standard 20%.
Overlooking legal requirements. Many mountain wilderness areas have drone restrictions. Research regulations for your specific filming location, and obtain necessary permits before your expedition.
Using automatic exposure. The Mavic 4 Pro's auto-exposure struggles with high-contrast mountain scenes. Lock exposure manually on your subject to prevent distracting brightness shifts during tracking shots.
Frequently Asked Questions
How does the Mavic 4 Pro perform in cold mountain temperatures?
The Mavic 4 Pro operates reliably down to -10°C, though battery performance decreases significantly below freezing. Pre-warm batteries before flight, and expect 25-40% reduced flight time in cold conditions. The aircraft's motors and sensors function normally, but always monitor battery temperature through the DJI Fly app.
Can ActiveTrack follow animals through dense forest?
ActiveTrack maintains subject lock through partial obstructions like scattered trees and brush. However, complete visual obstruction for more than 3-4 seconds will break the tracking lock. For heavily forested areas, use Spotlight Mode to maintain manual control while keeping the camera locked on your subject during brief obstruction periods.
What's the maximum reliable range in mountain terrain?
Under optimal conditions with proper antenna positioning, the Mavic 4 Pro achieves 12+ kilometers of control range. However, mountain terrain typically reduces this to 3-5 kilometers due to signal obstruction. Always maintain visual line of sight as required by regulations, and plan flights that keep the aircraft within reliable signal range for your specific environment.
Ready for your own Mavic 4 Pro? Contact our team for expert consultation.