Mavic 4 Pro: Master Remote Venue Filming Anywhere
Mavic 4 Pro: Master Remote Venue Filming Anywhere
META: Discover how the Mavic 4 Pro transforms remote venue filming with advanced tracking, obstacle avoidance, and cinematic modes for stunning professional results.
TL;DR
- Pre-flight sensor cleaning is essential for reliable obstacle avoidance in dusty or humid remote locations
- ActiveTrack 6.0 maintains subject lock even when filming sprawling venue exteriors with complex architecture
- D-Log color profile captures 14+ stops of dynamic range for maximum flexibility in post-production
- 46-minute flight time allows complete venue coverage without battery swaps mid-shoot
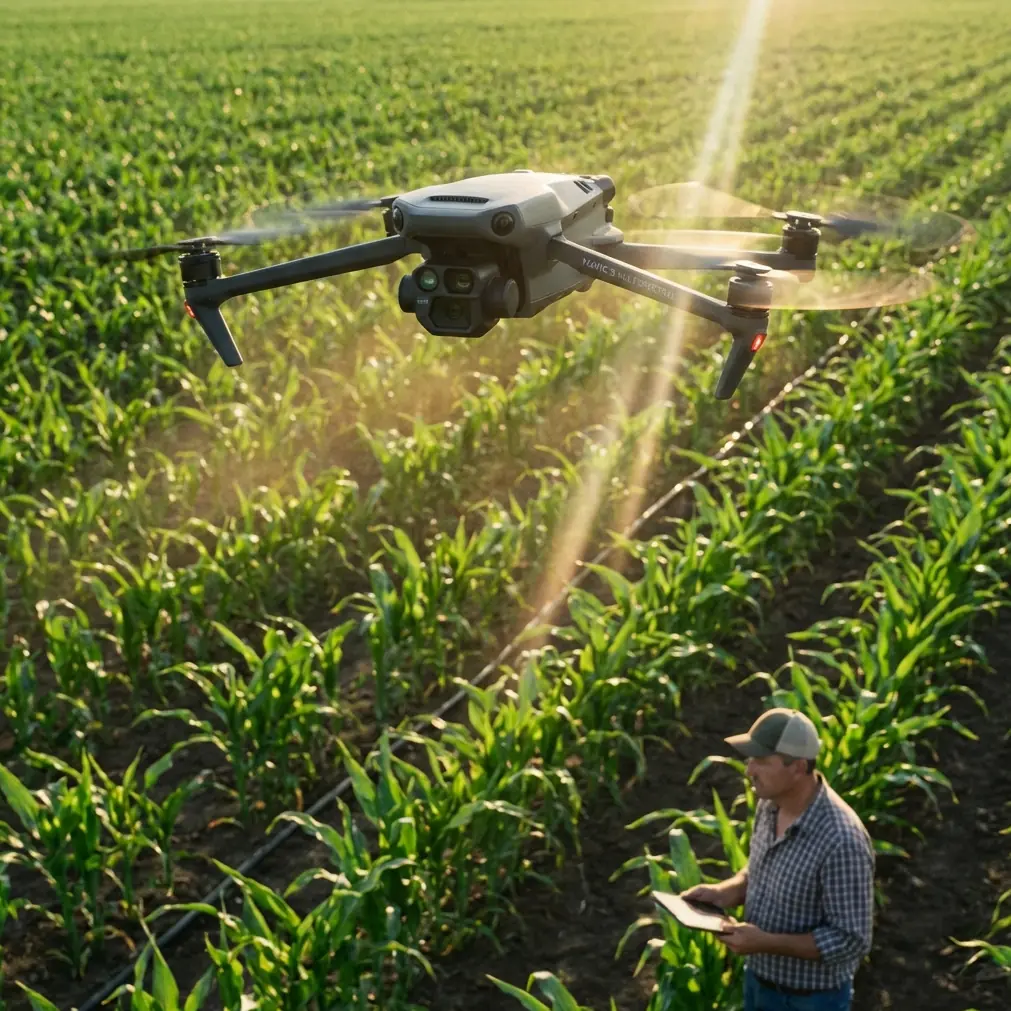
Remote venue filming presents unique challenges that standard drones simply cannot handle. Whether you're documenting a mountain wedding venue, capturing a desert resort for a hospitality client, or showcasing a coastal event space, the Mavic 4 Pro delivers the precision tools you need to create compelling visual content in locations where second chances rarely exist.
This guide breaks down exactly how to leverage the Mavic 4 Pro's advanced features for professional venue work, starting with a critical pre-flight step that most operators overlook.
The Pre-Flight Ritual That Saves Your Shoot
Before discussing flight modes and camera settings, let's address something that separates amateur operators from professionals: sensor maintenance.
The Mavic 4 Pro features omnidirectional obstacle sensing with sensors positioned across all six directions. These sensors are your safety net when flying near buildings, trees, and architectural features common at remote venues.
Here's the problem. Remote locations mean dust, pollen, salt spray, and humidity. A thin film on any sensor can cause:
- False obstacle detection warnings
- Erratic flight behavior near structures
- Complete sensor failure in critical moments
- Missed shots while troubleshooting mid-flight
My pre-flight cleaning protocol takes 90 seconds:
- Use a rocket blower to remove loose particles from all sensor windows
- Wipe each sensor with a microfiber cloth using gentle circular motions
- Inspect the gimbal camera lens and ND filter mount
- Check propeller condition for nicks or debris
- Verify gimbal movement is smooth and unrestricted
Pro Tip: Pack a small sensor cleaning kit in a waterproof pouch. Include a rocket blower, lens pen, microfiber cloths, and sensor swabs. This kit has saved more shoots than any backup battery.
Understanding Obstacle Avoidance for Venue Work
The Mavic 4 Pro's obstacle avoidance system uses a combination of vision sensors, infrared sensors, and ToF (Time of Flight) technology to create a real-time 3D map of the environment.
For venue filming, this matters because you're constantly navigating:
- Overhanging rooflines and architectural details
- Landscaping features like mature trees and hedges
- Temporary structures such as tents and staging
- Power lines and communication cables
- Vehicles and equipment in parking areas
Configuring Obstacle Avoidance Modes
The Mavic 4 Pro offers three obstacle response behaviors:
Bypass Mode routes the drone around detected obstacles automatically. This works well for establishing shots where you need smooth, uninterrupted movement across a venue property.
Brake Mode stops the drone when obstacles are detected. Use this when filming close to buildings where precise positioning matters more than continuous motion.
Off Mode disables obstacle avoidance entirely. Only experienced operators should use this, and only when obstacles would interfere with a specific creative shot that cannot be achieved otherwise.
For most venue work, I recommend Bypass Mode with the detection sensitivity set to High. This provides maximum safety while maintaining fluid camera movement.
Subject Tracking for Dynamic Venue Tours
ActiveTrack technology has evolved significantly, and the Mavic 4 Pro's implementation handles the specific challenges of venue filming remarkably well.
When creating virtual tours or promotional content, you often need to track a subject—perhaps a venue coordinator walking through the property or a couple exploring their potential wedding location.
ActiveTrack 6.0 Capabilities
The system uses AI-powered subject recognition that distinguishes between:
- Individual people and groups
- Vehicles of various sizes
- Boats and watercraft
- Animals (useful for equestrian venues)
Key tracking parameters for venue work:
- Trace Mode: Drone follows behind the subject at a set distance
- Parallel Mode: Drone maintains position beside the subject
- Spotlight Mode: Drone stays stationary while the gimbal tracks the subject
Expert Insight: For venue walkthroughs, Parallel Mode at 8-10 meters distance creates the most natural perspective. This distance keeps architectural context in frame while maintaining subject prominence.
Tracking Through Complex Environments
Remote venues often feature covered walkways, pergolas, and tree canopies that can interrupt tracking. The Mavic 4 Pro handles brief occlusions by predicting subject movement and reacquiring lock when the subject reappears.
However, extended occlusions require planning. Map your tracking routes before flying to identify potential problem areas. Sometimes repositioning the drone's starting point by just a few meters eliminates tracking interruptions entirely.
Cinematic Modes for Professional Results
QuickShots for Efficient Coverage
QuickShots automate complex camera movements that would otherwise require significant skill and practice. For venue filming, three modes prove particularly valuable:
Dronie pulls back and up from the subject while keeping them centered. This creates an excellent reveal shot showing the venue's full scope.
Circle orbits around a point of interest at a consistent altitude and distance. Use this for architectural features, courtyards, or central gathering spaces.
Helix combines the upward movement of Dronie with the orbital path of Circle. This creates dramatic reveals for grand entrances or impressive facades.
Each QuickShot can be customized for distance and speed. For venue work, slower speeds (3-5 m/s) generally produce more usable footage than the default settings.
Hyperlapse for Time-Compressed Storytelling
Hyperlapse captures the passage of time while the drone moves through space. For venues, this technique excels at showing:
- Sunset transitions over outdoor event spaces
- Cloud movement above dramatic landscapes
- Shadow patterns across architectural features
- Activity flow during venue setup or events
The Mavic 4 Pro offers four Hyperlapse modes:
| Mode | Movement | Best Use Case |
|---|---|---|
| Free | Manual control | Complex custom paths |
| Circle | Orbital around POI | Architectural centerpieces |
| Course Lock | Straight line | Approach shots |
| Waypoint | Pre-programmed path | Repeatable sequences |
Waypoint Hyperlapse deserves special attention for venue work. By programming a precise flight path, you can capture identical movements at different times of day, creating compelling before/after or day-to-night transitions.
D-Log and Color Science for Maximum Flexibility
Remote venues present extreme dynamic range challenges. You might have deep shadows under covered areas while bright sky fills the upper frame. The Mavic 4 Pro's D-Log M color profile captures this range for correction in post-production.
When to Use D-Log
D-Log footage looks flat and desaturated straight from the camera. This is intentional—it preserves highlight and shadow detail that would otherwise be clipped.
Use D-Log when:
- Shooting during golden hour with extreme contrast
- Capturing interiors with bright windows in frame
- Filming white architectural elements against blue sky
- Creating content for professional color grading
Use standard color profiles when:
- Delivering quick-turnaround content
- Shooting in overcast, even lighting
- Creating social media content without post-production time
D-Log Settings for Venue Work
For optimal D-Log results:
- Set ISO to 100-400 whenever possible
- Use ND filters to maintain 1/50 shutter speed at 24fps
- Expose 0.5 to 1 stop over the meter reading
- Record in 10-bit color depth for maximum grading latitude
Technical Specifications Comparison
| Feature | Mavic 4 Pro | Previous Generation |
|---|---|---|
| Max Flight Time | 46 minutes | 34 minutes |
| Obstacle Sensing | Omnidirectional | Forward/Backward/Downward |
| Video Resolution | 8K/30fps | 5.4K/30fps |
| Dynamic Range | 14+ stops | 12.8 stops |
| Transmission Range | 20km | 15km |
| Subject Tracking | ActiveTrack 6.0 | ActiveTrack 5.0 |
| Wind Resistance | 12 m/s | 10.7 m/s |
| Operating Temp | -10° to 40°C | -10° to 40°C |
Common Mistakes to Avoid
Ignoring wind patterns at elevation. Ground-level conditions rarely reflect what you'll encounter at 50-100 meters. Remote venues often sit in valleys or near water where wind accelerates unpredictably. Always check conditions at your planned flight altitude before committing to complex shots.
Overlooking golden hour timing. Remote locations mean longer travel times. Calculate sunset time, subtract your required shooting duration, add buffer for setup, and work backward to determine departure time. Arriving late to a remote venue wastes the entire trip.
Relying solely on automated modes. QuickShots and ActiveTrack are tools, not replacements for intentional composition. The best venue footage combines automated movements with manual adjustments for framing and timing.
Neglecting audio considerations. While the Mavic 4 Pro captures stunning visuals, drone footage typically requires separate audio recording or music in post. Plan your audio strategy before the shoot, especially for promotional content requiring voiceover or ambient sound.
Failing to scout digitally first. Google Earth, satellite imagery, and social media posts from the venue provide valuable pre-flight intelligence. Identify potential obstacles, optimal angles, and restricted areas before arriving on location.
Frequently Asked Questions
How does the Mavic 4 Pro perform in high humidity environments?
The Mavic 4 Pro operates reliably in humidity up to 95% non-condensing. However, rapid temperature changes—like flying from an air-conditioned vehicle into tropical heat—can cause lens fogging. Allow the drone to acclimate for 10-15 minutes before flying in humid conditions. Keep silica gel packets in your case to absorb moisture during storage.
Can I fly the Mavic 4 Pro at night for venue lighting shots?
Night operations require specific authorization in most jurisdictions and demand additional safety measures. The Mavic 4 Pro's obstacle sensors have reduced effectiveness in low light. If you have proper authorization, use well-lit areas, maintain visual line of sight, and fly at reduced speeds. The 1-inch sensor performs well in low light, capturing usable footage at ISO 800-1600.
What's the best approach for filming venues near water?
Water creates unique challenges including GPS reflection interference, salt spray corrosion, and difficult emergency landing options. Maintain at least 3 meters altitude over water to prevent GPS issues. Clean all surfaces immediately after flights near saltwater. Consider using a landing pad on a stable boat or dock rather than launching from shore when filming waterfront venues.
Remote venue filming demands equipment that performs reliably in challenging conditions while delivering professional results. The Mavic 4 Pro's combination of extended flight time, advanced obstacle avoidance, and sophisticated tracking capabilities makes it the definitive tool for this demanding application.
Master the pre-flight protocols, understand each automated mode's strengths, and always prioritize sensor cleanliness. These fundamentals transform the Mavic 4 Pro from an impressive piece of technology into a reliable creative partner for your most ambitious venue projects.
Ready for your own Mavic 4 Pro? Contact our team for expert consultation.