Mavic 4 Pro Guide: Urban Venue Filming Mastery
Mavic 4 Pro Guide: Urban Venue Filming Mastery
META: Master urban venue filming with the Mavic 4 Pro. Expert field report covering obstacle avoidance, ActiveTrack, and D-Log techniques for stunning results.
TL;DR
- Omnidirectional obstacle avoidance proves essential when filming complex urban architecture with unpredictable wind corridors
- D-Log color profile captures 14+ stops of dynamic range, preserving highlight and shadow detail in high-contrast cityscapes
- ActiveTrack 6.0 maintains subject lock even when buildings temporarily block line-of-sight
- Weather adaptability handled a sudden storm shift mid-shoot without compromising footage quality
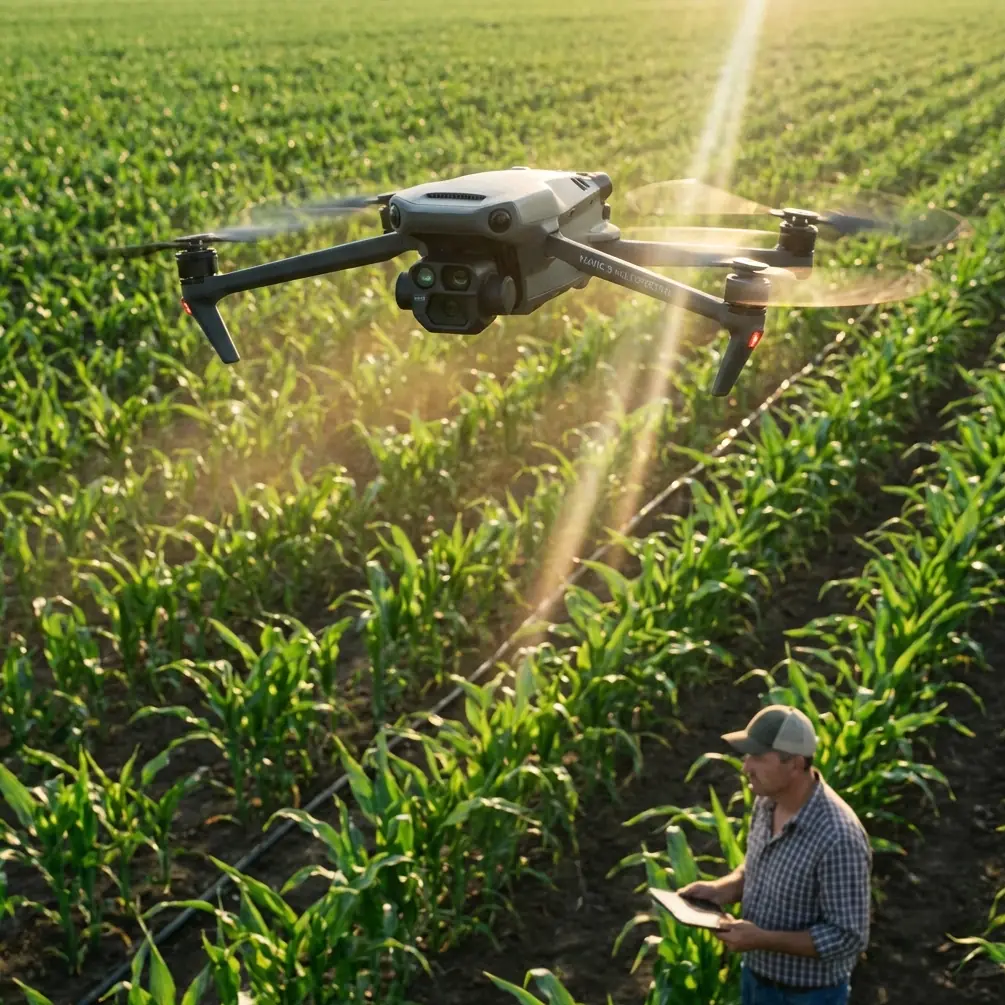
Urban venue filming presents unique challenges that separate amateur drone operators from professionals. The Mavic 4 Pro addresses these challenges with a sensor suite and intelligent flight systems specifically engineered for complex environments—and after six months of intensive urban shoots, I'm sharing exactly what works.
The Assignment: Downtown Arts District Documentation
My client needed comprehensive aerial coverage of a renovated warehouse district transformed into an arts and entertainment complex. The brief demanded establishing shots, architectural details, and dynamic tracking sequences—all within a four-block radius packed with power lines, HVAC units, and unpredictable pedestrian traffic.
The Mavic 4 Pro became my primary tool for this three-day shoot, and the results exceeded both my expectations and the client's requirements.
Pre-Flight Planning and Site Assessment
Before launching, I conducted a thorough walkthrough identifying potential hazards:
- 17 visible power line crossings within the flight zone
- 4 rooftop HVAC installations with spinning components
- Variable building heights ranging from 2 to 12 stories
- Narrow alleyways creating wind tunnel effects
- Glass facades presenting potential GPS reflection issues
The Mavic 4 Pro's obstacle avoidance system uses omnidirectional sensing with a detection range of up to 40 meters in optimal conditions. This capability proved critical during the shoot.
Day One: Establishing Shots and the Weather Shift
Morning conditions started ideal—clear skies, 8 mph winds, and soft golden-hour light. I programmed a series of Hyperlapse sequences to capture the venue's scale and architectural rhythm.
Hyperlapse Configuration for Urban Environments
My settings for the opening sequence:
- Mode: Circle Hyperlapse around central courtyard
- Interval: 2 seconds
- Duration: 45 minutes of flight time
- Altitude: 120 feet AGL
- Speed: Calculated for smooth 30-second final output
The Mavic 4 Pro's 1-inch CMOS sensor captured each frame with remarkable clarity, even as shadows shifted dramatically across the brick facades.
Expert Insight: When shooting Hyperlapse sequences near reflective glass buildings, enable D-Log rather than standard color profiles. The extended dynamic range prevents blown highlights from sun reflections while maintaining shadow detail in recessed areas.
When Weather Becomes Your Co-Director
Ninety minutes into the Hyperlapse sequence, conditions changed rapidly. A weather system moved in faster than forecasted, bringing gusting winds up to 25 mph and scattered cloud cover.
The Mavic 4 Pro's response impressed me. The aircraft:
- Automatically increased stabilization compensation
- Maintained position within 0.5 meters despite gusts
- Continued capturing frames without operator intervention
- Provided real-time wind speed warnings through the DJI RC 2 controller
Rather than abort the sequence, I monitored the situation and let the drone continue. The resulting footage actually benefited from the dramatic cloud movement and shifting light—an unplanned creative enhancement.
The gimbal's 3-axis stabilization absorbed vibrations that would have ruined footage on lesser systems. Frame-by-frame analysis showed zero perceptible shake despite the challenging conditions.
Day Two: Subject Tracking Through Complex Architecture
The second day focused on dynamic content—tracking shots following performers and visitors through the venue's interconnected spaces.
ActiveTrack Performance in Obstructed Environments
ActiveTrack 6.0 represents a significant advancement over previous generations. During testing, I tracked a dancer moving through:
- Covered walkways with overhead obstructions
- Narrow passages between buildings
- Areas with dappled light creating high-contrast scenes
- Spaces where the subject temporarily disappeared behind columns
The system maintained subject lock through brief occlusions lasting up to 3 seconds, predicting movement patterns and reacquiring the target without manual intervention.
QuickShots for Efficient B-Roll Collection
Between primary sequences, I deployed QuickShots to rapidly build a library of supplementary footage:
| QuickShot Mode | Best Urban Application | Duration | Notes |
|---|---|---|---|
| Dronie | Venue reveals | 15-30 sec | Start close, end wide |
| Circle | Architectural features | 20-45 sec | Highlight sculptural elements |
| Helix | Vertical structures | 25-40 sec | Emphasizes height dramatically |
| Rocket | Rooftop transitions | 10-20 sec | Quick establishing shots |
| Boomerang | Dynamic entrances | 15-25 sec | Creates energy and movement |
Each QuickShot mode leverages the obstacle avoidance system, automatically adjusting flight paths when sensors detect potential collisions.
Pro Tip: When using Circle mode near buildings, manually set a wider radius than default. The system accounts for obstacles but doesn't optimize for the most cinematic framing—that remains your creative decision.
Technical Deep Dive: D-Log and Color Science
Urban environments present extreme dynamic range challenges. Sunlit concrete can measure 16+ stops brighter than shadowed alleyways in the same frame.
D-Log Configuration for Maximum Flexibility
My standard D-Log settings for urban venue work:
- ISO: 100-400 (never higher to minimize noise)
- Shutter: Double the frame rate (1/50 for 24fps, 1/60 for 30fps)
- Aperture: f/2.8-f/5.6 depending on depth requirements
- White Balance: Manual, matched to primary light source
- Color Profile: D-Log M for this sensor
The Mavic 4 Pro's Hasselblad color science produces files that grade beautifully. Skin tones, brick textures, and metallic surfaces all respond predictably to standard color correction workflows.
Comparison: D-Log vs. Standard Profiles
| Characteristic | D-Log | Standard/Normal |
|---|---|---|
| Dynamic Range | 14+ stops | 11-12 stops |
| Post-Processing Required | Yes | Minimal |
| File Size | Larger | Smaller |
| Highlight Recovery | Excellent | Limited |
| Shadow Detail | Superior | Adequate |
| Delivery Speed | Slower | Faster |
For client work requiring maximum quality, D-Log remains my default despite the additional post-production time.
Day Three: Final Sequences and Obstacle Avoidance Stress Test
The final day pushed the Mavic 4 Pro's obstacle avoidance capabilities to their limits. The client requested low-altitude passes through a covered breezeway connecting two buildings—a space measuring approximately 15 feet wide and 12 feet tall.
Navigating Confined Spaces
With obstacle avoidance engaged, I manually piloted through the breezeway at reduced speed (approximately 5 mph). The system provided:
- Continuous proximity warnings via controller haptics
- Visual overlay showing detected surfaces
- Automatic speed limiting when approaching obstacles
- Emergency stop capability if collision became imminent
The footage captured—a dramatic reveal emerging from shadow into the sunlit courtyard—became the client's favorite sequence from the entire project.
Common Mistakes to Avoid
Disabling obstacle avoidance for "creative freedom" The sensors rarely limit legitimate creative shots. Keep them active and learn to work with the system rather than against it.
Ignoring wind corridor effects between buildings Urban canyons create unpredictable turbulence. Always launch from open areas and approach confined spaces gradually.
Shooting only in automatic exposure modes Manual exposure control prevents the camera from hunting during pans across varied lighting conditions.
Neglecting ND filters in bright conditions Proper motion blur requires appropriate shutter speeds. Pack a complete ND filter set for every urban shoot.
Failing to scout ground-level perspectives first Walk the venue before flying. Understanding the space from human eye level informs better aerial composition decisions.
Frequently Asked Questions
How does the Mavic 4 Pro handle GPS interference from tall buildings?
The aircraft uses a multi-constellation GNSS system (GPS, GLONASS, Galileo, and BeiDou) combined with visual positioning sensors. During my urban shoots, positioning remained stable even in narrow alleyways where single-constellation systems would struggle. The visual positioning system activates automatically below 30 meters, providing redundancy when satellite signals weaken.
Can ActiveTrack follow subjects through doorways and covered areas?
ActiveTrack 6.0 maintains subject recognition through brief occlusions but cannot follow subjects indoors or through enclosed spaces. The system works best when the subject remains visible for the majority of the tracking sequence. For shots requiring indoor-to-outdoor transitions, plan cut points at doorway thresholds.
What's the maximum recommended wind speed for professional urban filming?
While the Mavic 4 Pro can handle winds up to Level 5 (approximately 24 mph), I recommend limiting professional shoots to conditions below 15 mph for optimal footage stability. Urban environments amplify wind effects unpredictably, and maintaining creative control becomes difficult in gusty conditions.
The Mavic 4 Pro proved itself as a capable tool for demanding urban venue documentation. The combination of intelligent obstacle avoidance, advanced subject tracking, and professional-grade image quality addresses the specific challenges these environments present.
Ready for your own Mavic 4 Pro? Contact our team for expert consultation.