Expert Filming with Mavic 4 Pro: A Practical Coastal Power
Expert Filming with Mavic 4 Pro: A Practical Coastal Power-Line Workflow
META: Learn a field-tested Mavic 4 Pro filming workflow for coastal power-line projects, with camera-setting logic inspired by manual image controls like ISO limits, white balance, and flat color profiles.
Filming power lines along the coast is one of those assignments that looks straightforward on paper and turns messy fast in the air. Light bounces off water, haze eats contrast, wind shifts around poles and towers, and the subject itself is long, repetitive, and difficult to make visually readable. If you are using a Mavic 4 Pro for this kind of work, the aircraft is only half the equation. The real difference comes from how you control the image.
That is where a more disciplined camera approach matters. One of the most useful reference points for this mindset comes from older pro-oriented manual imaging systems, especially the logic behind settings like ISO limits, white balance selection, and flatter color profiles for post work. Those ideas still translate directly to a modern drone workflow, and they are especially relevant when you are documenting coastal infrastructure where consistency matters more than flashy footage.
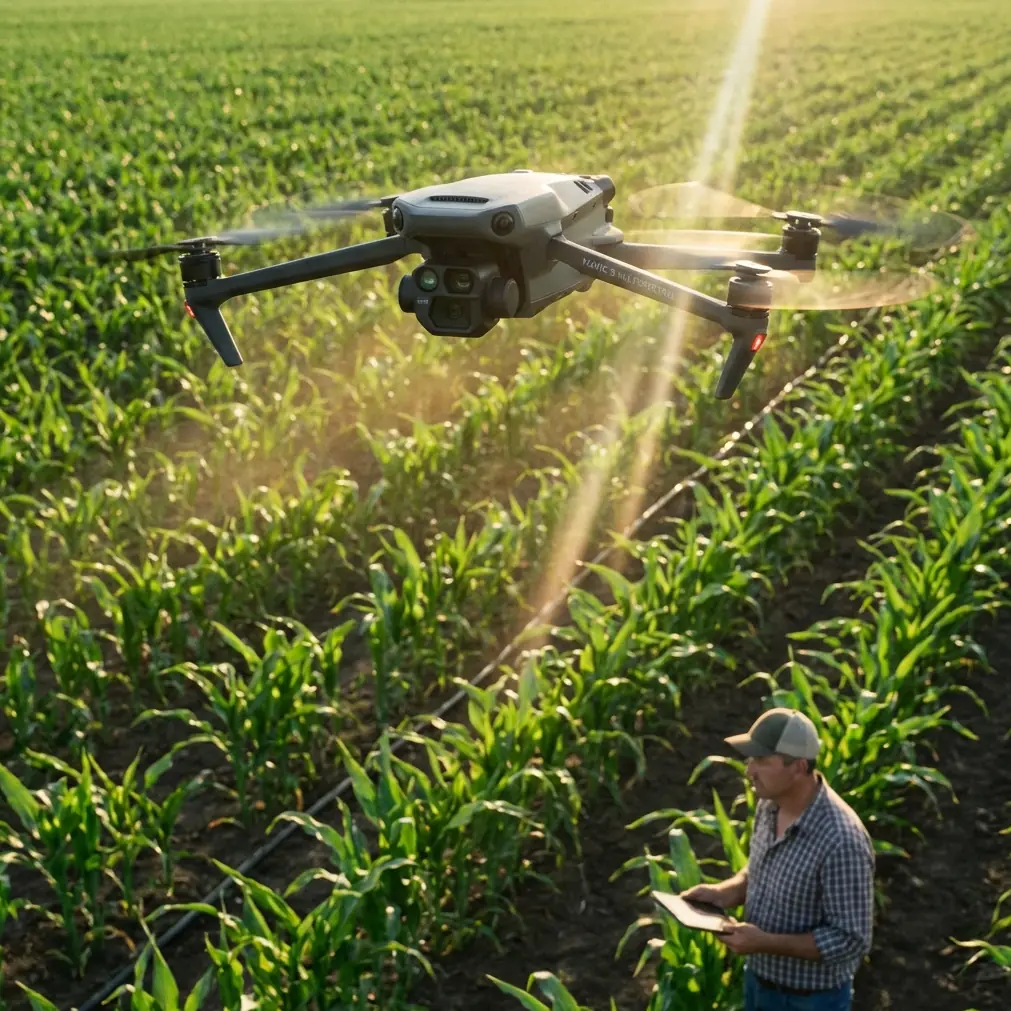
I’ll walk through how I would approach this job as a creator and field operator, with the Mavic 4 Pro as the platform and coastal power-line filming as the specific mission.
Why coastal power-line filming punishes lazy settings
Power lines near the coast create a strange visual environment. You often have bright sky, reflective water, dark utility hardware, and a lot of midtone clutter in one frame. Auto settings can swing wildly from one pass to the next. That may be acceptable for casual travel footage. It is a problem when your footage needs to support inspection, reporting, documentation, or polished client deliverables.
The first operational principle is simple: reduce variability.
A reference camera manual I often think about when building workflows emphasizes manual control over white balance, color, ISO limit, sharpness, and exposure. That matters here because coastal work punishes uncontrolled automation. If the drone keeps making creative decisions for you, your line corridor will look different every few seconds, and matching clips in post becomes needlessly difficult.
For Mavic 4 Pro operators, that means resisting the temptation to let the aircraft handle everything just because it can.
Start with a repeatable camera baseline
For this type of job, I build the flight around three image priorities:
- Maintain highlight control in bright coastal light
- Keep noise low in shaded or hazy sections
- Preserve enough tonal range for post-production correction
Those goals map neatly onto the manual image logic found in pro capture systems.
1. Set an ISO ceiling on purpose
One especially useful reference detail is the concept of ISO limits tied to noise tradeoffs. In that source material, video ISO options included 6400, 1600, and 400, each with a clear consequence: brighter low-light footage at high ISO, but also more visible image noise. At the lower end, darker footage but cleaner files.
That tradeoff is just as real on a drone.
For coastal power lines, I rarely want the camera pushing sensitivity too high. Salt haze and low-contrast backgrounds already soften the scene. Add excess noise, and small hardware details become muddy fast. If your Mavic 4 Pro allows ISO limiting or manual sensitivity control in your chosen mode, keep it conservative during daylight corridor runs. A lower ceiling helps preserve cleaner structure around insulators, cable lines, pole brackets, and vegetation boundaries.
Operationally, this matters because utility footage is often reviewed frame by frame. Tiny details can disappear when the camera gains too aggressively.
2. Lock white balance instead of trusting changing auto responses
The second key detail from that same manual is white balance selection by scene type: 3000K for warm light, 5500K for ordinary daylight, 6500K for overcast, plus a Native option that preserves more sensor-original data for later adjustment.
This is not an abstract colorist’s concern. Coastal jobs can shift between direct sun, sea-reflected fill, cloud cover, and land-shadow transitions in one battery cycle. Auto white balance tends to chase those changes. The result is inconsistent color between shots of the same line.
For a clear day, a daylight baseline around the 5500K range usually produces more stable results than auto. Under heavy cloud, a cooler overcast-oriented setting closer to 6500K often prevents the footage from drifting strangely between gray and blue. If you are shooting in a flatter profile or a log-style mode such as D-Log, a locked white balance becomes even more important because you are already planning to grade the image.
The practical benefit is obvious in post. You spend less time correcting color drift and more time refining the footage.
Use a flat profile when the scene is visually hostile
Another strong reference detail is the distinction between a standard color profile and a Flat profile designed to preserve more detail in shadows and highlights. The manual text specifically notes that flat capture can hold more information across difficult tonal areas and makes it easier to match footage from other devices.
That is exactly what coastal utility work needs.
Power-line footage often includes bright sky behind dark cables, hardware silhouetted against water, and towers crossing variable backgrounds. A flatter image profile gives you more flexibility to pull back highlights and restore structure without the image breaking apart too quickly.
On Mavic 4 Pro, that usually means leaning into D-Log or another low-contrast capture mode when the assignment involves formal editing. It is not about making the image look washed out in the field. It is about protecting data for later. If your deliverable includes both cinematic overview shots and more technical asset visuals, a flatter profile creates a better master file.
I would only avoid this approach if the job requires immediate handoff with no grading time at all.
Flight planning: separate inspection logic from storytelling logic
A common mistake is trying to shoot everything in one style. Coastal power-line footage usually needs two different visual products:
- Clean, methodical corridor documentation
- Higher-quality establishing and contextual shots for reports, presentations, or stakeholder communications
The Mavic 4 Pro can do both, but not in the same pass if you want consistent results.
Pass one: disciplined coverage
Use a measured speed. Keep distance from lines conservative and legal. Let obstacle avoidance support your spacing, but do not treat it as judgment. Coastal wind can create subtle drift, especially near structures where air movement folds around poles or lattice elements.
For this pass, use straightforward lateral moves, incremental elevation changes, and repeatable framing. Subject tracking and ActiveTrack can be useful in open infrastructure corridors when you want the aircraft to maintain a stable relationship with a service vehicle or an access path, but I would not rely on automation for the line itself. The geometry is too fine, and the visual clutter is too easy to misread.
The goal here is legibility.
Pass two: visual context
This is where the Mavic 4 Pro’s creative tools become useful. QuickShots and Hyperlapse are not inspection tools, but they can help show route context, shoreline proximity, vegetation encroachment patterns, and how the power corridor interacts with roads or substations.
Used carefully, these modes make reports easier to understand for non-pilots and non-engineers. A short reveal shot that rises from a pole line to show the coastline instantly explains environmental exposure in a way a static frame never will.
Obstacle avoidance is helpful, but coastal infrastructure still demands margin
Obstacle avoidance is one of those features people mention casually, but in this use case its value is specific. Coastal line work often includes guy wires, branch encroachment, uneven terrain, and changing background contrast. Good sensing reduces workload, especially during repositioning and non-critical movement.
Still, wires remain among the hardest things for any system to interpret reliably. That means obstacle avoidance should be treated as a backup layer, not a clearance strategy. The operational significance is simple: maintain extra margin around fine linear objects, and do not fly as if the sensors can “see” every cable the way you can on a monitor.
In other words, obstacle avoidance improves safety discipline. It does not replace it.
A third-party accessory that actually helps
Most accessories are optional clutter. For coastal power-line filming, one that genuinely improves results is a high-quality third-party ND filter set.
Why it matters: coastal light is often intense and unstable. If you are trying to maintain natural motion blur for video while keeping shutter speed in a usable range, ND filters give you room to hold your exposure without forcing awkward compromises. They also help stabilize your look across a sequence of shots instead of letting the camera keep pushing exposure behavior around.
I have had solid results using premium third-party filters during midday shoreline work where glare and bright sky would otherwise push the camera into less controlled settings. The accessory does not make the drone better by itself. It makes your chosen camera settings more sustainable in the real world.
That is the difference between gadget buying and workflow building.
A sample field setup for a hazy coastal morning
Let’s say you arrive just after sunrise. The line runs parallel to the water. There is light haze, mild glare, and patchy cloud.
Here is the logic I would use:
- Choose a flat or log-style profile such as D-Log for maximum grading room
- Lock white balance rather than using auto
- Keep ISO conservative to avoid turning haze into crawling noise
- Use ND filtration if needed to maintain controlled motion rendering
- Fly one clean documentation pass before attempting any creative moves
- Capture a second set of contextual shots with slower reveals and elevated pullbacks
If the weather shifts and the scene cools under cloud cover, adjust white balance intentionally rather than letting the drone reinterpret the entire corridor on its own.
That white balance discipline comes straight from the same image-control philosophy described in the source material: scene-based Kelvin choices like 5500K and 6500K exist for a reason. They are not old-school technical trivia. They are practical tools for consistency.
Post-production is where these choices pay off
The reference material also highlights the value of “Native” style capture that preserves data with minimal processing for more precise post adjustment. That idea maps neatly to current drone workflows. When you give yourself cleaner files, lower noise, stable white balance, and a flatter tonal curve, color correction stops being rescue work.
For coastal power-line footage, that means you can:
- Recover sky detail without crushing the lines into silhouette
- Lift shadowed hardware more gently
- Match clips from multiple batteries or multiple days
- Blend drone footage with ground cameras more convincingly
This is also where your client notices the difference, even if they cannot name the settings. The footage simply feels calmer, clearer, and more deliberate.
What I would avoid
A few habits usually make this kind of project worse:
- Auto-everything in mixed coastal light
- Overusing subject tracking around thin infrastructure
- Shooting only dramatic angles and forgetting practical coverage
- Letting ISO climb too high in haze
- Delivering heavily processed footage that leaves no room for revision
If you need help building a flight-and-camera setup for this kind of infrastructure work, here’s a direct way to reach out: message the team on WhatsApp.
Final takeaway for Mavic 4 Pro operators
The Mavic 4 Pro is capable of beautiful footage, but coastal power-line filming rewards restraint more than flair. The smartest approach is to think like a disciplined image technician first and a drone enthusiast second.
That means understanding why a lower ISO limit can protect detail, why a locked white balance such as 5500K or 6500K can save an entire edit, and why a flat capture mode gives you room when bright sky and dark infrastructure collide. Those are not isolated settings buried in a manual. They are operational choices that shape whether your footage is merely usable or genuinely dependable.
If your mission includes shoreline utilities, corrosion-prone assets, or long corridor documentation, build the flight around consistency. Then let the Mavic 4 Pro’s advanced features serve that plan, not distract from it.
Ready for your own Mavic 4 Pro? Contact our team for expert consultation.