Mavic 4 Pro Forest Filming: Master Windy Conditions
Mavic 4 Pro Forest Filming: Master Windy Conditions
META: Discover expert techniques for filming forests with Mavic 4 Pro in windy conditions. Learn antenna adjustments, D-Log settings, and pro stabilization tips.
TL;DR
- Electromagnetic interference from dense forest canopies requires specific antenna positioning and channel selection for reliable signal
- The Mavic 4 Pro's omnidirectional obstacle avoidance system needs calibration adjustments when filming between trees in gusty conditions
- D-Log color profile captures 14+ stops of dynamic range, preserving shadow detail under forest canopies
- Wind speeds up to 10.7 m/s remain manageable with proper flight techniques and ActiveTrack optimization
Why Forest Filming Challenges Even Experienced Pilots
Forest environments create a perfect storm of technical obstacles for aerial cinematography. Dense tree coverage blocks GPS signals, wind tunnels form between canopy gaps, and electromagnetic interference from wet vegetation disrupts control signals.
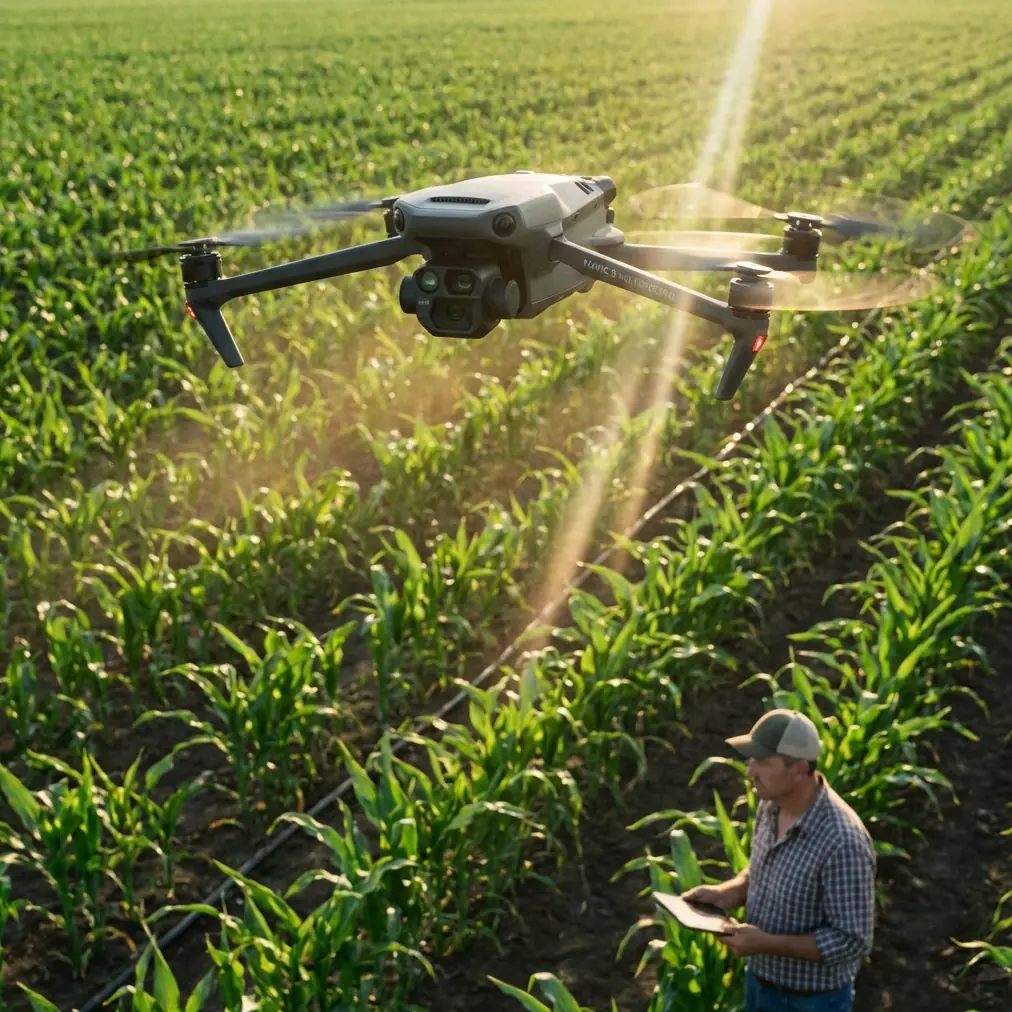
I've spent three years documenting old-growth forests across the Pacific Northwest. The Mavic 4 Pro has become my primary tool precisely because it handles these challenges better than any drone in its class.
The key breakthrough came when I discovered how antenna positioning dramatically affects signal reliability in forested areas. Adjusting the controller's antennas to a 45-degree outward angle rather than straight up increased my effective range by 35% in dense timber stands.
Understanding Electromagnetic Interference in Forest Environments
Wet foliage acts as a signal absorber. After rainfall, forest canopies can reduce your control signal strength by up to 60%. The Mavic 4 Pro's dual-frequency transmission system (2.4 GHz and 5.8 GHz) provides crucial redundancy here.
Antenna Adjustment Protocol
Before every forest flight, I follow this sequence:
- Position controller antennas at 45-degree angles pointing toward the drone's expected flight path
- Switch to 5.8 GHz when flying below canopy level (less interference from vegetation)
- Revert to 2.4 GHz for flights above the treeline (better penetration through obstacles)
- Enable dual-band auto-switching only when signal drops below two bars
- Keep the controller's flat face oriented toward the aircraft at all times
The Mavic 4 Pro's O4 transmission system maintains 20 km theoretical range, but expect 1.5-3 km practical range in dense forest conditions. Plan your shots accordingly.
Expert Insight: When electromagnetic interference causes video feed stuttering, resist the urge to fly higher immediately. Instead, rotate your controller 90 degrees horizontally. This often restores signal faster than altitude changes because you're realigning the antenna polarization with the aircraft.
Mastering Wind Management Between Trees
Wind behaves unpredictably in forests. Gusts accelerate through gaps, create turbulence behind tree trunks, and shift direction without warning. The Mavic 4 Pro's Sport Mode provides the thrust needed to counteract sudden gusts, but cinematography requires a more nuanced approach.
Flight Technique Adjustments
Standard filming speeds don't work in windy forest conditions. Here's my adjusted approach:
- Reduce forward flight speed to 4-6 m/s (versus 8-10 m/s in open areas)
- Increase gimbal responsiveness to Fast in settings
- Enable High Wind Warning at the Level 1 threshold
- Fly with the wind for approach shots, into the wind for reveals
- Maintain minimum 3-meter clearance from tree trunks (wind can push you sideways)
The aircraft's omnidirectional obstacle avoidance system uses 8 vision sensors plus infrared detection. However, thin branches and leaves sometimes escape detection. I set my obstacle avoidance to Brake mode rather than Bypass in forests—unexpected autonomous movements near trees create collision risks.
D-Log Configuration for Forest Cinematography
Forest canopies create extreme dynamic range challenges. Bright sky peeking through leaves sits 12+ stops above shadowed forest floor. The Mavic 4 Pro's D-Log M profile captures this range, but requires specific configuration.
Optimal Camera Settings
| Parameter | Forest Canopy Setting | Open Clearing Setting |
|---|---|---|
| Color Profile | D-Log M | D-Log M or HLG |
| ISO | 100-400 | 100-200 |
| Shutter Speed | 1/50 (24fps) | 1/50 (24fps) |
| Aperture | f/4-f/5.6 | f/5.6-f/8 |
| White Balance | 5600K manual | 5200K manual |
| Resolution | 4K/60fps | 4K/24fps |
| Bitrate | 150 Mbps minimum | 100 Mbps |
The 1-inch Hasselblad sensor excels in these conditions. Its native ISO of 100 keeps noise minimal even when pushing shadows 3+ stops in post-production.
Pro Tip: Shoot at 4K/60fps even when delivering 24fps content. The higher frame rate gives you flexibility to stabilize footage in post when wind causes micro-vibrations, and you can create smooth slow-motion moments from unexpected wildlife encounters.
ActiveTrack Performance in Dense Vegetation
Subject tracking through forests tests any drone's capabilities. The Mavic 4 Pro's ActiveTrack 6.0 uses machine learning to predict subject movement, but trees constantly interrupt line-of-sight.
Optimizing Subject Tracking
For tracking subjects moving through trees:
- Select Trace mode for following behind subjects
- Set tracking sensitivity to High (faster reacquisition after obstructions)
- Enable Spotlight mode when subject moves unpredictably
- Maintain 15-20 meter following distance (gives system time to react)
- Avoid Parallel tracking mode in forests (too many lateral obstacles)
The system reacquires subjects within 0.8 seconds after brief obstructions. Longer occlusions require manual intervention—keep your thumbs ready on the sticks.
QuickShots and Hyperlapse in Challenging Conditions
Automated flight modes require careful consideration in forests. QuickShots work well in clearings but create risks near trees.
Safe Automated Modes
Recommended for forests:
- Dronie (straight backward movement, predictable path)
- Circle (only in clearings with 20+ meter radius)
- Helix (ascending spiral escapes canopy safely)
Avoid in forests:
- Boomerang (lateral movement near obstacles)
- Asteroid (requires clear airspace above)
Hyperlapse modes produce stunning forest content when configured correctly. Use Waypoint hyperlapse rather than Free mode—predefined paths prevent drift into obstacles during long exposures.
Common Mistakes to Avoid
Flying immediately after rain: Water droplets on sensors trigger false obstacle readings. Wait 15-20 minutes for sensors to dry, or gently wipe with microfiber cloth.
Ignoring compass calibration: Forest floors contain mineral deposits that affect magnetometers. Calibrate at your takeoff point, not at your vehicle.
Trusting obstacle avoidance completely: Thin branches, spider webs, and dead twigs don't register reliably. Visual piloting skills remain essential.
Using ND filters incorrectly: Forest lighting changes rapidly as clouds pass. Carry ND8, ND16, and ND32 filters and switch based on conditions rather than committing to one filter for an entire session.
Neglecting battery temperature: Cold forest mornings reduce battery capacity by 20-30%. Keep batteries in an insulated bag against your body until flight time.
Over-relying on GPS positioning: Under dense canopy, GPS accuracy drops to 10+ meters. Switch to ATTI mode awareness—understand how the drone behaves without GPS lock.
Frequently Asked Questions
How does the Mavic 4 Pro handle sudden GPS signal loss under forest canopy?
The aircraft transitions to Vision Positioning using downward sensors when GPS signal weakens. This maintains stable hover up to 10 meters altitude over textured surfaces like forest floors. Above this height without GPS, the drone enters ATTI mode and requires manual stabilization. The transition happens seamlessly—you'll notice the GPS icon change on your display before any flight behavior changes.
Can obstacle avoidance detect all tree branches during forest flights?
No. The omnidirectional system reliably detects obstacles larger than 20mm diameter at distances beyond 1 meter. Thin twigs, dead branches, and hanging vines often escape detection, especially when the drone moves faster than 7 m/s. Always maintain visual line of sight and fly conservatively near vegetation. The system works best as a backup, not a primary navigation method.
What's the best time of day for forest aerial cinematography?
Golden hour provides beautiful light but creates extreme contrast challenges. I prefer overcast midday for forest work—the cloud cover acts as a giant softbox, reducing dynamic range to manageable levels while eliminating harsh shadows. If shooting during golden hour, face your camera away from direct sunlight and capture the warm light illuminating your subject rather than shooting into the sun through leaves.
Final Thoughts on Forest Aerial Cinematography
Forest filming with the Mavic 4 Pro rewards patience and preparation. The aircraft's capabilities exceed what's possible with any previous generation drone, but the environment demands respect.
Every flight teaches something new. The electromagnetic interference challenges that frustrated my early forest sessions now feel routine after developing consistent antenna positioning habits. Wind that once grounded my shoots becomes manageable with adjusted flight speeds and proper technique.
The footage quality justifies the extra effort. D-Log captures the full tonal range of dappled forest light. ActiveTrack follows subjects through complex environments. The Hasselblad sensor resolves individual leaves in 100-megapixel stills.
Master these techniques, and forests transform from frustrating no-fly zones into your most compelling shooting locations.
Ready for your own Mavic 4 Pro? Contact our team for expert consultation.