Expert Remote Field Filming with Mavic 4 Pro
Expert Remote Field Filming with Mavic 4 Pro
META: Master remote field filming with the Mavic 4 Pro. Learn pro techniques for obstacle avoidance, subject tracking, and cinematic footage in challenging locations.
TL;DR
- ActiveTrack 6.0 and omnidirectional obstacle avoidance make solo filming in remote fields safe and efficient
- D-Log color profile captures 14+ stops of dynamic range for professional-grade agricultural and landscape footage
- 46-minute flight time eliminates battery anxiety during extended rural shoots
- QuickShots and Hyperlapse modes automate complex sequences that previously required a two-person crew
The Remote Filming Challenge That Changed Everything
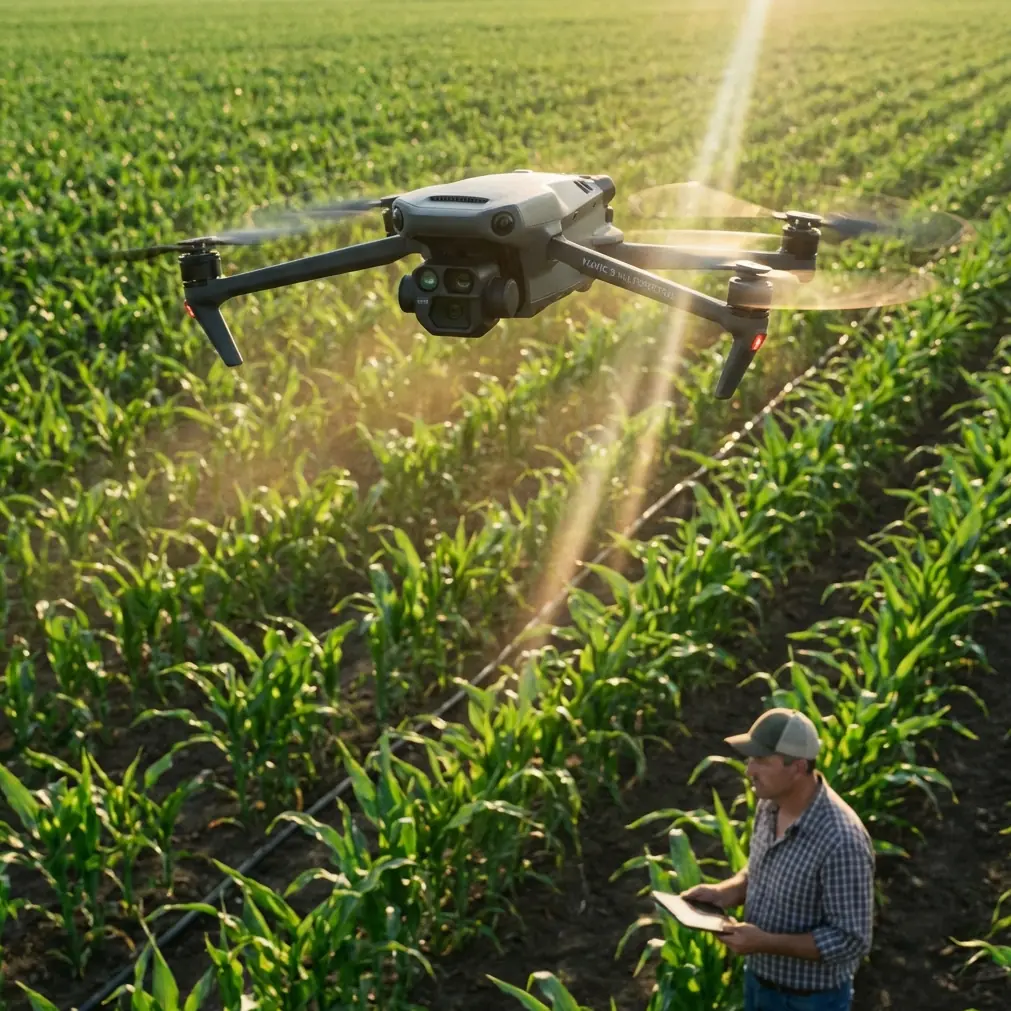
Last spring, I nearly lost a client because I couldn't deliver consistent aerial footage of their 2,000-acre wheat operation. Working alone in fields with no cell service, unpredictable winds, and endless obstacles—power lines, irrigation pivots, tree lines—I was spending more time managing risk than capturing content.
The Mavic 4 Pro transformed that frustration into my most profitable service offering. This guide breaks down exactly how I use this drone to film remote agricultural and landscape scenes with professional results, even when working completely solo.
You'll learn the specific settings, flight patterns, and techniques that turn challenging field conditions into cinematic gold.
Why the Mavic 4 Pro Excels in Remote Field Environments
Obstacle Avoidance That Actually Works
Remote fields aren't as empty as they appear. Hidden hazards include:
- Unmarked power lines crossing property boundaries
- Guy wires from utility poles
- Irrigation equipment at varying heights
- Wildlife that appears without warning
- Tree branches extending into flight paths
The Mavic 4 Pro's omnidirectional obstacle sensing system uses multiple vision sensors and ToF sensors to create a 360-degree safety bubble. During a recent shoot in Montana, the drone automatically stopped 8 feet from a nearly invisible guy wire I hadn't spotted during my pre-flight survey.
This isn't just convenience—it's the difference between completing a job and explaining to a client why their footage doesn't exist.
Extended Flight Time for Comprehensive Coverage
Agricultural clients want complete property documentation. The Mavic 4 Pro's 46-minute maximum flight time means I can cover 400+ acres in a single battery cycle when shooting at optimal altitudes.
For comparison, my previous drone required 3 battery swaps to cover the same area. In remote locations where charging options are limited, this efficiency directly impacts profitability.
Expert Insight: I carry 6 fully charged batteries for full-day field shoots. With the Mavic 4 Pro's efficiency, this gives me approximately 4.5 hours of actual flight time—enough to document even the largest operations with footage to spare.
Essential Camera Settings for Field Filming
Mastering D-Log for Maximum Flexibility
Remote field environments present extreme dynamic range challenges. Bright sky, shadowed tree lines, and reflective crop surfaces can exist in a single frame.
D-Log captures 14+ stops of dynamic range, preserving detail in both highlights and shadows that would be lost with standard color profiles.
My standard D-Log settings for field work:
- ISO: 100-400 (never higher to minimize noise)
- Shutter Speed: Double your frame rate (1/60 for 30fps, 1/50 for 24fps)
- Aperture: f/4-f/5.6 for optimal sharpness
- White Balance: Manual, set to current conditions
- ND Filter: Essential for maintaining proper shutter speed in daylight
Resolution and Frame Rate Selection
| Scenario | Resolution | Frame Rate | Best Use Case |
|---|---|---|---|
| Documentary coverage | 4K | 24fps | Cinematic feel, smaller files |
| Client presentations | 4K | 30fps | Smooth playback, professional standard |
| Slow-motion details | 4K | 60fps | Crop inspection, wildlife moments |
| Maximum detail | 5.1K | 30fps | Large prints, heavy cropping in post |
| Social media content | 1080p | 60fps | Quick turnaround, platform optimization |
Pro Tip: Shoot everything in 4K 30fps as your baseline. You can always downscale for social media, but you can't add resolution that wasn't captured. The Mavic 4 Pro's storage handles the larger files without issue.
Subject Tracking Techniques for Dynamic Field Footage
ActiveTrack 6.0 in Open Environments
Subject tracking in fields presents unique challenges. Subjects often move unpredictably, dust can obscure visibility, and there's rarely a clear background for contrast.
ActiveTrack 6.0 handles these conditions through improved AI recognition that maintains lock even when:
- Subjects temporarily disappear behind equipment
- Dust clouds partially obscure the frame
- Lighting conditions change rapidly
- Multiple similar subjects enter the frame
For tracking farm equipment across fields, I use Spotlight mode rather than Trace mode. This keeps the subject centered while I manually control the drone's position, giving me creative control over composition while the AI handles the tedious work of keeping the tractor in frame.
Tracking Settings That Work
- Tracking Speed: Medium for most equipment, Slow for livestock
- Tracking Sensitivity: High in clear conditions, Medium when dust is present
- Obstacle Avoidance: Always enabled, set to Brake rather than Bypass
- Return-to-Home Altitude: Set 50 feet above the tallest obstacle in your filming area
Automated Sequences That Elevate Production Value
QuickShots for Consistent Results
Solo filming means you're pilot, director, and camera operator simultaneously. QuickShots automate complex maneuvers that would otherwise require extensive practice or a dedicated pilot.
The most useful QuickShots for field work:
Dronie: Pulls back and up from a subject, revealing the surrounding landscape. Perfect for establishing shots that show a farm's scale.
Circle: Orbits a fixed point while keeping it centered. I use this for grain silos, barns, and equipment staging areas.
Helix: Combines the circle with ascending altitude. Creates dramatic reveals of property boundaries and crop patterns.
Rocket: Ascends directly while pointing the camera downward. Excellent for showing crop row patterns and irrigation coverage.
Hyperlapse for Time-Compressed Storytelling
Agricultural processes happen slowly. Hyperlapse compresses hours into seconds, showing:
- Shadow movement across fields throughout the day
- Equipment working across large areas
- Weather systems approaching
- Irrigation systems cycling
The Mavic 4 Pro's Waypoint Hyperlapse mode is particularly valuable. I set waypoints at the beginning and end of a desired camera path, specify the duration, and the drone automatically calculates the movement speed needed to create smooth time-lapse footage.
For a recent vineyard client, I created a 2-hour Hyperlapse showing harvest crews working through rows. The final 30-second clip became the centerpiece of their marketing materials.
Common Mistakes to Avoid
Ignoring Wind Patterns in Open Fields
Fields lack the wind breaks that urban environments provide. A 15 mph ground wind can mean 25+ mph gusts at 200 feet AGL. The Mavic 4 Pro handles wind well, but fighting constant gusts drains batteries 40% faster than calm conditions.
Check wind forecasts at altitude, not just ground level. I use apps that show wind speed at various heights and plan my most demanding shots for calmer periods.
Forgetting About Magnetic Interference
Agricultural areas often have buried utilities, metal irrigation infrastructure, and equipment that creates magnetic interference. Always calibrate your compass away from vehicles and metal structures, and watch for compass warnings during flight.
Neglecting Pre-Flight Property Surveys
Walking a property before flying reveals hazards that satellite imagery misses. I've found unmarked wells, temporary fencing, and equipment that wasn't visible from the road. This 15-minute investment has saved multiple shoots.
Over-Relying on Automated Modes
QuickShots and ActiveTrack are tools, not replacements for piloting skill. I've seen photographers lose shots because they trusted automation in conditions that required manual intervention. Know when to take control.
Shooting Only During "Golden Hour"
Midday light works for agricultural documentation. Clients need to see their property clearly, not just beautifully. Harsh shadows actually help reveal terrain features, drainage patterns, and crop health variations that soft light obscures.
Frequently Asked Questions
How do I maintain GPS signal in remote areas far from cell towers?
GPS signal is independent of cellular coverage. The Mavic 4 Pro connects to GPS and GLONASS satellites directly, providing reliable positioning even in areas with zero cell service. I've flown in locations 50 miles from the nearest tower with perfect GPS lock. Download offline maps before heading to remote locations so your controller displays accurate terrain information.
What's the best altitude for filming large agricultural properties?
For comprehensive coverage, I work at 200-300 feet AGL for wide establishing shots and drop to 50-100 feet for detail work. Higher altitudes show property scale and boundaries; lower altitudes reveal crop conditions and equipment details. Most agricultural clients need both perspectives, so plan your battery usage to capture each altitude range.
Can the Mavic 4 Pro handle dusty field conditions?
The drone performs well in moderate dust, but take precautions. Avoid flying directly behind operating equipment where dust concentration is highest. After dusty shoots, use compressed air to clean sensor surfaces and gimbal mechanisms. I carry lens cleaning supplies and perform quick maintenance between flights when conditions are particularly challenging.
Your Next Step in Professional Field Filming
The Mavic 4 Pro has fundamentally changed what's possible for solo aerial photographers working in remote environments. The combination of reliable obstacle avoidance, extended flight time, and professional imaging capabilities means you can deliver results that previously required a full production crew.
The techniques in this guide come from hundreds of hours filming in challenging field conditions. Start with the basics—proper D-Log settings and conservative flight planning—then gradually incorporate ActiveTrack and automated sequences as you build confidence.
Ready for your own Mavic 4 Pro? Contact our team for expert consultation.