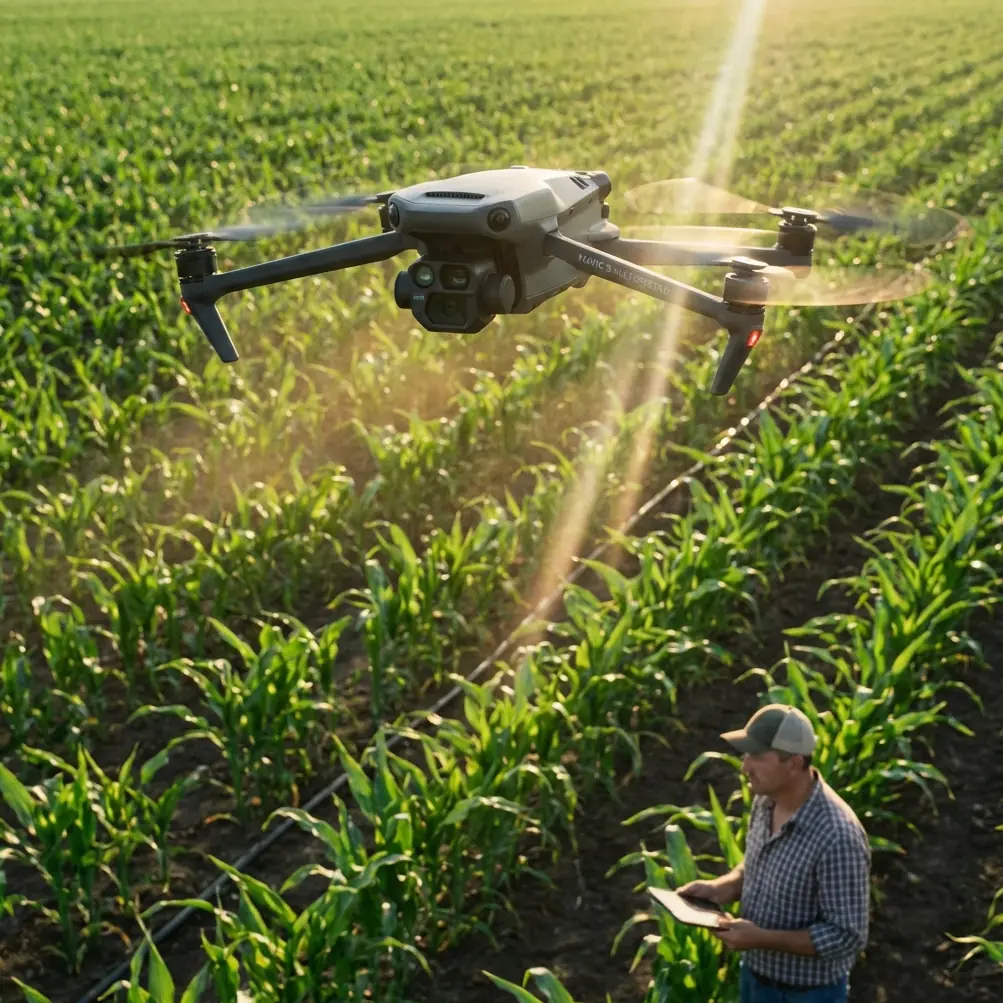
Mavic 4 Pro for High-Altitude Coastline Filming
Mavic 4 Pro for High-Altitude Coastline Filming: What Actually Matters in the Field
META: A technical review of Mavic 4 Pro workflow considerations for filming coastlines at altitude, with practical advice on flight height, controller compatibility, mobile setup, and post-processing.
I spend a lot of time thinking about drone shots that look effortless but are anything but simple to execute. Coastlines are a perfect example. From the ground, they feel open and forgiving. In the air, especially at higher elevation, they become a study in contrast, wind behavior, glare, terrain relief, and timing. If you are planning to fly a Mavic 4 Pro along cliffs, beaches, headlands, or elevated coastal roads, the aircraft is only one part of the equation. The real difference comes from how you build the workflow around it.
That is where the reference material becomes surprisingly useful.
A crop survey solution built around ArcGIS might not seem like the obvious source for a coastline filming discussion. But buried in that field document are several operational truths that translate directly to Mavic 4 Pro use: controller-device fit matters more than people expect, mobile connectivity has genuine in-field value, and post-processing hardware can be the hidden bottleneck long after the flight is over. For serious coastline work, those details shape the outcome just as much as obstacle avoidance, ActiveTrack, Hyperlapse, or D-Log.
The first mistake people make with coastline flights
They focus on dramatic height instead of useful height.
For high-altitude coastline filming, the best flight altitude is rarely “as high as possible.” The stronger approach is to work in layered heights depending on what the shoreline is doing. In practice, I find the most effective visual range is usually a moderate elevation above the terrain rather than an extreme ceiling position. The reason is simple: coastlines reveal depth when the camera can still separate cliff faces, wave lines, tidal shelves, and vegetation contours. If you go too high, the shot flattens. You end up with a map-like image instead of a cinematic one.
With a Mavic 4 Pro, I would treat altitude as a storytelling control, not a badge of daring. For broad establishing shots over a rugged coastline, a higher pass can help show the relationship between sea, cliff, and horizon. But once the frame is set, dropping to a more deliberate working altitude often produces better motion and stronger texture. This is where subject tracking and ActiveTrack become more relevant than many pilots realize. If you are following a road edge, a moving vehicle on a coastal route, or a hiker on a ridge trail, staying lower and closer gives the tracking system cleaner visual context and produces footage that feels more dimensional.
Why the controller setup matters on windy coastal days
One of the most useful facts in the source document is blunt: certain larger tablets were too big to fit Mavic controllers. Specifically, the document states that iPad mini 2, iPad mini 3, and iPad mini 4 variants were not compatible with the Mavic controller due to size constraints in that particular setup context. That sounds small. It is not.
When filming a coastline at altitude, setup friction multiplies fast. Wind is often rising, light changes by the minute, and the launch point may be uneven or exposed. If your display device does not mount cleanly, every extra adapter, bracket, cable angle, and balancing issue becomes one more thing fighting you when you need precision.
Operationally, this matters for three reasons:
Hand fatigue affects shot discipline.
The same source notes that with some device combinations, the total weight became tiring to hold over long periods. Anyone who has worked a coastline session knows this is not theory. You may spend extended time waiting for wave timing, sun breaks, or the right pass of a subject. A heavier controller-screen combination can subtly degrade framing quality over time.A stable display mount reduces pilot error.
Coastal flying often involves bright reflections and moving visual clutter. If the screen position shifts or the setup feels awkward, it is easier to misread your composition or altitude relative to terrain.Quick repositioning matters.
On clifftops and lookout points, you may need to move between launch spots quickly. A cleaner, lighter controller setup is easier to manage safely.
So if you are building a Mavic 4 Pro coastline kit, do not treat the screen device as an afterthought. Test the physical compatibility and handling before the trip, not at the edge of a windy bluff.
The overlooked value of a cellular tablet in remote coastal work
Another detail from the ArcGIS reference deserves more attention. It strongly recommends a 3G or 4G tablet version because the device can download imagery basemaps in real time and use built-in GPS for positioning. That advice was written for survey operations, but it transfers beautifully to advanced filming work.
For Mavic 4 Pro coastline missions, a cellular-enabled tablet can improve your field workflow in at least four ways:
1. Better location awareness
Built-in GPS on the display device helps when you are scouting multiple launch points along a long shoreline. If you are checking promontories, beach entries, cliff paths, or lighthouse approaches, accurate on-device positioning helps you stay organized.
2. Faster map reference
The source specifically highlights real-time downloading of imagery basemaps. For coastline filming, that means you can cross-check coves, ridgelines, tidal inlets, or access routes without relying entirely on memory or preloaded screenshots.
3. More efficient shot planning
When the coast has multiple layers of relief, map awareness helps you predict which launch point gives the cleanest line for a reveal or lateral tracking shot.
4. Safer timing decisions
A connected device makes it easier to review local conditions, route timing, and position changes while staying mobile.
This is one of those workflow choices that feels optional until you work a complex location. Then it starts feeling essential.
Obstacle avoidance is helpful, but coastline terrain still demands altitude discipline
Mavic 4 Pro buyers often search for obstacle avoidance performance as if it is a full substitute for manual judgment. On coastlines, it is not.
Cliffs, sea spray, gullies, rock outcrops, and low-contrast surfaces create a visually complicated environment. Add shifting wind patterns around headlands and the challenge increases. Obstacle sensing can help during pull-backs, side-tracking shots, and transitions around elevated terrain. But high-altitude coastline work still depends on maintaining enough vertical and lateral margin from terrain features, especially when climbing from a low section to a higher ridge contour.
This is where “optimal altitude” becomes practical rather than artistic. If you are too low near an irregular cliff line, the shot may feel dynamic, but your margin evaporates. If you are too high, the image loses drama. The sweet spot is usually the lowest altitude that still preserves a clean escape path and a stable reading of the terrain in the live view. That sounds obvious. In practice, it is a disciplined habit.
For reveal shots, I prefer to establish safe clearance first, then build motion through speed, gimbal angle, and route design rather than shaving terrain margin just to force intensity into the frame.
QuickShots and Hyperlapse: useful tools, not automatic coastline magic
Coastal scenery tends to tempt pilots into overusing automated modes. The Mavic 4 Pro’s QuickShots and Hyperlapse features can absolutely be useful here, but only when the geography supports the pattern.
A circle move around a sea stack may look appealing in theory. In reality, the background often becomes too busy unless the structure is isolated. Hyperlapse can be excellent from an elevated overlook where cloud movement, surf rhythm, and changing light create a layered scene. But it works best when the drone position is chosen for stability and depth rather than maximum spectacle.
The coastline rewards restraint. A slow lateral drift along a cliff face in D-Log often carries more editorial value than an aggressive automated arc. If your end goal is a polished sequence, consistency wins. You want footage that cuts together cleanly, not a folder full of individually flashy moves that fight each other in the timeline.
D-Log over water: why the workflow after the flight matters
Water and rock together create one of the hardest exposure combinations in drone cinematography. The sea can push bright reflections while cliff faces and vegetation hold deep shadow. That is exactly why a log profile matters. Shooting in D-Log gives you more room to preserve highlight detail and shape the tonal balance later, especially in scenes where the horizon brightness changes across the pass.
But that brings us to another highly practical section of the reference data: post-processing hardware.
The source recommends a desktop setup with a CPU better than 4 cores, at least 4 GB of memory, and at least 500 GB of storage. It also points out that for photogrammetry or GPU-based processing, stronger graphics hardware is preferred, with many applications showing better support for NVIDIA cards than alternatives. Even though that note was aimed at mapping workflows, the operational lesson applies directly to Mavic 4 Pro video shooters. If you capture high-quality footage in a log profile and then grade, stabilize, organize, proxy, and export on an underpowered machine, the field advantage gets wasted in post.
For coastline projects, I would go further than the baseline in the document. Not because the document is wrong, but because video finishing is less forgiving once you stack high-resolution clips, color work, and long Hyperlapse sequences. The key takeaway is that the aircraft purchase is not the full system. Your editing hardware is part of the drone workflow whether you acknowledge it or not.
A mapping software lesson that filmmakers should borrow
The reference names Esri Drone2Map and describes it as a lightweight UAV data processing platform with multithreading, ease of use, and rich output options, used primarily to stitch aerial imagery into high-definition orthomosaics. That is mapping language, but filmmakers can still learn something from it.
The lesson is this: good aerial work is not just about collecting footage. It is about producing usable outputs efficiently.
For a coastline production, that mindset changes how you fly. Instead of improvising every pass, you think in deliverables. Wide establishing clips. Mid-altitude texture passes. Controlled tracking sequences. Hyperlapse coverage for time transitions. Static hovers for editorial breathing room. If you are also documenting a location for tourism, environmental interpretation, resort planning, or coastal infrastructure presentation, a mapping-oriented mindset helps you build footage sets that are visually attractive and structurally useful.
That is a more professional way to use a Mavic 4 Pro than simply chasing dramatic angles.
My preferred altitude logic for high coastal flights
If I were briefing a photographer or content team using the Mavic 4 Pro on an elevated coastline, I would keep altitude planning simple:
- Start higher only to understand geography. Use the first ascent to read coastline shape, cliff setbacks, wave lines, and wind behavior.
- Drop to a moderate working band for your hero footage. This usually gives the best balance of depth, parallax, and subject separation.
- Climb again for transition shots. A high pull-up or retreating reveal works well when used sparingly.
- Avoid staying at one height for the whole session. Coastal footage becomes repetitive fast when every clip is captured from the same vertical layer.
The goal is to let the landform determine the altitude. The Mavic 4 Pro’s tracking and obstacle support can help execute those choices, but they should not dictate them.
The real buying question is not the drone alone
If someone asks me whether the Mavic 4 Pro is suitable for filming coastlines at high altitude, my answer is yes, but with a condition: build the whole field system properly.
That means:
- a controller and display combination you can actually hold comfortably for long sessions,
- a mobile device setup that does not create mounting or compatibility problems,
- cellular connectivity and built-in GPS when the location demands flexible map reference,
- enough post-processing power to handle D-Log footage without turning editing into a bottleneck,
- and an altitude strategy based on terrain readability, not ego.
These are not glamorous details. They are the difference between coming home with a polished coastal sequence and coming home with a lot of technically acceptable clips that somehow never become a film.
If you want to discuss a field-ready setup for this kind of work, you can message Jessica’s drone workflow line here.
The Mavic 4 Pro can be a strong platform for elevated shoreline work. Just do not let the marketing view of drone cinematography flatten the real craft. On a coastline, the best results come from small operational decisions made correctly, one after another.
Ready for your own Mavic 4 Pro? Contact our team for expert consultation.