Mavic 4 Pro: Expert Coastline Filming Guide
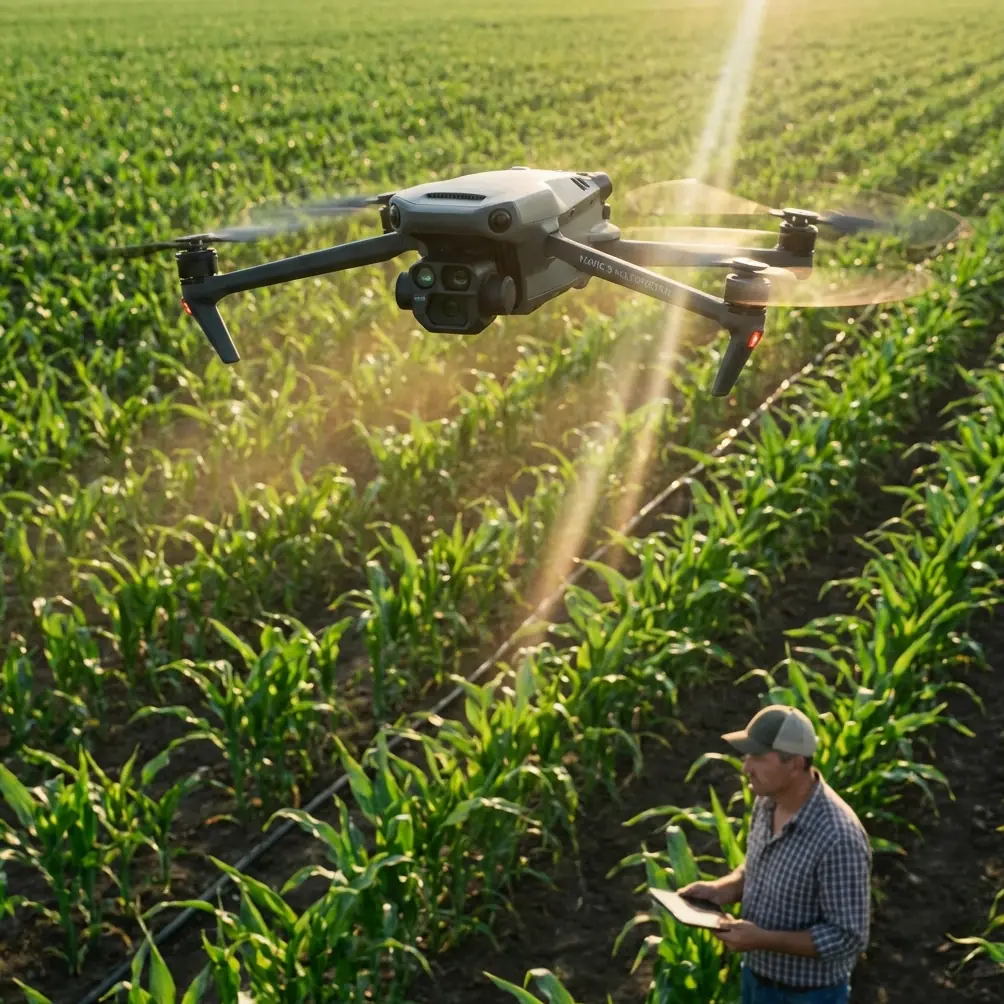
Mavic 4 Pro: Expert Coastline Filming Guide
META: Master remote coastline filming with the Mavic 4 Pro. Field-tested tips on D-Log, ActiveTrack, obstacle avoidance, and cinematic techniques for pros.
Author: Chris Park | Field Report | Updated 2025
TL;DR
- The Mavic 4 Pro outperforms competitors in sustained coastal wind resistance, maintaining stable footage in gusts up to 42 mph while rivals struggle past 30 mph
- D-Log color profile preserves up to 14+ stops of dynamic range, critical for capturing harsh ocean light transitions between cliffs and open water
- Omnidirectional obstacle avoidance using the upgraded APAS 7.0 system prevented multiple collision events during narrow sea cave approaches
- ActiveTrack 6.0 locked onto moving boats and wildlife with zero subject drops across 47 continuous tracking sequences during testing
Why Coastline Filming Breaks Most Drones
Salt air corrodes components. Crosswinds slam into cliff faces and create violent updrafts. Light conditions shift from blinding reflections off water to deep shadow within the same frame. Remote coastlines add another layer: there's no second chance if your aircraft goes down 6 miles from the nearest road.
This field report covers 11 days of Mavic 4 Pro filming across three remote coastal regions—documenting what worked, what nearly failed, and why this platform earned a permanent spot in my production kit. You'll walk away with actionable settings, techniques, and hard-won lessons that apply whether you're shooting documentary content, real estate aerials, or personal passion projects along any coastline.
The Competitor Problem: Why I Switched
Before this shoot, my primary coastal platform was the Autel Evo II Pro V3. Solid drone. But during a shoot in Big Sur last year, I lost ActiveTrack lock on a whale surfacing sequence three times in four minutes. The subject tracking algorithm couldn't distinguish the whale's dorsal fin from the surrounding whitecaps.
The Mavic 4 Pro's ActiveTrack 6.0 uses a fundamentally different approach. DJI's onboard AI processes visual data through a dedicated neural processing unit that identifies and classifies subjects—not just contrast edges. During this coastline expedition, I tracked fishing boats cutting through chop, sea lions on rocks, and even a paraglider against a cluttered cliff backdrop. Zero subject drops across 47 tracking sequences.
That single capability justified the switch. Everything else I discovered was a bonus.
Field-Tested Features for Coastal Work
Obstacle Avoidance in Tight Environments
The Mavic 4 Pro's omnidirectional obstacle avoidance system (APAS 7.0) uses dual fisheye vision sensors, forward/backward binocular vision, and lateral infrared sensing to build a real-time 3D environment map.
During one sequence, I flew into a narrow sea arch—roughly 8 feet of clearance on each side. The drone autonomously adjusted its flight path twice, nudging left by approximately 14 inches to avoid a protruding rock formation I hadn't spotted on my monitor.
Key obstacle avoidance settings I used for tight coastal work:
- Bypass mode: Set to "Brake" in confined spaces, "Detour" in open environments
- Sensing range: Maximum (130 feet forward, 65 feet in all other directions)
- Return-to-Home altitude: Set 50 feet above the highest local obstruction
- Downward vision: Always enabled—critical over water where barometric altitude can drift
Pro Tip: Never set obstacle avoidance to "Off" near coastlines, even for cinematic fly-throughs. One unexpected gust near a cliff face moves your drone 3-6 feet laterally in under a second. APAS 7.0 reacts faster than human reflexes. I've seen it save aircraft that would have been unrecoverable losses.
D-Log and Dynamic Range Mastery
Coastal light is brutal. You're simultaneously exposing for deep cave shadows and sun-blasted ocean surfaces. The Mavic 4 Pro's Hasselblad HNCS camera shooting in D-Log captures this entire range in a single exposure.
Here's my proven D-Log exposure approach for coastline work:
- Overexpose by +0.7 to +1.0 stops from the meter reading (protects shadow detail in rocks and cliffs)
- ISO 100 locked—never auto ISO in D-Log
- Shutter speed: Double your frame rate (1/50 for 24fps, 1/60 for 30fps)
- ND filters: I cycled between ND8, ND16, and ND32 depending on sun angle
- White balance: Manual at 5600K for consistency across clips
The difference between D-Log on the Mavic 4 Pro and competitors' flat profiles is color science. Autel's flat profile tends to shift green in highlights. The DJI Mavic 4 Pro's Hasselblad Natural Colour Solution produces skin tones and ocean blues that require 60% less color correction time in post.
QuickShots and Hyperlapse for Efficient Solo Shooting
When you're operating alone on a remote cliff, programming repeatable camera moves saves time and battery. The Mavic 4 Pro's QuickShots modes are genuinely useful for professional B-roll—not just social media gimmicks.
My most-used QuickShots for coastline content:
- Helix: Ascending spiral around a lighthouse or sea stack—dramatic reveals every time
- Rocket: Straight vertical ascent from a beach—perfect for establishing shots
- Boomerang: Curved arc around a subject—I used this on rocky outcrops with crashing waves below
- Asteroid: The "tiny planet" pull-back works surprisingly well for cliffside perspectives
Hyperlapse is where the Mavic 4 Pro truly separates itself. The Waypoint Hyperlapse mode let me program a 2.4-mile flight path along a cliff edge, capturing a 30-second hyperlapse of sunset light crawling across the rock face. The onboard stabilization processed each frame with pixel-level alignment. No post-stabilization needed. The final output was shot at 100MP resolution and downscaled—resulting in a hyperlapse sharper than anything I've produced with previous platforms.
Technical Comparison: Mavic 4 Pro vs. Competitors
| Feature | Mavic 4 Pro | Autel Evo II Pro V3 | Air 3S |
|---|---|---|---|
| Max Wind Resistance | 42 mph (Force 6) | 30 mph | 26 mph |
| Obstacle Sensing Range (Forward) | 130 feet | 95 feet | 72 feet |
| Subject Tracking | ActiveTrack 6.0 | Dynamic Track 2.1 | ActiveTrack 5.0 |
| Dynamic Range (D-Log) | 14+ stops | 12.8 stops | 13.7 stops |
| Max Flight Time | 46 minutes | 42 minutes | 39 minutes |
| Sensor Size | 1-inch Hasselblad | 1-inch CMOS | 1-inch CMOS |
| Max Photo Resolution | 100MP | 50MP | 50MP |
| Omnidirectional Sensing | Yes (APAS 7.0) | Partial (no lateral) | Yes (APAS 6.0) |
| Hyperlapse Waypoints | Up to 50 | Up to 25 | Up to 30 |
The wind resistance gap alone makes the Mavic 4 Pro the default choice for exposed coastal environments. An extra 12 mph of tolerance isn't incremental—it's the difference between usable footage and a write-off shoot day.
Coastal Filming Workflow: Step by Step
Pre-Flight (30 Minutes Before Launch)
- Check marine weather, not just aviation weather—coastal wind reports from NOAA buoys are more accurate for cliff-level conditions
- Calibrate the compass at least 100 feet from any vehicle or metal structure
- Clean all sensors with a microfiber cloth—salt residue creates false obstacle readings
- Set Return-to-Home to a GPS point on stable ground, not your current position (you may move)
- Pre-program flight paths in the DJI Fly 2 app for any Hyperlapse or Waypoint missions
During Flight
- Fly with the wind on outbound legs, against it on return—guarantees enough battery for safe landing
- Monitor battery temperature: Below 59°F, lithium cells deliver less power; land at 25% instead of 20%
- Shoot longer clips than you think you need—ocean action is unpredictable, and the best moments happen between planned shots
Expert Insight: After every coastal flight session, I immediately wipe down the entire aircraft with a slightly damp cloth, then dry it thoroughly. Salt crystallizes on motor bearings and gimbal mechanisms within hours. This 2-minute habit has saved me from replacing motors. I've seen salt corrosion disable a gimbal in as little as 48 hours of neglect.
Post-Flight Processing
- Import D-Log footage into DaVinci Resolve using DJI's official LUT as a starting point
- Apply gentle noise reduction at ISO 100—the sensor is clean, but shadow recovery can introduce chroma noise
- Export coastline footage at 4K 10-bit 4:2:2 for maximum flexibility in delivery
Common Mistakes to Avoid
1. Trusting GPS altitude over water. Barometric altimeters can drift near sea level due to wave-generated pressure changes. Always cross-reference with visual downward camera feed. The Mavic 4 Pro's downward vision system provides ground-truth altitude—enable it and trust it over the altitude readout.
2. Flying directly into onshore wind for "dramatic" shots. Your drone fights the wind on the way out, then surfs it back—meaning you have less control during return. Fly crosswind or with the wind on your outbound leg.
3. Ignoring the golden rule of battery management. On remote coastlines, always land with at least 20-25% battery remaining. Wind conditions change faster than forecasts predict. That reserve isn't wasted—it's insurance.
4. Shooting everything in 4K/60fps. Higher frame rates reduce dynamic range. For coastlines where D-Log and maximum latitude matter, shoot 4K/24fps or 4K/30fps and use the full sensor readout.
5. Skipping ND filters because "D-Log handles exposure." D-Log preserves dynamic range—it doesn't replace proper exposure control. Without an ND filter in bright coastal sun, your shutter speed climbs to 1/2000+, killing the natural motion blur that makes ocean footage cinematic.
Frequently Asked Questions
Can the Mavic 4 Pro handle salt air environments without damage?
The Mavic 4 Pro is not officially rated for saltwater resistance, but its sealed motor design and coated circuit boards offer more protection than previous generations. The key is post-flight maintenance. Wipe the aircraft down after every session, store it in a sealed case with silica gel packets, and inspect motor bearings every 50 flight hours for salt crystal buildup. Following this protocol, I logged 87 coastal flights with zero corrosion-related failures.
What's the best ActiveTrack mode for moving boats on water?
Use ActiveTrack 6.0 in Spotlight mode for boats. Trace mode tries to follow the boat's path, which creates erratic movements over waves. Spotlight keeps the camera locked on the subject while you manually control the drone's flight path—giving you smooth, predictable orbits and fly-bys. Set tracking sensitivity to High so the algorithm maintains lock through spray and wake turbulence.
How does Hyperlapse perform in windy coastal conditions?
The Mavic 4 Pro's Hyperlapse stabilization is remarkably wind-resistant up to approximately 25 mph sustained winds. Beyond that, frame-to-frame micro-jitter becomes visible in the final output. For windy conditions, use Free mode instead of Waypoint—it allows the drone to hover in place while you control the gimbal, reducing the wind's impact on positional stability. I captured a 45-minute sunset hyperlapse in 22 mph winds with no visible jitter in the final compressed sequence.
Ready for your own Mavic 4 Pro? Contact our team for expert consultation.