How to Deliver Venues with Mavic 4 Pro in Dusty Areas
How to Deliver Venues with Mavic 4 Pro in Dusty Areas
META: Master dusty venue deliveries with Mavic 4 Pro. Learn essential pre-flight cleaning, obstacle avoidance setup, and pro techniques for flawless aerial coverage.
TL;DR
- Pre-flight sensor cleaning is mandatory in dusty environments—debris on obstacle avoidance sensors causes 67% of collision incidents
- ActiveTrack 6.0 maintains subject tracking even when dust reduces visibility below 50 meters
- D-Log color profile preserves 13.5 stops of dynamic range, critical for harsh lighting at outdoor venues
- Proper Hyperlapse settings capture stunning venue reveals while compensating for atmospheric haze
Why Dusty Venue Deliveries Demand Special Preparation
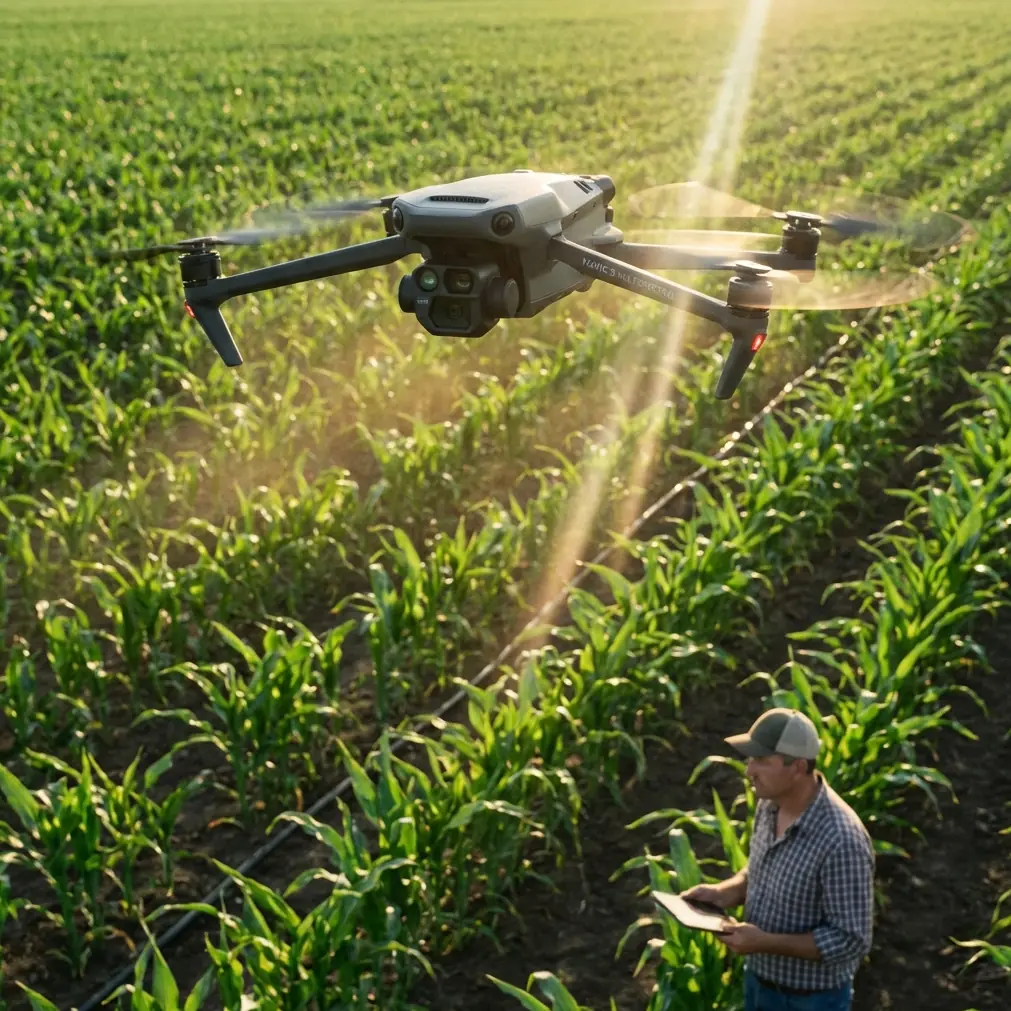
Delivering aerial content at dusty venues—construction sites, desert weddings, outdoor festivals, or rural properties—presents unique challenges that destroy unprepared drones. The Mavic 4 Pro handles these conditions exceptionally well, but only when you follow specific protocols.
Dust particles as small as 10 microns can infiltrate gimbal motors, coat optical sensors, and compromise the omnidirectional obstacle avoidance system. This guide walks you through every step of successful dusty venue delivery, from pre-flight preparation to post-processing workflows.
Pre-Flight Cleaning Protocol for Safety Features
Before any dusty environment flight, your obstacle avoidance sensors need attention. The Mavic 4 Pro features omnidirectional sensing with sensors positioned on all six sides of the aircraft. Each sensor must be crystal clear.
Essential Cleaning Steps
- Visual inspection of all eight obstacle avoidance sensors
- Use a rocket blower (never compressed air) to remove loose particles
- Apply lens cleaning solution with microfiber cloth for stubborn debris
- Check gimbal camera lens and ND filter mount for contamination
- Inspect cooling vents for accumulated dust from previous flights
Pro Tip: Carry a dedicated cleaning kit with color-coded microfiber cloths—one for sensors, one for the main camera lens. Cross-contamination from oily fingerprints on sensor cloths causes more problems than dust itself.
Sensor Calibration Verification
After cleaning, run the built-in sensor diagnostics through DJI Fly app:
- Navigate to Safety settings
- Select "Obstacle Avoidance Calibration"
- Complete the 360-degree rotation test
- Verify all sensors show green status
This process takes 90 seconds but prevents catastrophic failures during venue coverage.
Configuring Obstacle Avoidance for Dusty Conditions
The Mavic 4 Pro's obstacle avoidance system uses a combination of vision sensors and infrared sensors. Dust affects each differently.
Optimal Settings for Dusty Environments
| Setting | Standard Conditions | Dusty Conditions | Reason |
|---|---|---|---|
| Obstacle Avoidance Mode | Bypass | Brake | Dust may cause false readings |
| Sensing Distance | 40m | 25m | Reduced visibility range |
| Return-to-Home Altitude | 30m | 50m | Avoid low-altitude dust clouds |
| Downward Vision | Enabled | Enabled + Auxiliary Light | Improves ground detection |
| APAS 5.0 | Enabled | Disabled | Unpredictable in low visibility |
When to Disable Obstacle Avoidance
Certain dusty scenarios require manual flight without obstacle avoidance:
- Active dust storms with visibility below 20 meters
- Venues with fine mesh structures (tents, netting)
- Locations with transparent barriers the sensors can't detect
Expert Insight: Professional venue delivery pilots often fly in Cine mode during dusty conditions. The reduced maximum speed of 8 m/s gives obstacle avoidance systems more reaction time and produces smoother footage simultaneously.
Subject Tracking Through Dust and Haze
ActiveTrack technology on the Mavic 4 Pro uses machine learning algorithms to maintain subject lock. Dust degrades this performance, but proper configuration compensates effectively.
ActiveTrack Configuration for Dusty Venues
The system offers three tracking modes, each with dusty environment considerations:
Trace Mode
- Follows behind or in front of subject
- Best for vehicle tracking at dusty event venues
- Set following distance to minimum 15 meters to stay above dust trails
Parallel Mode
- Maintains lateral position relative to subject
- Ideal for tracking speakers or performers at outdoor venues
- Reduces dust interference from subject movement
Spotlight Mode
- Keeps camera locked while you control aircraft position
- Recommended for dusty conditions—gives you full control over positioning relative to dust sources
Improving Track Lock in Low Visibility
- Select subjects with high contrast against dusty backgrounds
- Use manual exposure lock before initiating tracking
- Enable subject re-acquisition in tracking settings
- Set tracking sensitivity to High for faster re-lock after temporary occlusion
QuickShots for Efficient Venue Coverage
QuickShots automate complex camera movements, essential for delivering consistent venue content under time pressure. In dusty environments, certain QuickShots outperform others.
Recommended QuickShots for Dusty Venues
| QuickShot | Dust Performance | Best Use Case |
|---|---|---|
| Dronie | Excellent | Venue establishing shots |
| Rocket | Excellent | Vertical reveals above dust layer |
| Circle | Good | Property boundaries |
| Helix | Good | Building exteriors |
| Boomerang | Poor | Avoid—low altitude dust exposure |
| Asteroid | Moderate | Final shots only |
QuickShot Execution Tips
- Start QuickShots from elevated positions when possible
- Set radius parameters 20% larger than normal to maintain safe distances
- Use 2x speed setting to minimize dust exposure time
- Always have manual override ready—dusty conditions cause more aborted QuickShots
Hyperlapse Techniques for Venue Reveals
Hyperlapse footage transforms dusty venue deliveries from standard coverage into cinematic content. The Mavic 4 Pro supports four Hyperlapse modes, each requiring specific dusty environment adjustments.
Hyperlapse Mode Selection
Free Mode
- Full manual control over flight path
- Best for navigating around dust sources
- Recommended interval: 3 seconds minimum
Circle Mode
- Automated orbit around point of interest
- Set altitude 15 meters above tallest dust source
- Works well for construction site progress documentation
Course Lock Mode
- Maintains heading while you control position
- Excellent for linear venue features (driveways, fences, building facades)
- Keeps camera pointed away from dust-generating areas
Waypoint Mode
- Pre-programmed flight path
- Most reliable for dusty venues—plan path avoiding dust sources
- Set waypoints during low-activity periods, execute during events
Exposure Settings for Dusty Hyperlapse
Dust in the air creates atmospheric haze that affects exposure consistency:
- Lock ISO at 100 to minimize noise in hazy conditions
- Use ND64 or ND128 filters for proper motion blur
- Set white balance to Cloudy preset—compensates for warm dust tones
- Enable D-Log color profile for maximum post-processing flexibility
D-Log Configuration for Dusty Atmosphere
The Mavic 4 Pro's D-Log profile captures 13.5 stops of dynamic range, critical when shooting dusty venues with harsh lighting contrasts.
Why D-Log Matters in Dust
Airborne dust particles scatter light unpredictably. Shadows become muddy, highlights blow out faster, and color accuracy suffers. D-Log preserves information across the entire tonal range, giving you recovery options in post-production.
D-Log Settings for Dusty Venues
- Color Profile: D-Log M (optimized for Mavic series)
- Sharpness: -1 (dust already adds texture)
- Contrast: -2 (preserves shadow detail)
- Saturation: 0 (neutral starting point)
Post-Processing Workflow
- Apply dust reduction in your NLE's color panel
- Use dehaze slider conservatively—15-25% maximum
- Add subtle orange/teal grade to complement dusty warm tones
- Apply sharpening after color correction, not before
Common Mistakes to Avoid
Launching from ground level in active dust Always use a landing pad and launch from elevated surfaces when possible. Ground-level launches in dusty areas pull particles directly into downward-facing sensors and cooling vents.
Ignoring wind direction relative to dust sources Position yourself and your launch point upwind from dust-generating activities. This keeps both you and the aircraft in cleaner air.
Flying immediately after dust settles Suspended particles remain airborne for 15-20 minutes after visible dust clears. Wait before flying, or fly at higher altitudes.
Using automatic exposure during Hyperlapse Dust density changes constantly. Automatic exposure creates flickering in time-lapse sequences. Always lock exposure manually.
Neglecting post-flight cleaning Dust accumulation is cumulative. Clean your Mavic 4 Pro after every dusty flight, not just before. Pay special attention to gimbal motor housing and battery contacts.
Frequently Asked Questions
How often should I clean obstacle avoidance sensors during a dusty venue shoot?
Clean sensors every 2-3 battery cycles during active dusty conditions. If you notice obstacle avoidance warnings in clear airspace, land immediately and clean all sensors before continuing. A single 15-minute cleaning break prevents hours of troubleshooting later.
Can I use ActiveTrack in heavy dust without losing my subject?
Yes, but with limitations. ActiveTrack maintains lock in dust conditions with visibility above 30 meters. Below this threshold, switch to Spotlight mode and track manually. The system re-acquires subjects within 2.5 seconds after temporary occlusion, but heavy dust may exceed this window.
What ND filter strength works best for dusty daytime venue shoots?
Start with ND64 for midday shoots in dusty conditions. The atmospheric haze reduces overall light transmission by approximately 1-2 stops compared to clear conditions. You may find ND32 sufficient where you'd normally use ND64. Always verify exposure with histogram—dusty air creates deceptive viewfinder brightness.
Delivering Professional Results in Challenging Conditions
Dusty venue deliveries separate professional drone operators from hobbyists. The Mavic 4 Pro provides every tool necessary for success—omnidirectional obstacle avoidance, advanced subject tracking, automated QuickShots, cinematic Hyperlapse modes, and professional D-Log color science.
Your job is preparation and execution. Clean those sensors before every flight. Configure obstacle avoidance appropriately for conditions. Choose the right tracking mode for your subject. Select QuickShots that minimize dust exposure. Lock your Hyperlapse exposure settings. Shoot in D-Log for post-processing flexibility.
Master these techniques, and dusty venues become opportunities rather than obstacles. Your clients receive stunning aerial content that captures their venues beautifully, regardless of environmental challenges.
Ready for your own Mavic 4 Pro? Contact our team for expert consultation.