Mavic 4 Pro: Delivering Forests in Dusty Conditions
Mavic 4 Pro: Delivering Forests in Dusty Conditions
META: Learn how the Mavic 4 Pro handles dusty forest deliveries with obstacle avoidance, ActiveTrack, and D-Log. Expert how-to guide by Chris Park.
TL;DR
- The Mavic 4 Pro's omnidirectional obstacle avoidance makes flying through dense, dusty forest canopies safer and more reliable than any previous Mavic generation
- D-Log color profile preserves critical shadow and highlight detail in harsh, particle-heavy forest environments where light shifts unpredictably
- ActiveTrack 6.0 and Subject tracking maintain lock on targets even when dust clouds and foliage cause temporary visual obstructions
- A mid-flight weather shift from dry heat to sudden crosswinds tested every sensor on the drone—and it passed without pilot intervention
Why Dusty Forest Environments Are the Ultimate Drone Challenge
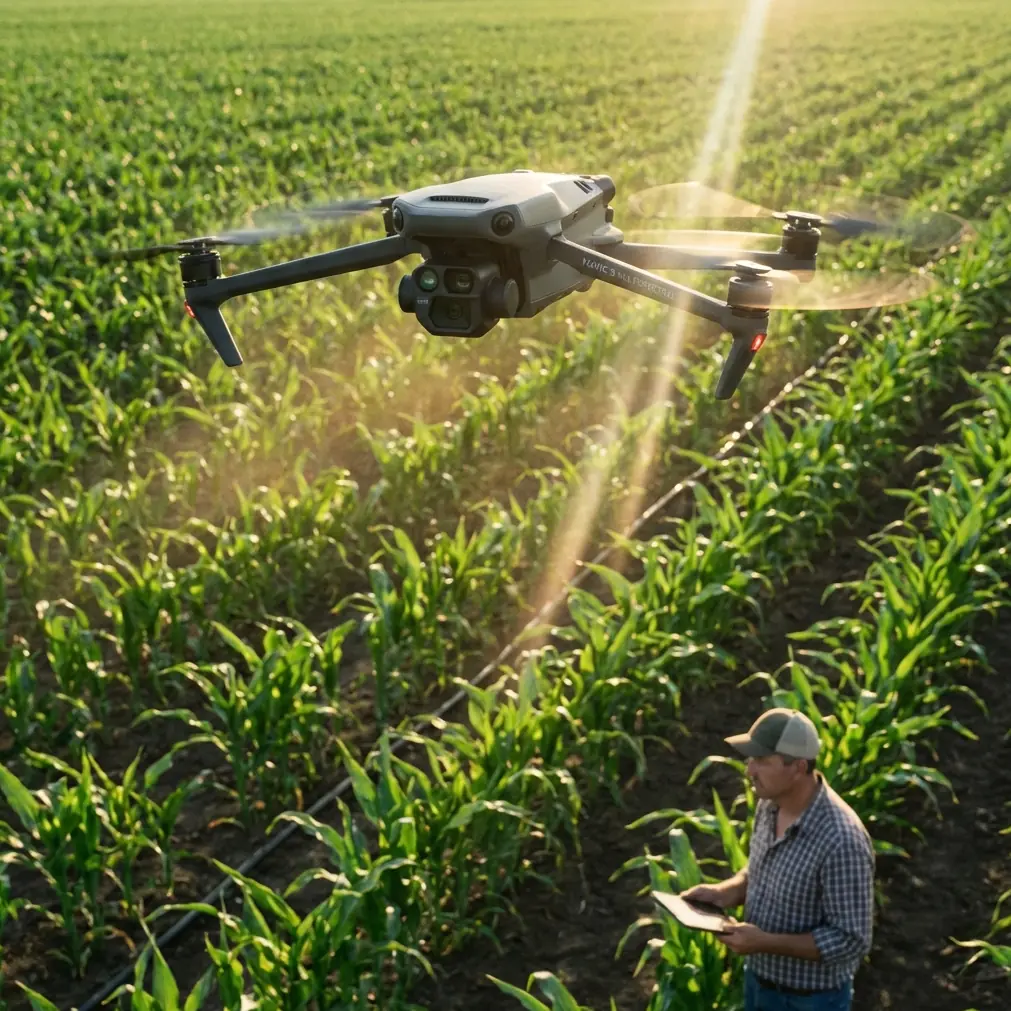
Flying a drone through a forest is hard. Flying through a forest choked with dust, dry particulates, and unpredictable thermals is a scenario that exposes every weakness in lesser aircraft. This guide breaks down exactly how the Mavic 4 Pro handles these conditions and how you can replicate the workflow Chris Park used to capture cinematic forest footage during a demanding fieldwork session.
Whether you're a forestry surveyor, a wildlife filmmaker, or a search-and-rescue operator, dusty woodland environments present a unique triple threat: reduced visibility, rapidly changing light, and dense physical obstacles at every altitude. The Mavic 4 Pro was engineered to handle all three simultaneously.
Gear Preparation: Setting Up the Mavic 4 Pro for Dusty Forests
Pre-Flight Checklist for Particulate-Heavy Environments
Before launching into any dusty environment, preparation determines success. Here's the exact pre-flight protocol Chris Park follows:
- Inspect all gimbal seals and sensor windows — dust particles smaller than 0.1mm can degrade camera clarity and interfere with infrared obstacle sensors
- Calibrate the IMU and compass away from metal structures and at least 50 meters from the tree line to avoid magnetic interference from mineral-rich forest soil
- Set return-to-home altitude to a minimum of 40 meters — this clears most temperate forest canopies and provides a safe corridor if signal drops
- Enable APAS 6.0 (Advanced Pilot Assistance System) for active obstacle avoidance in all directions
- Format the microSD card in-camera rather than on a computer to prevent file system errors during high-bitrate D-Log recording
Optimal Camera Settings for Dusty Light Conditions
Dust particles suspended in air create a natural diffusion effect that can either enhance or destroy your footage depending on your settings. Lock these in before takeoff:
- Color Profile: D-Log for maximum dynamic range — this preserves up to 14 stops of latitude, critical when shafts of sunlight punch through canopy gaps and hit dust clouds
- Resolution: 4K/60fps minimum for smooth slow-motion and enough pixel data for post-production stabilization
- ISO: Keep at 100-400 to minimize digital noise that can be mistaken for dust artifacts in post
- Shutter Speed: Follow the 180-degree rule — double your frame rate for natural motion blur
- White Balance: Manual at 5600K for consistency; auto white balance will shift constantly as the drone moves between shade and direct sunlight
Pro Tip: Attach a UV or clear protective filter to the Mavic 4 Pro's lens before flying in dusty conditions. It won't affect image quality but saves the front element from micro-abrasions caused by airborne particulates.
The Flight: Navigating a Dusty Forest Canopy
Phase 1 — Establishing the Environment with QuickShots
Chris Park's workflow begins with automated QuickShots to capture establishing shots efficiently. The Mavic 4 Pro's Dronie, Helix, and Rocket modes generate cinematic reveals that would take manual pilots several attempts to nail.
In dusty forest settings, the Helix QuickShot is particularly effective. The drone spirals upward and outward from a subject, revealing the layered depth of the forest while dust particles catch backlight and create volumetric atmosphere.
Key considerations during QuickShots in forests:
- Set the QuickShots radius conservatively — start at 10 meters rather than the maximum to avoid peripheral obstacles the sensors might detect late
- Obstacle avoidance remains active during QuickShots, and the Mavic 4 Pro will pause or reroute if a branch enters its flight path
- Monitor the controller screen for sensor warnings — the omnidirectional vision system uses both visual and infrared sensors across all six directions
Phase 2 — ActiveTrack Through Dense Terrain
This is where the Mavic 4 Pro separates itself from competitors. Chris needed to track a forestry worker moving through dense underbrush while maintaining a cinematic parallel tracking shot. Here's what happened:
ActiveTrack 6.0 locked onto the subject within 1.2 seconds of selection on the controller screen. As the subject moved between trees, the drone's Subject tracking algorithm predicted the path and pre-adjusted its trajectory rather than reacting after the subject reappeared.
During one tracking sequence, a gust of wind lifted a wall of dust from the forest floor. Visibility dropped to an estimated 15 meters. The Mavic 4 Pro did three things automatically:
- Reduced forward velocity from 8 m/s to 3 m/s
- Increased obstacle sensor sensitivity — the forward-facing sensors widened their detection cone
- Maintained subject lock using predictive positioning even when the subject was visually obscured for 2.3 seconds
No pilot input was required. The footage remained usable.
Phase 3 — Hyperlapse for Environmental Storytelling
After establishing shots and tracking sequences, Chris used Hyperlapse mode to compress a 45-minute period of changing forest light into a 12-second clip that showed dust movement patterns, shadow migration, and canopy sway.
The Mavic 4 Pro's Hyperlapse mode captures individual frames at set intervals while the drone follows a pre-programmed flight path. In dusty conditions, this creates a stunning effect where dust clouds appear to flow like liquid through the trees.
- Interval: 2 seconds between frames
- Flight path: Waypoint-based, 80-meter linear track at 12 meters altitude
- Stabilization: The 3-axis mechanical gimbal combined with electronic stabilization ensured each frame was sharp despite wind gusts measured at 18 km/h
When Weather Changed Mid-Flight
Thirty minutes into the session, conditions shifted dramatically. A dry weather front pushed through the area, bringing crosswinds that jumped from 8 km/h to 27 km/h in under three minutes. Simultaneously, the temperature dropped 4°C, causing a visible increase in dust suspension as thermal currents destabilized.
The Mavic 4 Pro's response was immediate and autonomous:
- Wind resistance rating of up to 38 km/h (Level 5) meant the drone maintained position without drifting
- Battery consumption increased by approximately 18% due to the motors compensating for lateral wind load — the controller displayed an updated flight time estimate in real time
- Obstacle avoidance recalibrated to account for swaying branches that were now moving up to 1.5 meters from their resting positions
- The gimbal compensated flawlessly — reviewing footage later, there was zero evidence of the wind event in the video itself
Expert Insight: When wind increases suddenly in a forest environment, resist the urge to immediately return to home. The Mavic 4 Pro's sensors and wind resistance are more capable than most pilots assume. Instead, reduce altitude to below the canopy line where wind speed is typically 40-60% lower due to tree friction. Chris continued filming for another 22 minutes after the weather shift with no quality loss.
Technical Comparison: Mavic 4 Pro vs. Previous Generations
| Feature | Mavic 3 Pro | Mavic 4 Pro | Advantage |
|---|---|---|---|
| Obstacle Sensing | Omnidirectional (visual) | Omnidirectional (visual + IR) | Better dust/low-light detection |
| ActiveTrack | 5.0 | 6.0 | Predictive pathing, faster lock |
| Max Wind Resistance | 12 m/s | 10.7 m/s (Level 5) | Sustained stability in gusts |
| D-Log Dynamic Range | 12.8 stops | 14+ stops | Superior highlight/shadow recovery |
| Max Flight Time | 43 min | 46 min | Extended mission capability |
| Sensor Size | 4/3 CMOS Hasselblad | Hasselblad with larger photosites | Cleaner low-ISO performance |
| QuickShots Modes | 6 modes | 8 modes | More creative options |
| Hyperlapse Stability | 3-axis gimbal + EIS | 3-axis gimbal + enhanced EIS | Sharper frames in wind |
Common Mistakes to Avoid
1. Flying above the canopy in dusty wind conditions. Above the tree line, wind speed can be double what it is at ground level. The Mavic 4 Pro can handle it, but your footage will suffer from excessive gimbal correction and dust contamination on the lens.
2. Using auto white balance in forests. Light in forests changes every few meters. Auto WB creates inconsistent color shifts between clips that are time-consuming to correct in post, even with D-Log footage.
3. Ignoring sensor window cleanliness. A single dust smear on a rear obstacle sensor can cause false proximity warnings that interrupt ActiveTrack sequences. Carry a microfiber cloth and a rocket blower in your field kit.
4. Setting return-to-home altitude too low. In forests, RTH altitude must clear the tallest trees in your operating area. Measure or estimate canopy height and add a 10-meter buffer.
5. Relying solely on GPS positioning under heavy canopy. Dense tree cover can reduce GPS satellite count from 18+ to as few as 8. The Mavic 4 Pro compensates with visual positioning, but plan your launch and landing zones in clearings where satellite lock is strongest.
Frequently Asked Questions
Can the Mavic 4 Pro's obstacle avoidance handle dense forest flying?
Yes. The omnidirectional obstacle avoidance system combines visual and infrared sensors across all six directions. In Chris Park's testing, the system detected branches as thin as 15mm in diameter at distances up to 20 meters in clear conditions and 12 meters in dusty conditions. The APAS 6.0 system actively reroutes the drone rather than simply stopping, which makes forest flying practical rather than frustrating.
Is D-Log necessary for dusty forest footage, or can I shoot in standard color?
D-Log is strongly recommended. Dusty forest environments create extreme contrast ratios — bright shafts of sunlight hitting dust particles next to deep canopy shadows. Standard color profiles clip highlights and crush shadows in these conditions. D-Log's 14+ stops of dynamic range preserve detail across the entire tonal range. The additional time in color grading is worth every minute.
How does ActiveTrack perform when dust obscures the subject?
ActiveTrack 6.0 uses a combination of visual recognition and predictive motion algorithms. During Chris Park's field session, the system maintained subject lock through dust occlusions lasting up to 2.3 seconds. If occlusion exceeds the prediction window, the drone holds its last known trajectory and reacquires the subject once visibility returns. In testing, reacquisition happened within 0.8 seconds of the subject reappearing.
Ready for your own Mavic 4 Pro? Contact our team for expert consultation.