Mavic 4 Pro Coastline Photography: High Altitude Guide
Mavic 4 Pro Coastline Photography: High Altitude Guide
META: Master high-altitude coastline photography with the Mavic 4 Pro. Learn optimal flight settings, D-Log profiles, and ActiveTrack techniques for stunning aerial shots.
TL;DR
- Fly between 60–120 meters AGL for the ideal balance of coastline sweep and fine detail when shooting high-altitude coastal scenes.
- Use D-Log color profile paired with manual white balance to preserve highlight and shadow data in harsh oceanic light.
- Leverage ActiveTrack 6.0 and QuickShots to automate cinematic moves along cliff edges and shoreline contours.
- Always enable omnidirectional obstacle avoidance when flying near sea stacks, cliffs, and unpredictable coastal updrafts.
Why High-Altitude Coastline Photography Demands the Right Drone
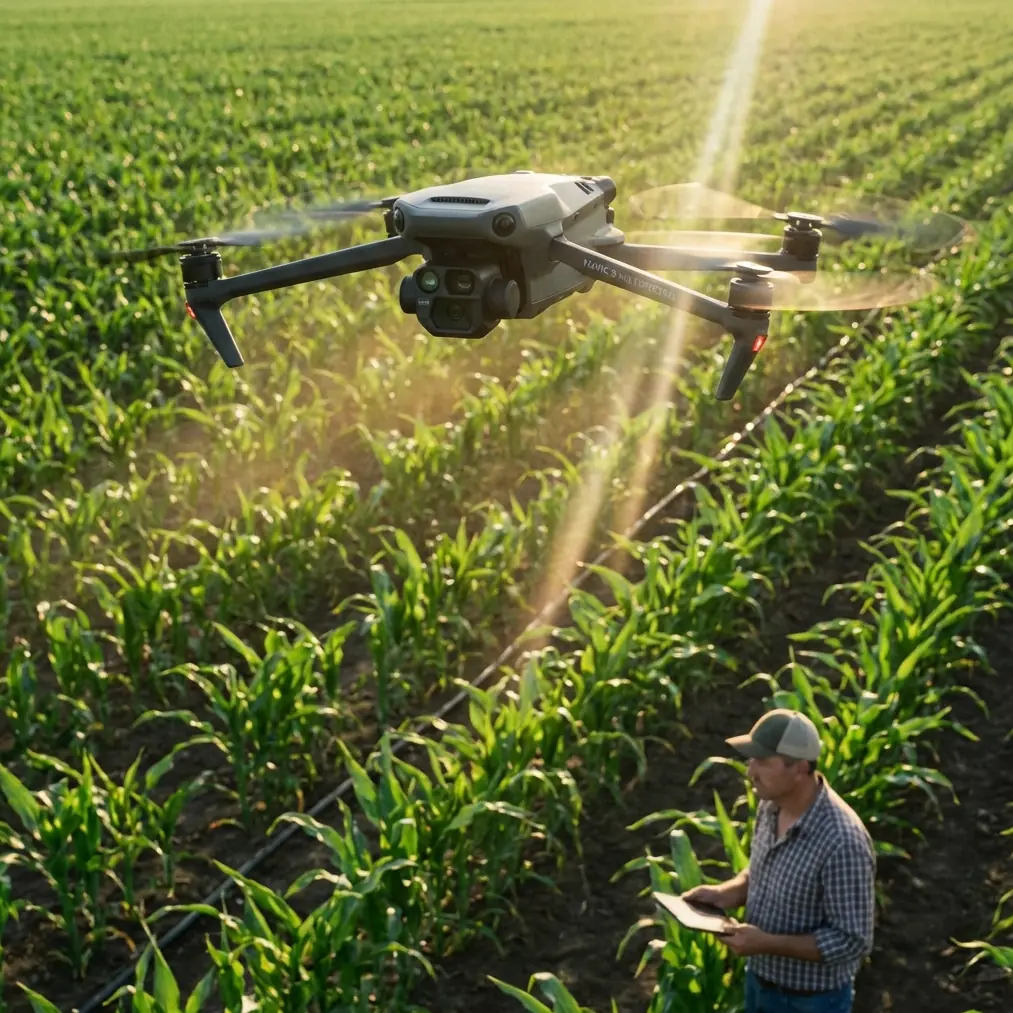
Coastal environments punish mediocre equipment. Salt spray, unpredictable gusts exceeding 30 km/h, and extreme dynamic range between bright sky and dark ocean make aerial coastline photography one of the most technically demanding scenarios in drone work. The DJI Mavic 4 Pro is purpose-built to handle every one of these challenges—and this guide shows you exactly how.
I'm Jessica Brown, a professional photographer who has logged over 800 flight hours shooting coastlines from Norway to Patagonia. What follows is the workflow I've refined across dozens of high-altitude coastal sessions, built specifically around the Mavic 4 Pro's sensor capabilities, intelligent flight modes, and robust wind resistance.
Understanding Optimal Flight Altitude for Coastal Scenes
Here's the insight that changed my coastal work entirely: most photographers fly too low or too high along coastlines, and the sweet spot sits between 60 and 120 meters AGL (Above Ground Level).
Why This Range Works
Below 60 meters, you lose the grand sweeping perspective that makes coastal photography breathtaking. The viewer can't appreciate the interplay between wave patterns, geological formations, and the shoreline's curvature.
Above 120 meters, fine details—foam trails, rock textures, tidal pools—dissolve into visual noise. You also begin to encounter stronger, less predictable wind shear that taxes battery life and stability.
Between 60 and 120 meters, the Mavic 4 Pro's 1-inch Hasselblad CMOS sensor resolves both macro-scale geography and micro-scale texture. This altitude band also keeps you within a comfortable margin below most countries' 120-meter regulatory ceiling.
Altitude Selection by Subject
| Coastal Subject | Recommended Altitude | Lens Setting | Notes |
|---|---|---|---|
| Cliff faces & sea stacks | 60–80 m | 24 mm equivalent | Fly parallel to cliff edge for depth |
| Wide shoreline panoramas | 100–120 m | 24 mm wide | Use Hyperlapse for time-compression |
| Wave patterns & foam trails | 60–75 m | 70 mm telephoto | Shoot burst mode at 1/1000s+ |
| Lighthouse or coastal structures | 80–100 m | 48 mm standard | Use QuickShots Dronie or Helix |
| Tidal pools and reef formations | 60–70 m | 70 mm telephoto | Low tide only; polarizer recommended |
Expert Insight: At 90 meters, I consistently get what I call "the atlas shot"—an image that reads like a beautifully detailed map while still conveying the raw power of the ocean. Start there, adjust by 10-meter increments, and you'll find your composition faster than hunting randomly.
Pre-Flight Setup for Coastal Conditions
Coastal launches require more preparation than inland flights. Follow this checklist before every session.
Hardware Preparation
- Inspect propellers for salt residue or micro-cracks from previous coastal flights.
- Attach ND filters (ND8 or ND16) to maintain the 180-degree shutter rule in bright marine light.
- Ensure the gimbal clamp is removed and the gimbal self-test completes without error.
- Confirm firmware is current—the Mavic 4 Pro's obstacle avoidance algorithms receive regular OTA improvements.
- Carry at least three fully charged Intelligent Flight Batteries for a meaningful coastal session.
Software Configuration
- Set Return-to-Home altitude to 50 meters or higher to clear coastal obstacles on automated return.
- Enable APAS 6.0 (Advanced Pilot Assistance Systems) for real-time obstacle avoidance in all directions.
- Switch transmission mode to O4 manual channel selection if 2.4 GHz interference is high near populated coastal areas.
- Activate AirSense to receive ADS-B alerts from manned aircraft, which frequently patrol coastlines.
Camera Settings: Mastering D-Log for Ocean Light
The single biggest technical upgrade you can make to your coastal footage is shooting in D-Log.
Why D-Log Is Non-Negotiable for Coastlines
Ocean scenes present extreme contrast. Bright white foam sits against near-black volcanic rock; a blazing sky meets deep blue water. Standard color profiles clip highlights and crush shadows. D-Log captures up to 12.8 stops of dynamic range, preserving recoverable detail across the entire tonal spectrum.
My Recommended D-Log Settings
- ISO: 100 (native; never exceed 400 during daylight coastal shoots)
- Shutter Speed: 1/120s for 60fps footage or 1/60s for 30fps (double your frame rate)
- White Balance: Manual at 5600K for midday sun; 6500K for overcast coastal skies
- Color Profile: D-Log
- Resolution: 5.1K at 30fps or 4K at 60fps for slow-motion wave captures
- Bitrate: Maximum available
Pro Tip: Always shoot a gray card reference frame at the start of each flight. Coastal light shifts fast—having a known-neutral reference simplifies batch color correction in DaVinci Resolve or Adobe Premiere, especially when you're stitching together clips from different battery cycles.
Intelligent Flight Modes for Coastal Cinematography
The Mavic 4 Pro's intelligent modes aren't gimmicks—they're essential tools for solo operators working along dangerous terrain.
ActiveTrack 6.0
ActiveTrack lets the drone autonomously follow a moving subject—a surfer, a kayak, a vehicle on a coastal road—while maintaining smooth, stabilized footage. Along coastlines, I use Parallel mode to track cliff edges while the drone flies a safe offset path.
Key tips for coastal ActiveTrack:
- Set tracking sensitivity to Medium to avoid jerky corrections from wind gusts.
- Keep obstacle avoidance active; the drone will reroute around sea stacks automatically.
- Lock tracking on high-contrast subjects (bright wetsuit, colored kayak) for the most reliable lock.
QuickShots
QuickShots automate complex camera moves that would require a two-person crew to execute manually.
- Helix around a lighthouse creates dramatic reveals.
- Dronie pullbacks from cliff edges instantly establish geographic context.
- Rocket vertical ascents over tidal pools reveal hidden symmetry patterns.
- Boomerang arcs along a headland produce social-media-ready clips in seconds.
Hyperlapse
Coastal Hyperlapse footage compresses tide changes, cloud movement, and shifting light into mesmerizing sequences. Set your interval to 2 seconds for 30-minute sessions, producing roughly 15 seconds of buttery 4K timelapse. Use Waypoint Hyperlapse to program a precise flight path along a stretch of coastline, ensuring geometric consistency across hundreds of frames.
Technical Comparison: Mavic 4 Pro vs. Common Alternatives
| Feature | Mavic 4 Pro | Competitor A | Competitor B |
|---|---|---|---|
| Sensor Size | 1-inch Hasselblad | 1/1.3-inch | 1-inch |
| Max Video Resolution | 5.1K/30fps | 4K/60fps | 5.4K/30fps |
| Obstacle Avoidance | Omnidirectional (APAS 6.0) | Tri-directional | Omnidirectional |
| Max Wind Resistance | 12 m/s (Level 6) | 10.7 m/s | 10.7 m/s |
| Subject Tracking | ActiveTrack 6.0 | ActiveTrack 5.0 | Focal Track |
| Max Flight Time | 46 minutes | 42 minutes | 46 minutes |
| Color Science | Hasselblad Natural Color Solution | Standard | Standard |
| Transmission Range | O4: 20 km | O3+: 15 km | O3+: 15 km |
| Weight (with battery) | 900 g | 795 g | 958 g |
The Mavic 4 Pro's combination of Level 6 wind resistance, Hasselblad color science, and 46-minute flight time makes it the strongest option for extended coastal sessions where conditions change fast and every minute of airtime counts.
Common Mistakes to Avoid
1. Ignoring wind gradient at altitude. Surface-level wind readings don't reflect conditions at 100 meters. Always check METAR reports or use the DJI Fly app's real-time wind overlay. If sustained winds exceed 10 m/s at your target altitude, consider postponing.
2. Shooting JPEG instead of RAW+D-Log. Coastal light fools auto-exposure constantly. Shooting RAW stills and D-Log video preserves the latitude you need to recover blown skies and crushed wave shadows in post.
3. Launching from sand or salt-exposed surfaces. Sand particles damage gimbal motors and sensor coatings. Always carry a portable landing pad (at least 50 cm diameter) for coastal launches.
4. Forgetting about airspace near military or port zones. Many coastlines border restricted airspace. Verify with local aviation authorities and use apps like B4UFLY or AirMap before every flight.
5. Flying directly over breaking waves. Salt spray reaches surprising heights. Maintain a horizontal offset of at least 20 meters from active surf zones to protect the drone's sensors and motors.
6. Neglecting post-flight maintenance. After every coastal session, wipe down the entire airframe with a lightly damp microfiber cloth to remove salt residue. Pay special attention to motor ventilation ports and the gimbal mechanism.
Frequently Asked Questions
What is the best time of day to photograph coastlines with the Mavic 4 Pro?
The golden hour (first and last hour of sunlight) delivers the warmest, most dimensional coastal light. Side-lighting from a low sun angle reveals cliff textures, wave crests, and tidal patterns that midday overhead light flattens. If you're shooting Hyperlapse sequences, start 45 minutes before sunset to capture the full light transition in a single battery cycle.
Can the Mavic 4 Pro handle strong coastal winds safely?
Yes. The Mavic 4 Pro is rated for sustained winds up to 12 m/s (approximately 27 mph / Level 6). In my experience, it remains stable and controllable in gusts up to 14 m/s, though battery consumption increases by roughly 20–25% in these conditions. Always monitor remaining battery closely and set a conservative Return-to-Home threshold of 30% when flying in coastal wind.
How do I prevent the Mavic 4 Pro from losing GPS signal along remote coastlines?
GPS dropout along remote coasts is rare with the Mavic 4 Pro's multi-band GNSS receiver (GPS, GLONASS, Galileo, BeiDou). However, tall cliff walls can temporarily shadow satellites. Before flying near cliff faces, hover at launch altitude for 60 seconds to let the drone lock onto a strong satellite constellation (16+ satellites is ideal). If flying in narrow coves, switch to ATTI mode awareness—understand that the drone may require manual stabilization input if satellite count drops below 10.
Ready for your own Mavic 4 Pro? Contact our team for expert consultation.