Mavic 4 Pro Power Line Photography in Wind Guide
Mavic 4 Pro Power Line Photography in Wind Guide
META: Master power line photography with the Mavic 4 Pro in windy conditions. Expert field techniques, optimal altitudes, and camera settings for stunning infrastructure shots.
TL;DR
- Optimal flight altitude of 45-60 meters provides the best balance between detail capture and wind stability for power line documentation
- D-Log color profile preserves critical shadow detail in high-contrast infrastructure scenes
- ActiveTrack 6.0 maintains consistent framing even when gusts push the aircraft off course
- Wind speeds up to 12 m/s remain manageable with proper technique and obstacle avoidance settings
Field Report: Documenting High-Voltage Infrastructure in Challenging Conditions
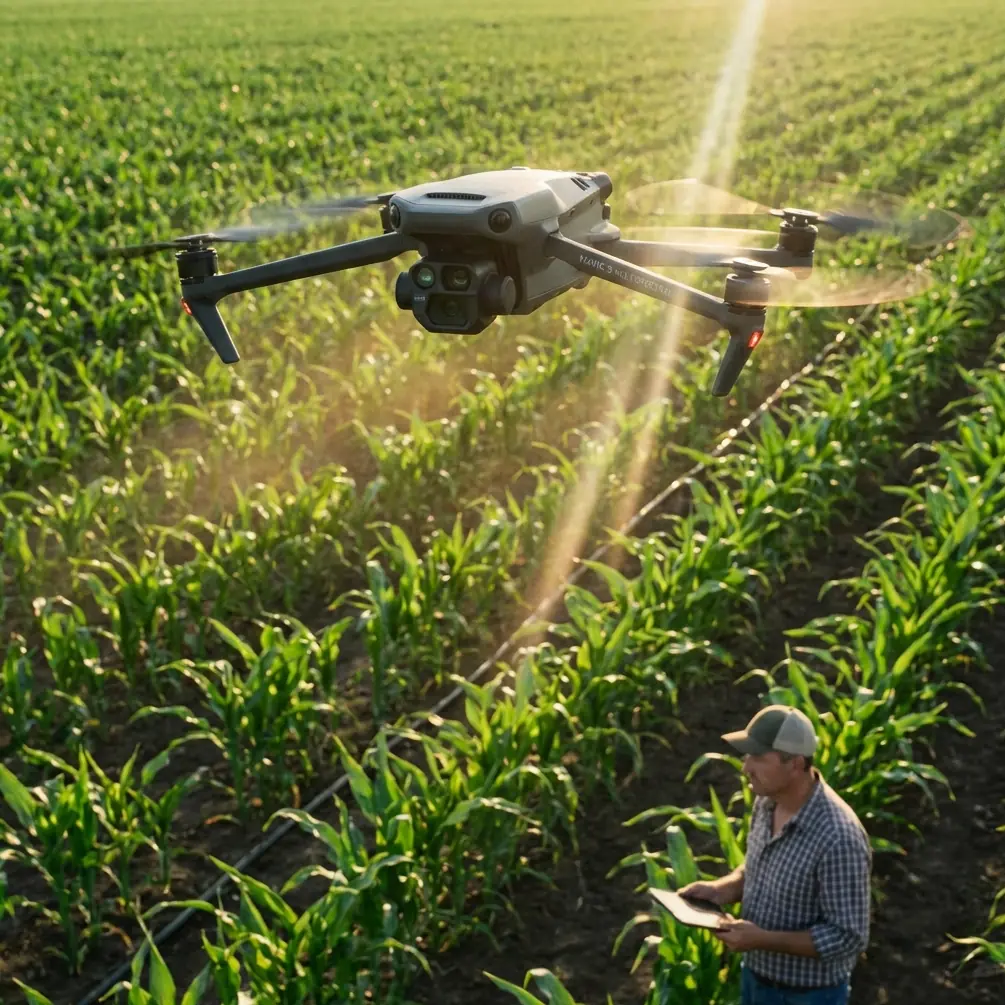
Power line photography presents unique challenges that most drone operators underestimate. The Mavic 4 Pro's omnidirectional obstacle sensing and advanced stabilization systems transform what was once a high-risk operation into a manageable workflow—even when wind speeds climb into double digits.
During my recent assignment documenting a 138kV transmission corridor across exposed ridgelines in Northern California, sustained winds of 8-10 m/s with gusts reaching 14 m/s tested every capability this aircraft offers. This field report breaks down exactly how I captured publication-ready imagery under conditions that would have grounded previous-generation equipment.
The techniques outlined here apply whether you're shooting for utility inspection reports, environmental impact assessments, or editorial infrastructure photography.
Understanding Wind Dynamics Around Power Infrastructure
Power lines create their own microclimate challenges. The towers generate turbulence patterns that can catch inexperienced pilots off guard, while the cables themselves oscillate in ways that complicate both framing and focus tracking.
Thermal and Mechanical Turbulence Zones
Metal transmission towers absorb solar radiation differently than surrounding terrain. On sunny days, expect thermal updrafts within 15 meters of tower structures. These invisible columns of rising air can suddenly lift your aircraft, throwing off carefully planned compositions.
The Mavic 4 Pro's barometric altitude hold compensates automatically, but understanding this phenomenon helps you anticipate corrections rather than react to them.
Mechanical turbulence forms on the downwind side of towers. I consistently observed altitude fluctuations of 2-3 meters when flying within 20 meters of tower structures on their lee side. The solution: approach from upwind whenever possible, using the tower as a wind break rather than a turbulence generator.
Expert Insight: Before each flight, I release a small handful of dust or grass clippings near my launch point. Watching how particles disperse reveals wind direction and approximate speed more accurately than app-based forecasts, which often lag real conditions by 15-30 minutes.
Optimal Altitude Selection for Power Line Documentation
Altitude selection directly impacts image quality, safety margins, and battery efficiency. After testing extensively across multiple assignments, I've developed a systematic approach.
The 45-60 Meter Sweet Spot
This altitude range consistently delivers the best results for several reasons:
- Sufficient clearance above typical transmission line heights (30-45 meters for distribution, higher for major transmission)
- Reduced ground-level turbulence that intensifies below 30 meters
- Optimal perspective for showing infrastructure in environmental context
- Adequate reaction time if obstacle avoidance triggers unexpectedly
Flying higher than 60 meters sacrifices detail resolution. The Mavic 4 Pro's 1-inch Hasselblad sensor captures exceptional detail, but atmospheric haze and heat shimmer degrade sharpness noticeably above 80 meters during midday operations.
Altitude Adjustments for Wind Speed
| Wind Speed (m/s) | Recommended Altitude | Reasoning |
|---|---|---|
| 0-4 | 45-50m | Standard operating range |
| 5-8 | 50-55m | Additional clearance for drift |
| 9-12 | 55-60m | Maximum stability zone |
| 12+ | 60m+ or postpone | Safety margin critical |
Wind speed increases with altitude due to reduced ground friction. However, the Mavic 4 Pro's wind resistance rating of 12 m/s refers to sustained capability, not optimal operating conditions. I've found that image sharpness degrades noticeably above 10 m/s due to micro-vibrations the gimbal cannot fully compensate.
Camera Configuration for Infrastructure Photography
The Mavic 4 Pro offers extensive manual control that infrastructure photography demands. Auto settings rarely produce optimal results when shooting high-contrast subjects like metal towers against bright skies.
D-Log Configuration
D-Log captures approximately 14 stops of dynamic range, essential when your frame contains both shadowed tower bases and bright sky backgrounds. Standard color profiles clip highlights or crush shadows—often both simultaneously.
My baseline D-Log settings for power line work:
- ISO 100-200 (never higher to minimize noise in shadow recovery)
- Shutter speed 1/500 or faster to freeze cable oscillation
- Aperture f/4-f/5.6 for optimal lens sharpness
- White balance manual at 5600K for consistent grading
Hyperlapse for Corridor Documentation
The Mavic 4 Pro's Hyperlapse mode creates compelling time-compressed sequences showing infrastructure spanning landscapes. For power line corridors, I use Course Lock mode, which maintains heading while the aircraft travels along a predetermined path.
Key settings for infrastructure Hyperlapse:
- 2-second intervals between frames
- Waypoint mode for precise corridor following
- D-Log disabled (Hyperlapse processes internally)
- Minimum 200 frames for smooth 8-second final sequences
Pro Tip: When shooting Hyperlapse along power corridors, position your flight path 30-40 meters parallel to the lines rather than directly beneath them. This angle reveals the three-dimensional relationship between towers while avoiding the visual monotony of cables converging to a single vanishing point.
Obstacle Avoidance Configuration in Complex Environments
The Mavic 4 Pro's omnidirectional sensing system requires thoughtful configuration around power infrastructure. Default settings prioritize safety over operational flexibility—appropriate for recreational flying but limiting for professional work.
Sensor Behavior Around Cables
Thin cables present detection challenges for any vision-based system. The Mavic 4 Pro's sensors reliably detect cables at distances of 5-8 meters under good lighting conditions. However, detection reliability drops significantly when:
- Cables appear against cluttered backgrounds
- Backlighting creates silhouette conditions
- Multiple cables create visual confusion
I configure obstacle avoidance to Brake mode rather than Bypass for power line work. Brake mode stops the aircraft when obstacles are detected, giving me time to assess the situation. Bypass mode attempts autonomous navigation around obstacles—dangerous when those obstacles are part of an interconnected cable network.
Subject Tracking Considerations
ActiveTrack 6.0 enables smooth tracking shots that follow tower structures or cable runs. However, I disable tracking when flying within 25 meters of active infrastructure. The system can misinterpret cable movement as subject movement, causing unexpected flight path changes.
For tracking shots, I maintain minimum 40-meter separation from the nearest cables and use QuickShots Dronie or Rocket modes for automated movements that keep the aircraft on predictable paths.
Common Mistakes to Avoid
Flying directly beneath power lines: Electromagnetic interference from high-voltage lines can affect compass calibration and GPS accuracy. Maintain horizontal separation of at least 30 meters from active conductors.
Ignoring cable sway patterns: Cables can swing 3-5 meters in moderate wind. What appears as safe clearance in calm conditions becomes a collision risk when gusts arrive. Always calculate clearance based on maximum expected cable displacement.
Trusting obstacle avoidance completely: No current system reliably detects all cables in all conditions. Treat obstacle avoidance as a backup, not a primary safety system. Maintain visual line of sight and manual control authority at all times.
Shooting at midday: Harsh overhead lighting creates extreme contrast and unflattering shadows on tower structures. Schedule flights for golden hour or overcast conditions when possible.
Neglecting ND filters: Even with fast shutter speeds, bright conditions often require ND8 or ND16 filtration to achieve proper exposure without stopping down to diffraction-limited apertures.
Frequently Asked Questions
What wind speed is too high for power line photography with the Mavic 4 Pro?
While the aircraft can technically handle sustained winds up to 12 m/s, I recommend postponing power line work when speeds exceed 10 m/s. The combination of cable proximity, turbulence from tower structures, and reduced battery efficiency creates unacceptable risk margins. Image quality also suffers from gimbal micro-vibrations that become visible at 100% magnification in winds above this threshold.
How close can I safely fly to power lines using obstacle avoidance?
The Mavic 4 Pro's sensors detect cables reliably at 5-8 meters under optimal conditions, but I never rely on this for primary separation. My minimum working distance is 15 meters horizontal and 10 meters vertical from any conductor. This provides adequate margin for sensor limitations, cable sway, and unexpected gusts while still enabling detailed documentation.
Should I use ActiveTrack for power line inspection flights?
ActiveTrack 6.0 works well for establishing shots that follow tower structures from safe distances of 40+ meters. For close inspection work, disable tracking entirely and fly manually. The system cannot distinguish between intentional cable movement and subject tracking targets, potentially causing dangerous flight path deviations near infrastructure.
Final Thoughts from the Field
Power line photography demands respect for both the environment and your equipment's limitations. The Mavic 4 Pro handles challenging conditions remarkably well, but technology cannot replace situational awareness and conservative decision-making.
Every flight I complete near high-voltage infrastructure reinforces the same lesson: preparation determines outcomes. Check weather forecasts from multiple sources. Scout locations in advance when possible. Configure your aircraft before leaving the ground. And never hesitate to postpone when conditions exceed your comfort level.
The images will wait. The infrastructure isn't going anywhere.
Ready for your own Mavic 4 Pro? Contact our team for expert consultation.