Mavic 4 Pro Highway Terrain Photography Guide
Mavic 4 Pro Highway Terrain Photography Guide
META: Learn how photographer Jessica Brown uses the DJI Mavic 4 Pro to capture stunning highway footage in complex terrain. Expert tips on settings, tracking, and range.
TL;DR
- Antenna positioning and line-of-sight management are critical when filming highways through mountains, valleys, and dense forest corridors
- ActiveTrack 6.0 and obstacle avoidance enable safe, cinematic vehicle tracking shots even in tight canyon roads
- D-Log color profile preserves the dynamic range needed to capture both shadowed valleys and sun-bleached asphalt in a single frame
- This case study breaks down a 3-day highway shoot across mountain passes, covering gear settings, flight planning, and post-production workflow
The Challenge: Filming 120 Miles of Mountain Highway
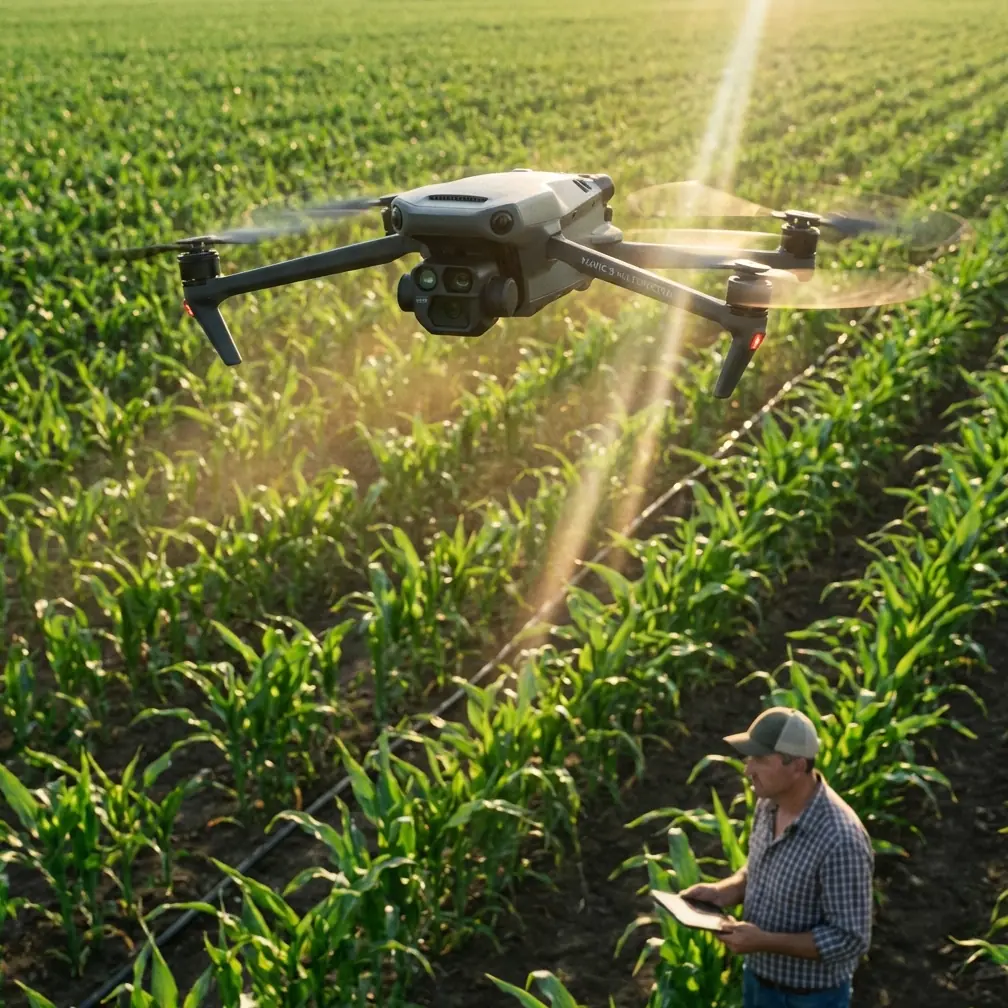
Photographing highways that cut through complex terrain is one of the most demanding assignments in aerial imaging. Shifting elevations, unpredictable wind tunnels between rock faces, and signal interference from dense tree canopy make every flight a calculated decision. This case study documents how I used the DJI Mavic 4 Pro to capture a 120-mile stretch of mountain highway for a state transportation authority's infrastructure documentation project.
The shoot required deliverables ranging from high-resolution stills for engineering review to cinematic Hyperlapse sequences for public-facing media. The Mavic 4 Pro's 1-inch Hasselblad CMOS sensor, omnidirectional obstacle sensing, and extended transmission range made it the clear choice for this assignment.
Project Background and Planning
The Route
The highway corridor passed through three distinct terrain types: deep river gorges, forested mountain passes above 8,000 feet, and open desert plateaus. Each environment presented unique challenges for drone operation, signal integrity, and exposure management.
Pre-Flight Site Analysis
Before launching a single battery, I spent a full day driving the route and logging GPS coordinates for planned takeoff and landing zones. Key factors I evaluated at each stop:
- Terrain clearance: Minimum 150 feet of vertical clearance from the highest obstacle within a 400-foot radius
- Signal corridor: Identifying ridgelines or rock formations likely to block the RC signal
- Wind patterns: Mountain passes funnel wind at 2–3x ambient speeds, so I used a handheld anemometer at launch sites
- Sun angle timing: Scheduling each segment to avoid harsh midday shadows in gorge sections
- Emergency landing zones: Flat, accessible areas within glide distance of every planned flight path
Expert Insight — Jessica Brown: "I treat every mountain highway shoot like a chess game. You plan your moves three steps ahead. Losing signal in a canyon isn't just an inconvenience—it's a potential aircraft loss. I mark every potential signal shadow on a paper map before I even power on the controller."
Antenna Positioning for Maximum Range
This is the single most overlooked factor in complex terrain operations. The Mavic 4 Pro's DJI RC 2 controller uses dual antennas embedded in the top arms of the controller. Their orientation relative to the aircraft determines signal strength far more than raw transmission power.
The Rules I Follow
- Always keep the flat face of the antenna arms pointed toward the aircraft. The signal radiates perpendicular to the antenna surface, not from the tips.
- Never hold the controller with the antennas pointed directly at the drone like a flashlight—this creates the weakest possible signal pattern.
- When filming in a gorge, I position myself at the canyon rim, not at the base, to maintain line-of-sight with the aircraft as it descends.
- For shots requiring the drone to fly behind a ridgeline momentarily, I pre-program the flight path using Waypoints so the aircraft executes the maneuver autonomously and returns to signal range within seconds.
- I carry a portable tripod mount for the controller, allowing me to angle the antennas precisely at 45 degrees upward when the drone is operating at altitude and distance simultaneously.
These practices consistently gave me reliable video feed at distances exceeding 10 miles in open plateau sections and maintained solid connections at 3–4 miles in partially obstructed mountain terrain.
Camera Settings and Color Science
Why D-Log Is Non-Negotiable for Highway Terrain
Highway photography in mountains means dealing with extreme dynamic range. A single frame might contain a sunlit asphalt ribbon, deep shadow under a rock overhang, bright sky, and dark pine forest—all at once. Shooting in D-Log on the Mavic 4 Pro captures approximately 14+ stops of dynamic range, giving enormous flexibility in post-production.
My standard settings for this project:
| Parameter | Gorge/Shadow Sections | Open Plateau | Overcast/Flat Light |
|---|---|---|---|
| Color Profile | D-Log | D-Log | D-Log |
| Resolution | 5.1K/30fps | 4K/60fps | 5.1K/30fps |
| Shutter Speed | 1/60s (ND64) | 1/120s (ND128) | 1/60s (ND8) |
| ISO | 100–200 | 100 | 200–400 |
| Aperture | f/2.8–f/4 | f/5.6–f/8 | f/2.8 |
| White Balance | 5600K Manual | 5600K Manual | 6500K Manual |
ND Filter Strategy
I kept three ND filters in rotation—ND8, ND64, and ND128—and swapped based on lighting conditions. The goal was always to maintain a shutter speed close to double the frame rate for natural motion blur on moving vehicles.
ActiveTrack and Subject Tracking on Moving Vehicles
One of the project's most demanding deliverables was a series of continuous tracking shots following a survey vehicle along the highway at speeds up to 55 mph. The Mavic 4 Pro's ActiveTrack 6.0 proved remarkably capable, but the complex terrain required careful management.
How I Set Up Each Tracking Shot
- Launched the drone and gained altitude to 200–300 feet AGL before initiating tracking
- Drew a selection box around the survey vehicle on the controller screen to lock ActiveTrack
- Set the tracking mode to Parallel for side-profile shots showing the road's relationship to the terrain
- Enabled APAS 6.0 obstacle avoidance at the "Brake" setting—not "Bypass"—to prevent the drone from autonomously routing around a cliff face and losing the subject
- Maintained manual altitude control while letting ActiveTrack handle lateral positioning and yaw
Pro Tip: When using ActiveTrack to follow vehicles on winding mountain roads, set obstacle avoidance to "Brake" rather than "Bypass." In canyon environments, "Bypass" mode can send the drone on unexpected detours around rock walls, causing you to lose both the subject and potentially the signal. "Brake" stops the aircraft safely, giving you time to reposition manually.
QuickShots for B-Roll
Between the primary tracking sequences, I captured supplementary footage using QuickShots modes—specifically Dronie, Rocket, and Circle. These automated flight patterns produced polished reveal shots of highway interchanges and bridge crossings with minimal setup time. Each QuickShots sequence took approximately 30–45 seconds, making them highly efficient for covering multiple locations in a single battery cycle.
Hyperlapse Sequences: Compressing Time on the Highway
The client requested time-compressed sequences showing traffic flow patterns at key intersections and merge points. I used the Mavic 4 Pro's built-in Hyperlapse function in two modes:
- Waypoint Hyperlapse: I set 4–6 waypoints along a curved path above an interchange, with the camera locked on the center of the intersection. The drone flew the path over 20 minutes, capturing a frame every 2 seconds, producing buttery-smooth aerial timelapses.
- Free Hyperlapse: For straight highway stretches, I manually controlled the drone's path while the camera captured at timed intervals, giving a more organic, editorial feel.
Shooting Hyperlapse in D-Log at 48MP still resolution allowed the post-production team to reframe and stabilize in a 4K timeline without quality loss.
Post-Production Workflow
All D-Log footage was graded in DaVinci Resolve using a custom LUT I developed specifically for the Mavic 4 Pro's sensor. Key steps:
- Exposure normalization across clips from different terrain types
- Shadow recovery of up to +3 stops in gorge footage without visible noise
- Color matching between morning and afternoon shooting sessions
- Stabilization pass using Resolve's built-in stabilizer for any ActiveTrack footage with minor vibration from wind gusts
The final deliverable package included 847 high-resolution stills and 42 minutes of graded 4K video.
Common Mistakes to Avoid
- Ignoring antenna orientation: Pointing the controller tips at the drone instead of the flat face cuts your effective range by as much as 50%
- Using Auto White Balance in D-Log: AWB shifts between frames destroy color consistency in post—always lock white balance manually
- Flying in canyons without a spotter: Complex terrain demands a second person watching the sky while you monitor the screen
- Relying solely on ActiveTrack in tight spaces: Automated tracking is powerful but not infallible near cliff walls—keep your thumbs on the sticks at all times
- Neglecting battery temperature in altitude: At 8,000+ feet, cold air reduces battery performance by 10–20%; always warm batteries to at least 25°C before launch
- Skipping propeller inspection between flights: Gravel and debris at mountain launch sites can nick leading edges, causing vibration that ruins footage
Frequently Asked Questions
How does the Mavic 4 Pro handle high winds in mountain passes?
The Mavic 4 Pro is rated for winds up to Level 6 (approximately 24 mph). During this project, I encountered sustained gusts of 20+ mph in exposed mountain passes. The aircraft maintained stable hover and smooth tracking, though I noticed a 15–20% increase in battery consumption during high-wind segments. I always kept a minimum 30% battery reserve when flying in gusty conditions to ensure a safe return-to-home.
Can ActiveTrack keep up with fast-moving vehicles on winding roads?
ActiveTrack 6.0 reliably tracked our survey vehicle at speeds up to 55 mph on sweeping curves. On very tight switchbacks, the tracking occasionally hesitated as the vehicle's visual profile changed rapidly. In those situations, I supplemented with manual stick input to keep the framing smooth. The key is altitude—tracking from 200+ feet AGL gives the system a wider field of view and more time to anticipate directional changes.
What is the best file format for highway infrastructure documentation?
For stills intended for engineering review, I shot in 48MP RAW (DNG) to preserve maximum detail for zooming into road surfaces, guardrails, and signage. For video deliverables, 5.1K ProRes provided the highest quality master files. If storage is a constraint, 4K H.265 at 150 Mbps in D-Log offers an excellent balance of quality and file size, with enough data for professional color grading.
Ready for your own Mavic 4 Pro? Contact our team for expert consultation.