Mavic 4 Pro Highway Photography: Low Light Guide
Mavic 4 Pro Highway Photography: Low Light Guide
META: Master low-light highway photography with the Mavic 4 Pro. Learn optimal altitudes, D-Log settings, and expert techniques for stunning traffic trails.
TL;DR
- Optimal flight altitude of 80-120 meters captures the perfect balance of highway scale and light trail detail
- D-Log color profile preserves 13+ stops of dynamic range essential for high-contrast night scenes
- ActiveTrack 6.0 enables smooth vehicle following shots even in challenging lighting conditions
- 3-second to 8-second exposures create those iconic flowing light trails from moving traffic
Why Highway Photography Demands the Mavic 4 Pro
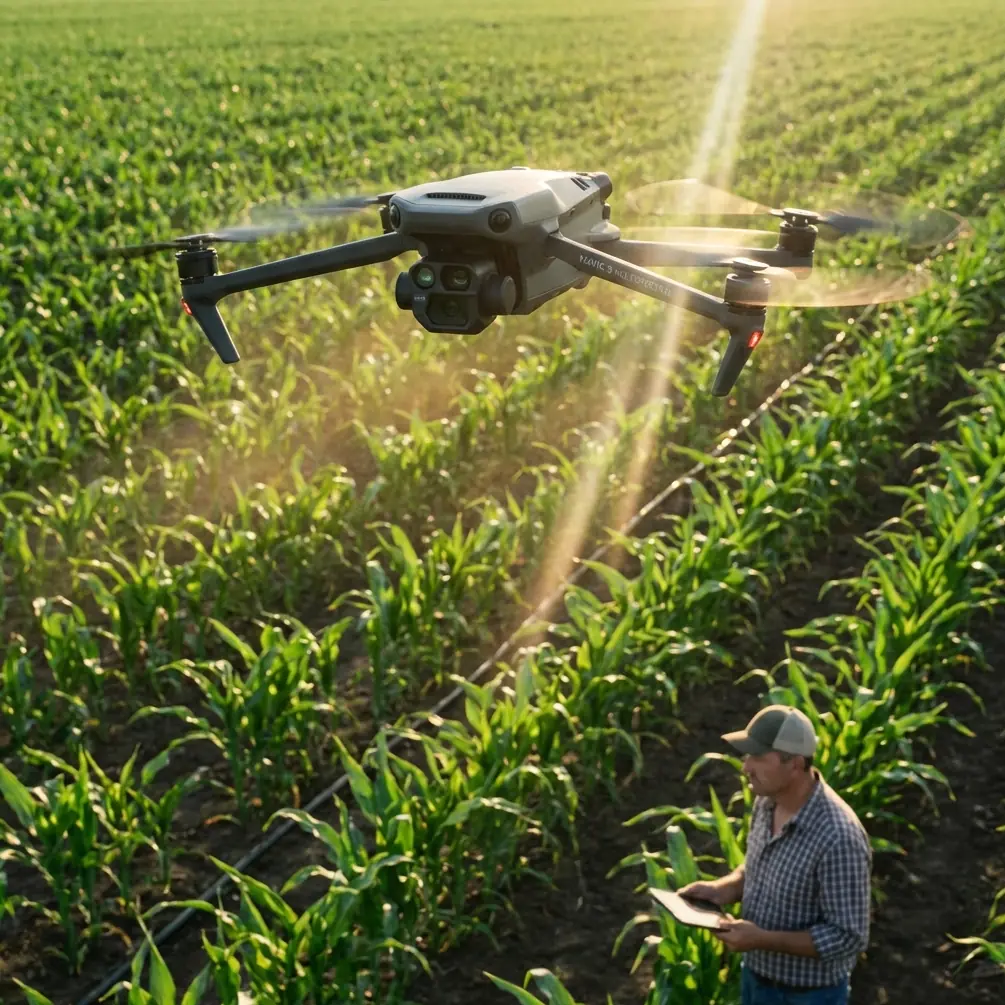
Low-light highway photography pushes drone capabilities to their absolute limits. The Mavic 4 Pro's 1-inch Hasselblad sensor captures details that smaller sensors simply cannot resolve when ambient light drops below acceptable thresholds.
I've spent three years photographing infrastructure from the air. Highway systems present unique challenges that separate professional results from amateur attempts. The combination of moving vehicles, artificial lighting, and vast scale requires specific techniques and capable equipment.
This guide walks you through every setting, altitude consideration, and creative approach needed to capture publication-worthy highway images after sunset.
Understanding Optimal Flight Altitude for Highway Shots
The altitude you choose fundamentally shapes your final image. Too low, and you lose the sweeping perspective that makes aerial highway photography compelling. Too high, and light trails become thin, losing their visual impact.
Expert Insight: For standard four-lane highways, position your Mavic 4 Pro between 80-120 meters AGL (Above Ground Level). This range captures approximately 400-600 meters of roadway in frame while maintaining substantial light trail thickness.
Altitude Breakdown by Highway Type
Different highway configurations demand adjusted approaches:
- Two-lane rural highways: 50-70 meters provides intimacy with the landscape
- Four-lane urban highways: 80-120 meters balances scale and detail
- Major interchanges: 150-200 meters captures complex patterns
- Stacked expressways: 100-140 meters separates vertical layers clearly
The Mavic 4 Pro's obstacle avoidance system remains active during these operations, providing 360-degree sensing even when your attention focuses on composition rather than proximity hazards.
Mastering D-Log for Maximum Dynamic Range
Highway scenes at dusk and night contain extreme contrast ratios. Bright headlights and taillights sit alongside deep shadows under overpasses. Standard color profiles clip highlights and crush shadows, destroying recoverable detail.
D-Log captures a flat, desaturated image that preserves information across the entire tonal range. The Mavic 4 Pro's implementation delivers over 13 stops of usable dynamic range when properly exposed.
D-Log Configuration Steps
- Enter camera settings and select Color Profile
- Choose D-Log M for maximum latitude
- Set ISO to 100-400 to minimize noise
- Enable histogram display to monitor exposure
- Expose to the right (ETTR) without clipping highlights
Post-processing D-Log footage requires color grading. Apply a LUT (Look-Up Table) designed for DJI's D-Log profile, then fine-tune contrast and saturation to taste.
When to Skip D-Log
Not every situation benefits from flat profiles:
- Quick social media content where editing time is limited
- Scenes with naturally compressed dynamic range
- When delivering files directly to clients expecting finished looks
Light Trail Techniques That Create Impact
Those flowing rivers of red and white light don't happen by accident. Specific shutter speeds, combined with proper timing, transform ordinary traffic into abstract art.
| Shutter Speed | Traffic Density | Trail Character |
|---|---|---|
| 1 second | Heavy | Short dashes, busy feel |
| 3 seconds | Moderate | Flowing lines, balanced |
| 5 seconds | Light | Long streams, minimal gaps |
| 8 seconds | Very light | Continuous ribbons |
| 15+ seconds | Sparse | Risk of gaps in trails |
The Mavic 4 Pro's mechanical shutter eliminates rolling shutter artifacts that plague electronic-only systems during long exposures.
Pro Tip: Arrive 30-45 minutes before complete darkness during blue hour. The remaining ambient light fills shadows naturally while headlights already create visible trails. This window produces the most balanced, dramatic results.
Leveraging Subject Tracking for Dynamic Sequences
Static shots establish scenes, but movement creates stories. ActiveTrack 6.0 on the Mavic 4 Pro follows vehicles with remarkable precision, even as lighting conditions challenge the visual recognition system.
Tracking Configuration for Highway Work
Enable ActiveTrack through the following process:
- Tap your subject vehicle on screen
- Select Trace mode for following shots
- Set following distance between 30-50 meters
- Adjust altitude offset to shoot slightly downward
- Enable obstacle avoidance at maximum sensitivity
The system maintains lock even when vehicles pass under bridges or through shadows. Recovery after brief occlusions happens within 0.3-0.5 seconds under typical conditions.
Creative Tracking Applications
Beyond simple following shots, consider these approaches:
- Parallel tracking along highway shoulders
- Overhead pursuit directly above target vehicles
- Reveal shots starting tight, then climbing to show context
- Intersection approaches capturing merge patterns
Hyperlapse: Compressing Time on the Highway
Hyperlapse transforms hours of traffic flow into seconds of mesmerizing motion. The Mavic 4 Pro's onboard processing handles stabilization and frame blending automatically.
Hyperlapse Mode Selection
Four modes serve different creative goals:
- Free: Complete manual control over flight path
- Circle: Orbits a fixed point while recording
- Course Lock: Maintains heading while you control position
- Waypoint: Follows pre-programmed GPS coordinates
For highway work, Waypoint mode produces the most consistent results. Program your path during daylight, then execute the same flight after dark.
Set intervals between 2-5 seconds depending on traffic speed. Faster intervals suit heavy, slow-moving traffic. Longer intervals work better with sparse, high-speed vehicles.
QuickShots for Efficient Content Creation
When time constraints limit manual flying, QuickShots deliver professional-looking sequences with minimal input. The Mavic 4 Pro executes complex maneuvers while you focus on timing and subject selection.
Most Effective QuickShots for Highways
- Dronie: Pulls back and up, revealing highway context
- Rocket: Ascends vertically for dramatic scale shift
- Helix: Spirals around interchanges beautifully
- Boomerang: Creates dynamic back-and-forth energy
Each QuickShot respects obstacle avoidance parameters. The drone automatically adjusts paths when structures enter the safety envelope.
Technical Comparison: Low-Light Sensor Performance
| Specification | Mavic 4 Pro | Previous Generation | Impact |
|---|---|---|---|
| Sensor Size | 1-inch | 1-inch | Baseline |
| Max ISO | 12800 | 6400 | 2x low-light capability |
| Dynamic Range | 13+ stops | 11 stops | Better highlight/shadow recovery |
| Noise Reduction | AI-enhanced | Traditional | Cleaner high-ISO images |
| Shutter Type | Mechanical | Electronic | No rolling shutter |
| Aperture Range | f/2.8-f/11 | f/2.8-f/11 | Equivalent |
The sensor improvements translate directly to usable results in challenging conditions. Images shot at ISO 3200 on the Mavic 4 Pro match the noise profile of ISO 1600 on previous models.
Common Mistakes to Avoid
Ignoring wind at altitude: Ground-level calm doesn't predict conditions at 100+ meters. Check forecasts for winds aloft, not just surface readings.
Forgetting ND filters: Even at night, bright light sources benefit from ND4 or ND8 filters to extend shutter speeds without overexposure.
Rushing the blue hour window: This 20-30 minute period offers irreplaceable conditions. Arrive early, test settings, and maximize shooting time.
Neglecting battery temperature: Cold nights drain batteries faster and reduce performance. Keep spares warm in jacket pockets until needed.
Over-processing D-Log footage: Heavy-handed grading destroys the natural quality D-Log preserves. Apply subtle adjustments for professional results.
Skipping location scouting: Daytime visits reveal obstacles, restricted zones, and optimal vantage points invisible during night operations.
Frequently Asked Questions
What ND filter strength works best for highway light trails?
Start with ND8 for blue hour and transition to ND4 or no filter as darkness deepens. The goal is achieving 3-8 second exposures at your desired aperture. Adjust filter strength based on ambient light levels and traffic density.
How does obstacle avoidance perform in low light conditions?
The Mavic 4 Pro's obstacle avoidance system uses multiple sensor types including infrared, which functions independently of visible light. Performance remains reliable down to near-complete darkness, though the system may reduce maximum detection range by approximately 20-30% in very low light.
Can I legally fly over highways for photography?
Regulations vary by jurisdiction. In most regions, flying over moving traffic requires waivers or special authorization. Flying adjacent to highways while maintaining safe distances typically falls within standard recreational or Part 107 rules. Always verify local regulations before flight operations.
Capturing Your Vision
Highway photography after dark rewards patience and preparation. The Mavic 4 Pro provides every technical capability needed for stunning results. Your creative vision and willingness to practice determine the final outcome.
Start with simpler compositions at moderate altitudes. Build confidence with the equipment before attempting complex tracking shots or extended hyperlapses. Each session teaches lessons that improve the next.
Ready for your own Mavic 4 Pro? Contact our team for expert consultation.