Coastal Forest Filming Guide: Mavic 4 Pro Mastery
Coastal Forest Filming Guide: Mavic 4 Pro Mastery
META: Master coastal forest photography with the Mavic 4 Pro. Learn expert techniques for obstacle avoidance, D-Log settings, and antenna positioning for stunning aerial footage.
TL;DR
- Antenna positioning at 45-degree angles maximizes signal penetration through dense coastal canopy
- D-Log color profile captures 14+ stops of dynamic range for challenging forest lighting
- ActiveTrack 6.0 maintains subject lock through complex tree patterns at speeds up to 21 m/s
- Omnidirectional obstacle avoidance enables confident flying in tight forest corridors
Why Coastal Forests Demand Professional Drone Capabilities
Coastal forests present unique challenges that separate amateur footage from professional cinematography. Salt air corrosion, unpredictable wind patterns, dense canopy interference, and extreme lighting contrasts require equipment that performs under pressure.
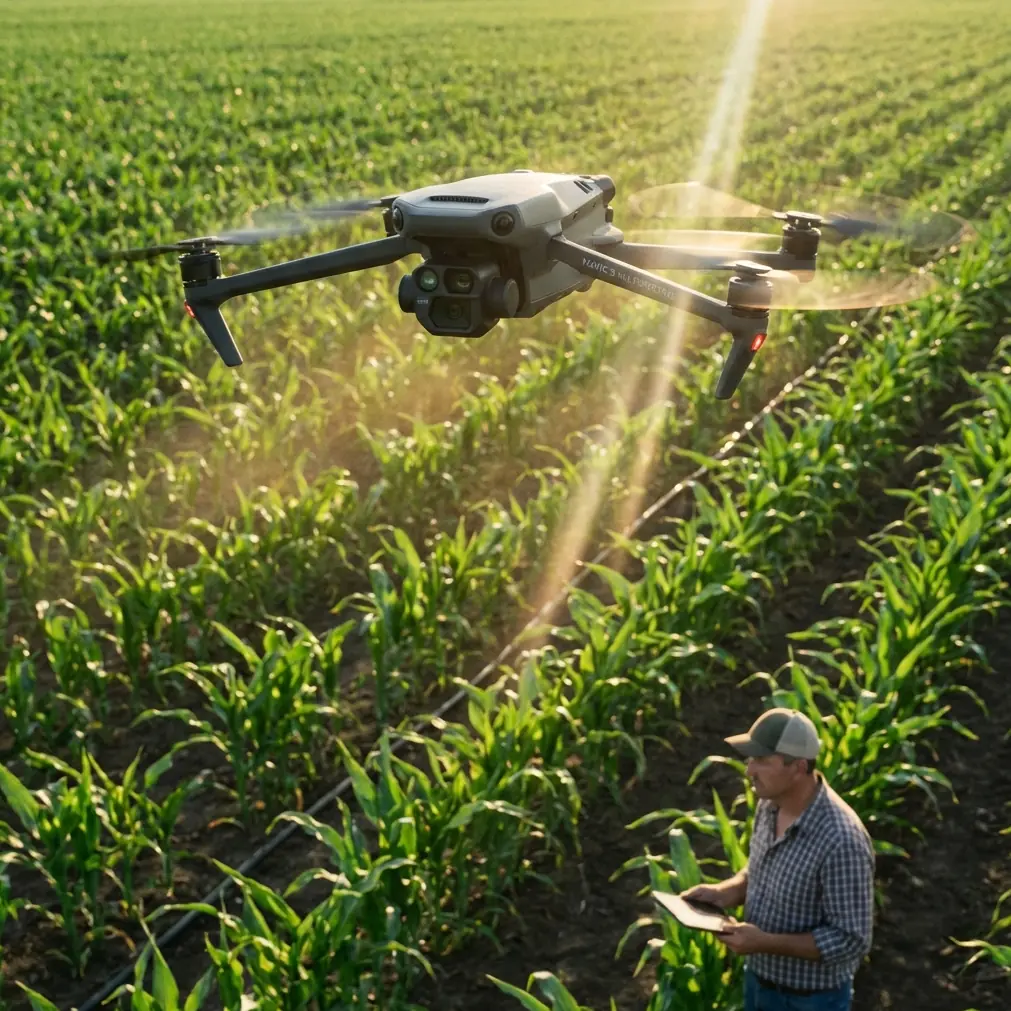
The Mavic 4 Pro addresses these challenges with its Hasselblad HCAM camera system, featuring a 1-inch CMOS sensor capable of capturing 20MP stills and 5.1K video at 50fps. For photographers working in environments where redwoods meet ocean mist, this sensor size proves essential for low-light performance during golden hour shoots.
Antenna Positioning for Maximum Range in Forest Environments
Your signal strength determines everything in coastal forest work. Dense vegetation absorbs radio frequencies, while salt-laden air adds additional interference. Proper antenna positioning becomes non-negotiable.
The 45-Degree Rule
Position your controller antennas at 45-degree angles pointing toward your aircraft. This orientation creates optimal signal reception when your drone operates at varying altitudes through the canopy.
Critical positioning factors:
- Keep antennas perpendicular to the drone's position, not parallel
- Maintain clear line-of-sight to the aircraft whenever possible
- Position yourself on elevated ground when shooting in valleys
- Avoid standing near metal structures or vehicles that create interference
Signal Penetration Through Canopy
The Mavic 4 Pro utilizes O4 transmission technology with a maximum range of 20 kilometers in open conditions. In dense coastal forests, expect effective ranges of 3-5 kilometers depending on vegetation density.
Expert Insight: When filming in old-growth coastal forests, I position myself at the forest edge rather than beneath the canopy. This single adjustment typically improves my signal strength by 40-60% and eliminates most video feed stuttering.
Mastering Obstacle Avoidance in Complex Environments
Coastal forests feature irregular branch patterns, hanging moss, and sudden clearings that challenge any obstacle detection system. The Mavic 4 Pro's omnidirectional sensing system uses 8 wide-angle vision sensors combined with 2 infrared sensors for comprehensive environmental awareness.
Configuring Obstacle Avoidance for Forest Work
Navigate to your flight settings and adjust these parameters:
- Set obstacle avoidance to "Bypass" mode rather than "Brake"
- Adjust detection sensitivity to "High" for dense environments
- Enable APAS 6.0 for intelligent path planning
- Set minimum obstacle distance to 5 meters for safety margin
When to Disable Obstacle Avoidance
Experienced pilots sometimes disable obstacle avoidance for specific shots. This decision requires careful consideration.
Disable only when:
- Shooting through narrow gaps with clear exit paths
- Executing precise proximity shots of specific subjects
- Operating in controlled environments with known obstacles
Never disable when:
- Flying in unfamiliar territory
- Operating during reduced visibility conditions
- Executing complex flight patterns requiring divided attention
Subject Tracking Through Dense Vegetation
ActiveTrack 6.0 represents a significant advancement for forest cinematography. The system maintains subject lock through partial occlusions, predicting movement patterns when subjects temporarily disappear behind trees.
Tracking Configuration for Wildlife
Coastal forests host diverse wildlife from elk herds to nesting eagles. Configure your tracking parameters based on subject behavior.
| Subject Type | Tracking Mode | Speed Setting | Obstacle Response |
|---|---|---|---|
| Large mammals | Trace | Medium | Bypass |
| Birds in flight | Parallel | High | Brake |
| Hikers/subjects | Spotlight | Low | Bypass |
| Vehicles on forest roads | Trace | High | Bypass |
Pro Tip: When tracking wildlife, enable "Smooth Track" in your gimbal settings. This reduces sudden movements that can startle animals and creates more cinematic footage simultaneously.
D-Log Configuration for Challenging Forest Light
Coastal forests create extreme dynamic range challenges. Bright sky visible through canopy gaps contrasts sharply with shadowed forest floors. D-Log captures this range for post-production flexibility.
Essential D-Log Settings
Configure your camera with these parameters:
- Color Profile: D-Log M
- ISO: 100-400 (native range)
- Shutter Speed: Double your frame rate
- White Balance: Manual at 5600K for consistency
- Sharpness: -1 (sharpen in post)
- Contrast: -2 (preserve highlight detail)
Exposure Strategy for Mixed Lighting
Expose for highlights when shooting D-Log in forests. Shadow detail recovers more effectively than blown highlights during color grading.
Use the zebra pattern overlay set to 70% to identify overexposed areas. If zebras appear on sky portions visible through canopy, reduce exposure until they disappear.
QuickShots and Hyperlapse for Efficient Content Creation
Time constraints often limit forest shooting opportunities. Weather windows close quickly along coastlines, and wildlife activity follows unpredictable schedules. QuickShots and Hyperlapse modes accelerate content creation.
Recommended QuickShots for Forest Environments
Helix works exceptionally well around prominent trees, creating dramatic reveals of massive trunks. Set your radius to 15-20 meters for old-growth subjects.
Rocket captures stunning vertical reveals through canopy layers. Position over clearings to showcase the transition from forest floor to sky.
Circle creates professional B-roll around points of interest. Maintain 10-meter radius minimum to ensure obstacle avoidance system effectiveness.
Hyperlapse Through Forest Corridors
Waypoint Hyperlapse along forest trails produces compelling content. Set waypoints at 50-meter intervals along your path, with the camera maintaining focus on a distant vanishing point.
Optimal Hyperlapse settings:
- Interval: 2 seconds
- Speed: 0.5 m/s
- Gimbal smoothing: Maximum
- Photo format: JPEG+RAW for flexibility
Common Mistakes to Avoid
Flying during offshore wind events creates dangerous conditions in coastal forests. Wind accelerates through gaps in vegetation, creating turbulence that exceeds the Mavic 4 Pro's 12 m/s wind resistance rating.
Ignoring humidity levels leads to lens condensation and potential moisture damage. Coastal forests regularly exceed 80% relative humidity during morning hours. Wait until conditions stabilize before flying.
Neglecting compass calibration causes erratic flight behavior near coastal areas. Mineral deposits in coastal geology affect magnetic readings. Calibrate before each session in new locations.
Overrelying on automatic exposure produces inconsistent footage. Forest lighting changes rapidly as clouds pass and canopy moves. Lock exposure manually for professional results.
Forgetting spare batteries ends sessions prematurely. Cold coastal air reduces battery performance by 15-25%. Carry minimum three batteries for serious forest work.
Frequently Asked Questions
How does salt air affect the Mavic 4 Pro during coastal forest shoots?
Salt air accelerates corrosion on exposed metal components and can deposit residue on camera lenses. Wipe down your aircraft with a slightly damp microfiber cloth after each coastal session. Store in a climate-controlled environment with silica gel packets. The Mavic 4 Pro's sealed motor design provides some protection, but regular maintenance remains essential for longevity.
What flight altitude works best for filming through coastal forest canopy?
Optimal altitude depends on your creative goals. For canopy-top establishing shots, fly 30-50 meters above the highest trees. For intimate forest interior work, maintain 5-15 meters above ground level with obstacle avoidance fully enabled. Transition shots work best at canopy height, approximately 20-30 meters in most coastal old-growth environments.
Can the Mavic 4 Pro handle sudden fog banks common in coastal areas?
The Mavic 4 Pro's vision sensors struggle in dense fog, reducing obstacle detection effectiveness significantly. When visibility drops below 100 meters, initiate return-to-home procedures immediately. The aircraft's GPS positioning remains functional, but obstacle avoidance becomes unreliable. Monitor weather radar for approaching marine layers and plan sessions during stable atmospheric conditions.
Ready for your own Mavic 4 Pro? Contact our team for expert consultation.