Capturing Fields with Mavic 4 Pro | Wind Tips
Capturing Fields with Mavic 4 Pro | Wind Tips
META: Master agricultural field capture with the Mavic 4 Pro in challenging wind conditions. Expert tips from Chris Park on settings, flight paths, and real-world techniques.
TL;DR
- 35 mph wind resistance makes the Mavic 4 Pro ideal for unpredictable field conditions
- Use Obstacle avoidance in manual mode to prevent crop-level collisions during low passes
- D-Log color profile preserves highlight detail in high-contrast agricultural scenes
- Plan flight paths perpendicular to wind direction for consistent ground speed and overlap
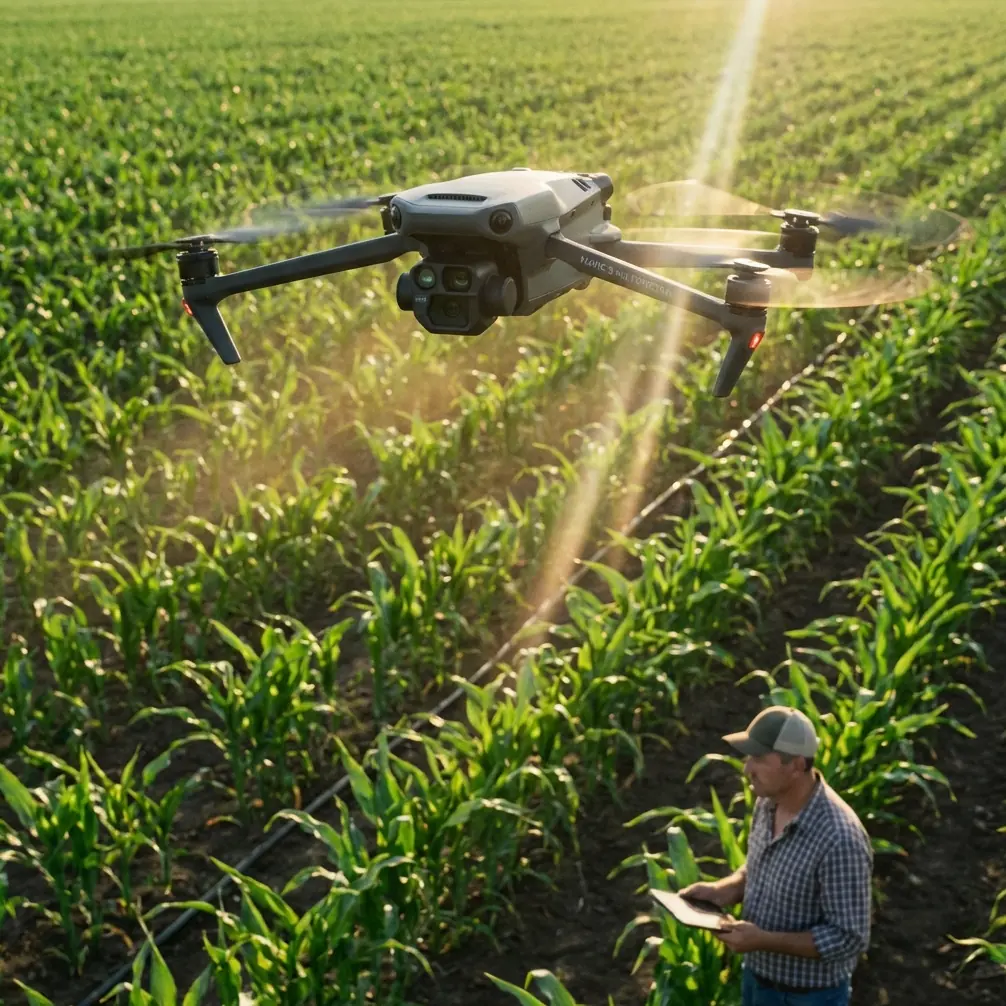
Wind doesn't wait for perfect conditions, and neither do crop deadlines. The Mavic 4 Pro handles gusts up to 35 mph while maintaining stable footage—critical when you're mapping 200 acres before a storm front rolls in. This guide breaks down exactly how to capture professional field imagery when conditions turn challenging.
Why Wind Matters for Agricultural Drone Work
Agricultural imaging demands consistency. When wind speed fluctuates, your drone compensates by adjusting motor output, which affects:
- Battery consumption (up to 40% faster drain in sustained winds)
- Ground speed consistency during mapping passes
- Image sharpness from micro-vibrations
- Overlap accuracy for photogrammetry stitches
The Mavic 4 Pro's tri-directional obstacle avoidance system becomes essential in these conditions. Sudden gusts can push the aircraft toward tree lines, power poles, or irrigation equipment. The omnidirectional sensors detect obstacles from up to 40 meters away, giving the flight controller time to compensate.
Pre-Flight Setup for Windy Field Conditions
Check Wind Patterns Before Launch
Don't rely solely on ground-level conditions. Wind speed at 120 meters AGL (above ground level) often runs 2-3x stronger than surface readings.
Use these resources:
- UAV Forecast app for altitude-specific wind data
- Local METAR reports from nearby airports
- Physical indicators like tree movement and dust patterns
Configure Obstacle Avoidance Settings
For field work in wind, adjust your obstacle avoidance configuration:
- Set avoidance mode to Brake rather than Bypass
- Enable APAS 6.0 for intelligent path adjustment
- Lower minimum altitude warnings to 3 meters for crop-level passes
- Activate downward sensors for uneven terrain detection
Pro Tip: In tall crops like corn or sorghum, wind creates wave-like movement patterns. Set your minimum safe altitude 2 meters above the tallest expected plant height to avoid false obstacle triggers from swaying stalks.
Optimal Camera Settings for High-Contrast Fields
Agricultural scenes present extreme dynamic range challenges. Bright sky, dark soil, and reflective crop canopies can fool automatic exposure.
Recommended settings for field capture:
| Parameter | Sunny Conditions | Overcast/Stormy |
|---|---|---|
| ISO | 100 | 200-400 |
| Shutter | 1/500 - 1/1000 | 1/250 - 1/500 |
| Aperture | f/5.6 - f/8 | f/4 - f/5.6 |
| Color Profile | D-Log | D-Log or Normal |
| White Balance | Manual 5600K | Manual 6500K |
The D-Log profile captures approximately 14 stops of dynamic range, preserving detail in both shadowed furrows and bright crop canopies. This becomes critical when clouds intermittently block sunlight during your flight.
Flight Path Strategy for Consistent Coverage
Plan Perpendicular to Wind Direction
Flying into or with the wind creates ground speed variations that affect image overlap. A 25 mph headwind reduces ground speed significantly, while a tailwind accelerates it.
Solution: Fly your grid pattern perpendicular to the prevailing wind. This maintains consistent ground speed on each pass, ensuring uniform 75-80% front overlap for photogrammetry.
Use Hyperlapse for Time-Compressed Field Documentation
The Hyperlapse feature creates compelling visual documentation of field conditions. For agricultural clients, a Circle Hyperlapse around a problem area (pest damage, irrigation failure, drainage issues) communicates more than static images.
Settings for field Hyperlapse:
- Interval: 2 seconds
- Duration: 15-30 seconds final video
- Speed: 10x for subtle movement, 30x for dramatic effect
- Path: Circle or Waypoint for controlled movement
ActiveTrack for Equipment Documentation
When documenting farming equipment in operation, ActiveTrack 6.0 maintains focus on moving tractors, combines, or sprayers. The Subject tracking algorithm distinguishes machinery from surrounding crops even at distances up to 200 meters.
For equipment documentation:
- Position the drone 30-50 meters from the subject
- Enable Spotlight mode for manual flight control while maintaining subject centering
- Use Trace mode for autonomous following during field operations
When Weather Changes Mid-Flight
During a recent soybean field survey in Iowa, conditions shifted dramatically. What started as 12 mph winds under partly cloudy skies escalated to 28 mph gusts with an approaching storm cell within 15 minutes.
The Mavic 4 Pro's response demonstrated why sensor redundancy matters. As wind increased:
- GPS positioning maintained accuracy within 0.5 meters despite drift pressure
- Vision sensors compensated when GPS signal degraded near the tree line
- Obstacle avoidance prevented collision with a grain bin during an unexpected gust
- Return-to-Home automatically activated when battery reached 25%, calculating wind-adjusted return time
The aircraft landed with 18% battery remaining—the system had correctly calculated that headwind return would consume more power than the outbound tailwind flight.
Expert Insight: Always set your RTH battery threshold 5-10% higher than normal when flying in wind. The Mavic 4 Pro calculates return power requirements dynamically, but adding a manual buffer prevents emergency landings in inaccessible field locations.
QuickShots for Rapid Field Documentation
When time pressure mounts, QuickShots provide professional-looking footage without manual flight planning. For agricultural applications, three modes prove most useful:
Dronie: Reveals field scale by pulling back and up from a point of interest. Effective for showing irrigation pivot coverage or crop damage extent.
Circle: Orbits around a center point, ideal for documenting grain storage, equipment, or specific field features.
Helix: Combines ascending spiral with pull-back, creating dramatic reveals of entire field layouts.
Each QuickShot completes in 15-30 seconds, allowing rapid documentation of multiple field locations in a single battery cycle.
Technical Comparison: Field Imaging Capabilities
| Feature | Mavic 4 Pro | Previous Generation | Advantage |
|---|---|---|---|
| Wind Resistance | 35 mph | 29 mph | +21% stability |
| Obstacle Detection Range | 40m omnidirectional | 28m forward only | 360° protection |
| Max Flight Time | 46 minutes | 34 minutes | +35% coverage |
| Video Resolution | 4K/120fps | 4K/60fps | Smoother slow-motion |
| Photo Resolution | 100MP | 48MP | Higher crop detail |
| D-Log Dynamic Range | 14+ stops | 12.8 stops | Better highlight recovery |
| ActiveTrack Version | 6.0 | 5.0 | Improved subject recognition |
Common Mistakes to Avoid
Ignoring wind gradient: Surface calm doesn't mean altitude calm. Always check conditions at your planned flight altitude before committing to a mission.
Over-relying on automatic exposure: Agricultural scenes fool auto-exposure constantly. Lock exposure manually after test shots, especially when flying toward or away from the sun.
Flying with wind instead of perpendicular: This creates inconsistent overlap that ruins photogrammetry stitches. Plan your grid perpendicular to wind direction.
Disabling obstacle avoidance for speed: In fields with hidden hazards (power lines, guy wires, irrigation pivots), those extra seconds of avoidance response prevent expensive crashes.
Underestimating battery consumption: Wind resistance drains batteries faster than any other factor. Plan for 30% less flight time in sustained winds above 20 mph.
Skipping D-Log in variable light: When clouds move across the sun, D-Log's extended dynamic range prevents blown highlights and crushed shadows that ruin otherwise good footage.
Frequently Asked Questions
Can the Mavic 4 Pro fly in rain during field surveys?
The Mavic 4 Pro lacks an official IP rating for water resistance. Light mist typically doesn't cause immediate problems, but any visible precipitation risks moisture damage to motors, gimbal, and electronics. Land immediately if rain begins and allow the aircraft to dry completely before storage.
How does Subject tracking perform with moving farm equipment?
ActiveTrack 6.0 reliably tracks tractors, combines, and other large equipment at speeds up to 40 mph. The system occasionally loses lock on equipment with highly reflective surfaces or when subjects pass behind obstacles. Spotlight mode provides a reliable backup by allowing manual flight while maintaining camera centering.
What's the optimal altitude for crop health imaging?
For general field surveys, 80-120 meters AGL provides the best balance of coverage and detail. For detailed crop health analysis requiring individual plant visibility, drop to 30-50 meters. NDVI and multispectral analysis typically require 60-80 meters for optimal sensor calibration.
Mastering field capture in challenging conditions separates professional drone operators from hobbyists. The Mavic 4 Pro's combination of wind resistance, intelligent obstacle avoidance, and advanced imaging capabilities makes it the current standard for agricultural aerial work.
Ready for your own Mavic 4 Pro? Contact our team for expert consultation.