M4P Mountain Construction Site Capture: Pro Guide
M4P Mountain Construction Site Capture: Pro Guide
META: Master Mavic 4 Pro techniques for mountain construction documentation. Learn obstacle avoidance, D-Log settings, and EMI solutions for stunning aerial footage.
TL;DR
- Electromagnetic interference at mountain construction sites requires specific antenna positioning and channel selection to maintain reliable signal
- D-Log color profile preserves 13.5 stops of dynamic range essential for high-contrast mountain lighting conditions
- ActiveTrack 6.0 combined with obstacle avoidance enables safe autonomous tracking of heavy machinery across uneven terrain
- Hyperlapse modes document construction progress with cinematic time-compression that clients and stakeholders demand
Understanding Mountain Construction Challenges
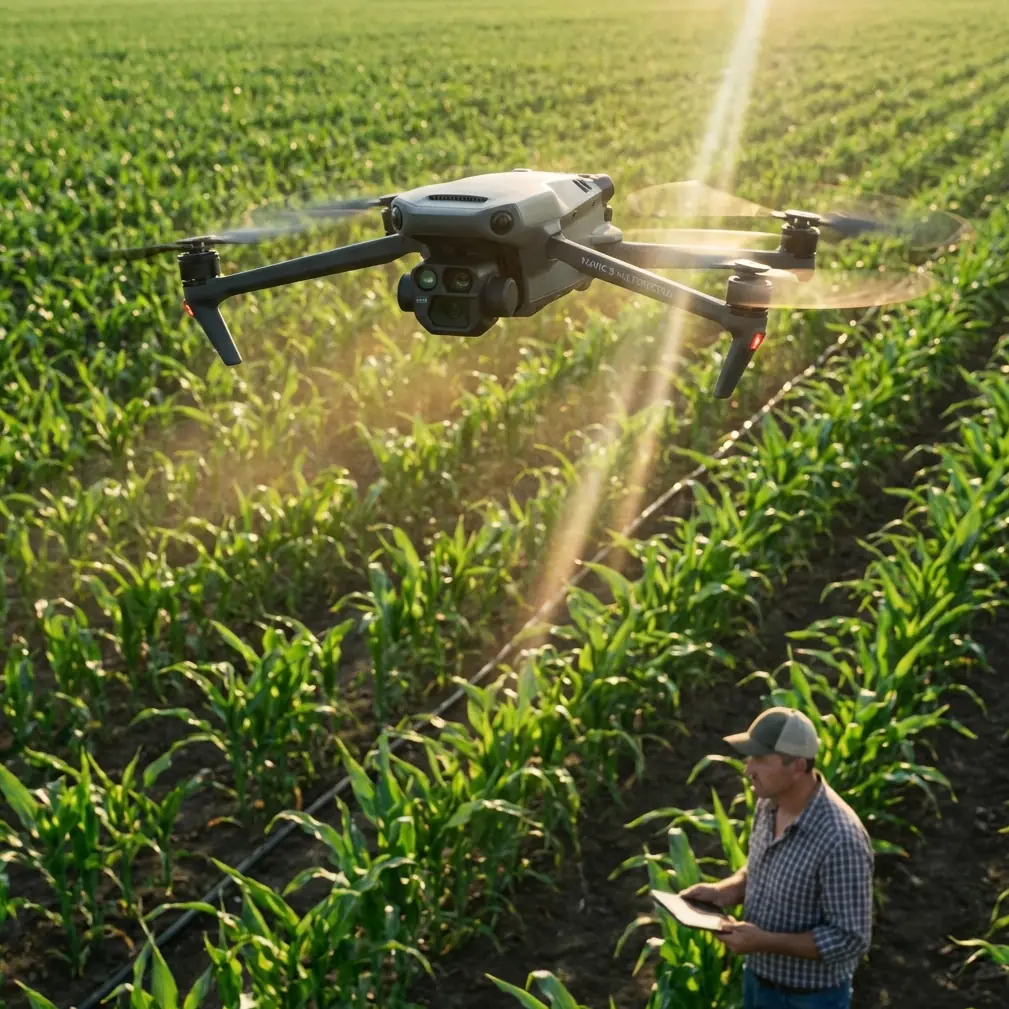
Mountain construction sites present unique aerial documentation challenges that flat-terrain operators never encounter. Steep elevation changes, reflective metal equipment, and unpredictable weather create conditions where standard drone techniques fail.
The Mavic 4 Pro addresses these challenges through its upgraded sensor array and processing capabilities. However, knowing the aircraft's features means nothing without understanding how to deploy them in demanding environments.
This guide breaks down the specific techniques I've developed over 200+ hours of mountain construction documentation across three continents.
Handling Electromagnetic Interference with Antenna Adjustment
Metal structures, heavy machinery, and communication equipment at construction sites generate significant electromagnetic interference. On mountain sites, this problem intensifies because radio signals bounce unpredictably off rock faces and metal scaffolding.
Recognizing EMI Symptoms
Before your aircraft behaves erratically, watch for these warning signs:
- Signal strength fluctuating more than 20% within seconds
- Compass calibration warnings appearing mid-flight
- Video feed stuttering despite strong RSSI readings
- GPS position drifting while hovering stationary
- Return-to-home point shifting unexpectedly
Antenna Positioning Protocol
The Mavic 4 Pro controller uses OcuSync 4.0 transmission, which relies on proper antenna orientation for maximum signal integrity.
Position your controller antennas perpendicular to the aircraft—not pointed directly at it. Many operators make the mistake of aiming antennas like a TV remote. This actually minimizes signal reception because the antenna tips represent dead zones.
Expert Insight: When operating near active tower cranes or welding operations, switch to manual channel selection in the transmission settings. Auto-channel hopping can lock onto interference-heavy frequencies. I typically select channels 1, 4, or 7 on the 5.8GHz band for mountain construction work, as these frequencies experience less industrial interference.
For sites with persistent interference, position yourself on elevated ground relative to the construction activity. This creates a cleaner line-of-sight path that doesn't pass through the EMI-generating equipment layer.
Obstacle Avoidance Configuration for Complex Terrain
The Mavic 4 Pro features omnidirectional obstacle sensing with a detection range of up to 40 meters in optimal conditions. Mountain construction sites are not optimal conditions.
Sensor Limitations You Must Understand
Obstacle avoidance systems struggle with:
- Thin cables and guy-wires (diameter under 10mm)
- Transparent or reflective surfaces like glass panels
- Fast-approaching objects when aircraft travels above 15 m/s
- Low-light conditions reducing visual sensor effectiveness
- Dust clouds from active excavation work
Recommended Avoidance Settings
For mountain construction documentation, configure your obstacle avoidance with these parameters:
| Setting | Recommended Value | Reasoning |
|---|---|---|
| Avoidance Mode | Bypass | Allows continued mission progress |
| Braking Distance | Maximum | Accounts for thin-wire detection delay |
| Downward Sensing | Always On | Critical for uneven terrain landing |
| Upward Sensing | On | Protects against crane movements |
| Return Altitude | Site-specific +30m | Clears tallest equipment plus margin |
Never disable obstacle avoidance entirely on construction sites. The liability exposure alone makes this unacceptable, regardless of your confidence level.
Pro Tip: Create a custom flight boundary using the DJI Fly app's geofencing feature before each session. Map the active crane swing radius, excavation pits, and any blasting zones as no-fly areas. This 30-minute preparation has saved my aircraft multiple times when focusing intensely on framing shots.
Subject Tracking for Heavy Machinery Documentation
ActiveTrack 6.0 on the Mavic 4 Pro enables autonomous following of construction vehicles, which creates compelling progress documentation without requiring constant manual input.
Tracking Configuration for Construction Vehicles
Large machinery like excavators, dump trucks, and concrete mixers present ideal tracking subjects due to their distinct visual profiles. Configure tracking with these considerations:
- Select Spotlight mode for stationary filming of moving subjects
- Use Parallel mode when documenting vehicle routes across the site
- Set tracking sensitivity to Medium to prevent lock-on to passing workers
- Enable obstacle avoidance priority over tracking continuity
The aircraft will break tracking lock rather than collide with obstacles when properly configured. Accept this behavior—recovering from a lost track takes seconds, recovering from a crash takes weeks.
QuickShots for Standardized Progress Documentation
QuickShots provide repeatable camera movements that create consistent footage across multiple site visits. For construction documentation, these modes prove most valuable:
Dronie: Captures establishing shots showing site context within surrounding terrain. Execute from the site's geometric center for maximum coverage.
Circle: Documents specific structures or equipment from all angles. Set radius based on subject size—typically 15-25 meters for individual buildings under construction.
Helix: Combines ascending spiral movement for dramatic reveals of vertical construction progress. Particularly effective for tower and high-rise documentation.
D-Log Color Profile for Mountain Lighting
Mountain construction sites experience extreme dynamic range challenges. Bright sky, shadowed valleys, reflective equipment, and dark excavation pits often appear in a single frame.
Why D-Log Matters Here
The Mavic 4 Pro's 1-inch Hasselblad sensor captures 13.5 stops of dynamic range in D-Log mode compared to approximately 11 stops in standard color profiles. Those 2.5 additional stops represent the difference between recoverable shadow detail and permanent black crush.
D-Log Exposure Strategy
Expose D-Log footage using the ETTR method (Expose To The Right). Push exposure until highlights approach clipping without actually clipping. This technique:
- Maximizes signal-to-noise ratio in shadow regions
- Preserves highlight detail in bright sky areas
- Reduces visible noise in final graded footage
- Provides maximum flexibility in post-production
Monitor the histogram religiously. The waveform display provides even better exposure feedback if your workflow supports it.
Color Grading Workflow
D-Log footage appears flat and desaturated directly from the aircraft. Plan your post-production pipeline before shooting:
- Apply DJI's official D-Log to Rec.709 LUT as a starting point
- Adjust contrast curve to match delivery requirements
- Fine-tune white balance for consistent appearance across clips
- Add subtle saturation increases (10-15%) for construction equipment visibility
Hyperlapse Techniques for Progress Documentation
Construction clients increasingly demand time-lapse content showing project evolution. The Mavic 4 Pro's built-in Hyperlapse modes eliminate the need for complex post-processing workflows.
Mode Selection Guide
| Hyperlapse Mode | Best Application | Typical Duration |
|---|---|---|
| Free | Custom creative movements | 5-10 seconds output |
| Circle | Structure-focused progress | 8-15 seconds output |
| Course Lock | Linear site traversal | 10-20 seconds output |
| Waypoint | Repeatable multi-visit documentation | Variable |
Waypoint mode deserves special attention for construction documentation. Save your waypoint mission after the first capture, then repeat the identical flight path on subsequent visits. This creates perfectly aligned footage for side-by-side or overlay progress comparisons.
Interval and Duration Settings
For construction Hyperlapse, configure 3-5 second intervals between captures. Faster intervals create smoother motion but require longer flight times. Calculate your required flight duration:
Flight time = (Output duration × Frame rate × Interval) + Transit time
A 10-second output at 30fps with 3-second intervals requires 900 seconds (15 minutes) of hovering time plus movement between positions.
Common Mistakes to Avoid
Flying during active blasting operations: Even distant detonations create pressure waves that destabilize aircraft. Confirm blasting schedules before every flight and maintain ground status during all explosive operations.
Ignoring wind acceleration effects: Mountain terrain compresses and accelerates wind through valleys and around structures. A 15 km/h ground wind can exceed 40 km/h at ridge lines. Always check conditions at your intended flight altitude, not just launch position.
Relying solely on automated return-to-home: Construction sites change daily. Yesterday's clear RTH path may intersect today's newly erected scaffolding. Manually verify RTH altitude before each session.
Underestimating battery performance at altitude: Air density decreases approximately 3% per 300 meters of elevation gain. At 2000 meters elevation, expect 8-12% reduced flight time compared to sea-level specifications.
Neglecting lens cleaning between flights: Construction dust accumulates rapidly on the gimbal camera lens. A single dust particle creates a consistent blur spot across all footage. Carry lens cleaning supplies and inspect before every takeoff.
Frequently Asked Questions
How do I maintain GPS lock in steep mountain valleys?
Mountain valleys can block satellite signals from low-elevation satellites, reducing GPS accuracy. Launch from the highest accessible point on your site rather than valley floors. If GPS satellite count drops below 10, consider postponing the flight or switching to ATTI mode with extreme caution. The Mavic 4 Pro's visual positioning system provides backup stability but cannot match GPS precision for professional documentation work.
What wind speeds are acceptable for mountain construction flights?
The Mavic 4 Pro handles sustained winds up to 12 m/s according to specifications. For mountain construction work, reduce this threshold to 8 m/s measured at ground level. Mountain wind conditions change rapidly, and gusts frequently exceed sustained speeds by 50-100%. Monitor the aircraft's attitude during hover—if it tilts beyond 15 degrees to maintain position, land immediately regardless of indicated wind speed.
How do I document sites with active workers safely?
Maintain minimum 30-meter horizontal distance from personnel not directly involved in the aerial documentation. Brief all site workers on flight plans before launching. Use a visual observer dedicated to monitoring worker positions while you focus on camera operation. Never fly directly overhead occupied areas—even with the Mavic 4 Pro's reliability record, the liability exposure is unacceptable.
About the Author: Chris Park has documented construction projects across North America, Europe, and Asia using drone technology since 2016. His aerial documentation work has supported infrastructure projects valued at over several billion dollars combined.
Ready for your own Mavic 4 Pro? Contact our team for expert consultation.