M4P Construction Site Capture Tips for Complex Terrain
M4P Construction Site Capture Tips for Complex Terrain
META: Master Mavic 4 Pro construction photography in challenging terrain. Expert tips for obstacle avoidance, tracking, and pro-quality aerial documentation.
TL;DR
- Obstacle avoidance systems require specific calibration for construction environments with cranes, scaffolding, and moving equipment
- Battery management in complex terrain demands the 80/20 rule—reserve 20% capacity for unexpected navigation challenges
- D-Log color profile captures maximum dynamic range for dusty, high-contrast construction scenes
- ActiveTrack 6.0 enables autonomous progress documentation while maintaining safe distances from active work zones
Construction site documentation from the air presents unique challenges that standard drone tutorials never address. Between tower cranes swinging unpredictably, scaffolding creating sensor blind spots, and dust clouds degrading visibility, capturing professional-grade footage requires specific techniques tailored to these hostile environments.
This guide delivers field-tested strategies for maximizing your Mavic 4 Pro's capabilities on active construction sites—from sensor configuration to post-processing workflows.
Understanding Construction Site Aerial Challenges
Active construction zones create a perfect storm of obstacles for drone operations. The Mavic 4 Pro's omnidirectional obstacle sensing system uses 8 wide-angle vision sensors plus additional ToF sensors, but these systems weren't designed with construction chaos in mind.
Primary Environmental Hazards
Construction sites present hazards that differ fundamentally from natural landscapes:
- Dynamic obstacles: Tower cranes rotate, boom lifts extend, and materials get hoisted without warning
- Reflective surfaces: Glass curtain walls, polished steel beams, and wet concrete create sensor confusion
- Fine particulate matter: Concrete dust and debris can coat sensors within minutes
- Electromagnetic interference: Heavy machinery, welding equipment, and rebar concentrations affect GPS accuracy
- Thermal updrafts: Heat from curing concrete and equipment creates unpredictable air currents
Expert Insight: I learned the hard way that the Mavic 4 Pro's forward-facing sensors struggle with thin scaffolding poles. The minimum detectable obstacle width is approximately 20cm—anything thinner may not register. Always maintain visual line of sight near scaffolding structures.
Sensor Configuration for Construction Environments
Before launching on any construction site, adjust these critical settings:
Obstacle Avoidance Settings:
- Set avoidance behavior to Brake rather than Bypass in confined areas
- Increase minimum obstacle distance to 5 meters (default is 2m)
- Enable APAS 6.0 only in open areas away from active work zones
- Disable downward sensing when flying over reflective materials
Vision System Calibration:
- Clean all 8 vision sensors before each flight session
- Perform IMU calibration if operating near large steel structures
- Recalibrate compass away from rebar stockpiles and heavy equipment
Battery Management: The 80/20 Field Rule
Here's a lesson that cost me a near-miss with a concrete pump truck: complex terrain demands aggressive battery reserves.
Standard flight planning assumes 30% battery return-to-home reserve. On construction sites, this isn't enough. The 80/20 rule means planning your shot list to complete within 80% of available flight time, reserving the remaining 20% exclusively for navigation challenges.
Why Construction Sites Drain Batteries Faster
Several factors accelerate battery consumption in these environments:
- Constant altitude adjustments around varying structure heights
- Aggressive obstacle avoidance maneuvers triggering frequent motor speed changes
- Hover time while waiting for crane movements or worker clearance
- Fighting thermal currents rising from equipment and curing materials
- Extended signal processing from continuous obstacle detection
Pro Tip: Carry minimum 4 batteries for any serious construction documentation session. The Mavic 4 Pro's 46-minute maximum flight time drops to approximately 28-32 minutes in active construction environments due to constant maneuvering and hover requirements.
Practical Battery Rotation Strategy
| Flight Phase | Battery Level | Recommended Action |
|---|---|---|
| Launch & positioning | 100-85% | Establish safe altitude, verify sensor function |
| Primary capture | 85-45% | Execute planned shot sequence |
| Secondary/backup shots | 45-30% | Capture additional angles, B-roll |
| Return threshold | 30-20% | Initiate return, maintain obstacle clearance |
| Emergency reserve | Below 20% | Land immediately at nearest safe zone |
Mastering Subject Tracking on Active Sites
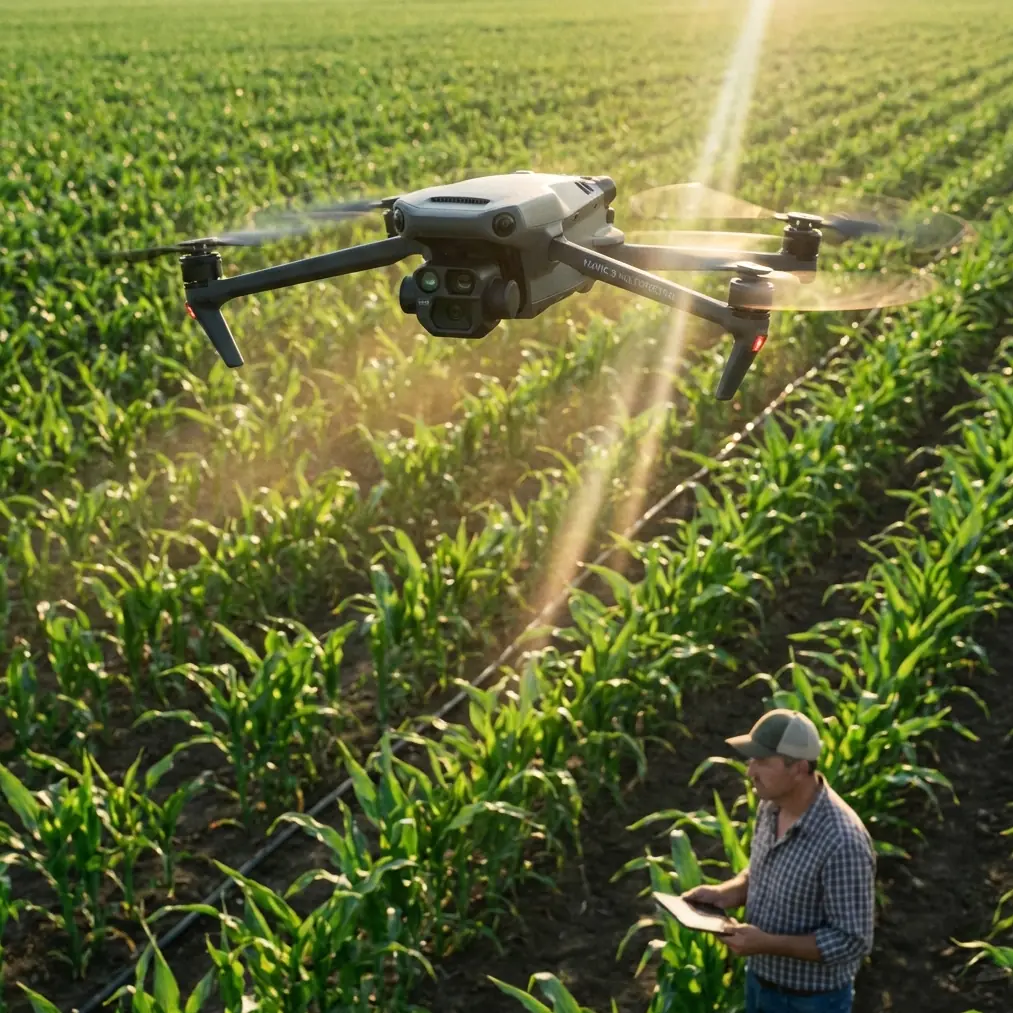
The Mavic 4 Pro's ActiveTrack 6.0 transforms construction documentation by enabling autonomous following of specific subjects—excavators, concrete pours, or worker teams—while you focus on framing and safety.
ActiveTrack Configuration for Construction
Standard ActiveTrack settings fail on construction sites because the algorithm struggles to distinguish your subject from similar-colored machinery and materials.
Optimal Settings:
- Use Spotlight mode rather than Trace mode near obstacles
- Set tracking sensitivity to Medium to prevent lock-on to passing equipment
- Enable Subject Reacquisition for moments when dust clouds temporarily obscure your target
- Limit maximum tracking speed to 8 m/s in congested areas
Subject Selection Best Practices
Not all construction subjects track equally well:
High Success Rate:
- Yellow/orange heavy equipment (excavators, loaders)
- Workers in high-visibility vests
- Concrete mixer trucks
- Distinct structural elements
Challenging Subjects:
- Gray/brown materials blending with surroundings
- Scaffolding (too many similar elements)
- Glass installation (reflections confuse tracking)
- Multiple similar vehicles operating together
QuickShots and Hyperlapse for Progress Documentation
Automated flight modes create consistent, repeatable documentation that clients and project managers value for progress tracking.
QuickShots Adaptation for Construction
The Mavic 4 Pro offers 6 QuickShots modes, but only certain patterns work safely on construction sites:
| QuickShot Mode | Construction Suitability | Notes |
|---|---|---|
| Dronie | Moderate | Verify clear airspace behind and above |
| Circle | Low | Risk of scaffolding/crane collision |
| Helix | Low | Ascending spiral dangerous near structures |
| Rocket | High | Straight vertical, predictable path |
| Boomerang | Very Low | Wide arc creates collision risk |
| Asteroid | Moderate | Requires significant clear airspace |
Rocket mode proves most valuable for construction, creating dramatic reveals of building progress while maintaining a predictable, controllable flight path.
Hyperlapse for Long-Term Documentation
Construction Hyperlapse requires planning beyond single-flight sessions:
- Waypoint Hyperlapse creates repeatable flight paths for weekly progress comparison
- Save waypoint missions to the DJI Fly app for pixel-perfect positioning across multiple visits
- Use Free Hyperlapse mode only in open areas away from active work
- Set interval to minimum 2 seconds to capture meaningful construction activity
D-Log Color Profile: Maximizing Dynamic Range
Construction sites present extreme dynamic range challenges—bright sky, shadowed interiors, reflective equipment, and dust-diffused light all within single frames.
Why D-Log Matters for Construction
The Mavic 4 Pro's 1-inch CMOS sensor captures 12.8 stops of dynamic range in D-Log, compared to approximately 10 stops in standard color profiles. This difference becomes critical when shooting:
- Interior/exterior transitions through window openings
- Shaded foundation work against sunlit upper floors
- Highly reflective safety vests against dark machinery
- Dust clouds catching direct sunlight
D-Log Camera Settings
Recommended Configuration:
- Color Profile: D-Log M
- ISO: 100-400 (avoid higher to minimize noise in shadows)
- Shutter Speed: Double your frame rate (1/60 for 30fps, 1/120 for 60fps)
- White Balance: Manual 5600K for consistency across shots
- Exposure Compensation: -0.3 to -0.7 to protect highlights
Expert Insight: D-Log footage looks flat and desaturated straight from the camera—this is intentional. The profile preserves maximum information for color grading. Apply a LUT (Look-Up Table) in post-processing to restore natural colors while maintaining recovered shadow and highlight detail.
Common Mistakes to Avoid
Flying Without Site Coordination Never launch without confirming crane schedules, concrete pour timing, and lift operations. A 30-second radio call to the site superintendent prevents dangerous conflicts.
Ignoring Wind Patterns Around Structures Buildings create turbulent wind shadows and acceleration zones. The Mavic 4 Pro handles 12 m/s winds, but localized gusts around corners can exceed this significantly.
Trusting Obstacle Avoidance Completely The system has blind spots. Thin cables, guy-wires, and safety netting often fail to register. Maintain visual contact and manual override readiness.
Shooting Only Wide Establishing Shots Clients value detail documentation—rebar placement, connection points, material staging. Capture close-up footage that supports construction verification, not just marketing materials.
Neglecting Sensor Maintenance Construction dust accumulates rapidly. Clean vision sensors between every flight, not just between site visits. A single dust particle can create persistent obstacle warnings.
Frequently Asked Questions
How close can the Mavic 4 Pro safely operate to active tower cranes?
Maintain minimum 30 meters horizontal distance from any crane, regardless of whether it appears stationary. Tower cranes can rotate unexpectedly, and the Mavic 4 Pro's obstacle avoidance cannot predict movement. Additionally, crane cables create detection challenges for the vision system. Coordinate with crane operators and obtain explicit clearance before flying within 50 meters of any lifting operation.
What settings prevent dust interference with the Mavic 4 Pro's sensors?
No settings eliminate dust interference—physical maintenance is essential. Clean all 8 vision sensors with a microfiber cloth and lens cleaning solution before each flight. For the camera lens, use a rocket blower first to remove particles before wiping. Consider applying a hydrophobic lens coating that causes dust to bead and fall away. In extremely dusty conditions, limit flights to early morning before site activity peaks or immediately after water truck passes.
Can I use ActiveTrack to follow moving construction vehicles autonomously?
Yes, but with significant limitations. ActiveTrack 6.0 successfully follows distinctive vehicles like yellow excavators or concrete mixer trucks at speeds up to 8 m/s. However, the system struggles when multiple similar vehicles operate nearby, when subjects pass behind structures, or when dust clouds temporarily obscure the target. Always maintain manual override readiness and never rely on autonomous tracking near active work zones where sudden stops could create collision risks.
Mastering construction site aerial documentation with the Mavic 4 Pro requires adapting standard drone techniques to uniquely challenging environments. The combination of proper sensor configuration, aggressive battery management, and appropriate automated mode selection transforms chaotic construction footage into professional-grade project documentation.
Ready for your own Mavic 4 Pro? Contact our team for expert consultation.